Table of Contents
Advertisement
Quick Links
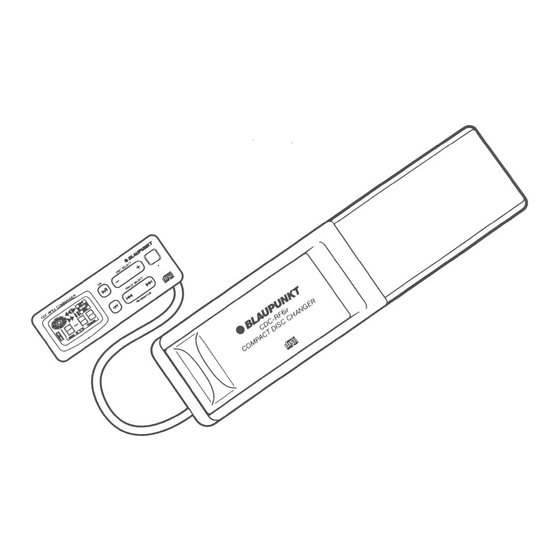
6-Disc FM Modulator CD Changer with Infrared
Sensor - For Use With Any FM Vehicle Radio
Changeur de CD a capteur infrarouge
Cambiador de Discos Compactos Para 6 Discos
con Sensor lnfrarojo y Modulador de FM Para Uso
con Cualquier Radio FM de Vehiculo
Cambiador CD para 6 discos corn Modulador FM
corn Sensor lnfravermelho para uso coin qualquer
Radio FM de Automovel
Bosch Group
Advertisement
Table of Contents

Related Manuals for Blaupunkt CDC-RF6IR

Summary of Contents for Blaupunkt CDC-RF6IR
-
Page 1: Mode D'emploi-Fonctionnement G
Cambiador de Discos Compactos Para 6 Discos con Sensor lnfrarojo y Modulador de FM Para Uso con Cualquier Radio FM de Vehiculo Cambiador CD para 6 discos corn Modulador FM corn Sensor lnfravermelho para uso coin qualquer Radio FM de Automovel @BLAUPUNKT Bosch Group... -
Page 2: Owners's Record
Owner’s Record The model and warranty numbers are located on the rear of the unit. Record the warranty in the space provided below. Refer to these numbers whenever you call upon your Blaupunkt dealer regarding this product. Model No. CDC-RF6ir... -
Page 3: Table Of Contents
Table of Contents Before installing and operating this unit, please Antes de instalar y operar esta unidad, por favor read this manual thoroughly and retain it for lea este manual detenidamente y guardelo para future reference. referencia en el futuro. lndice English Owners’s Record .......... -
Page 4: Features
- please carefully follow all of the instructions. You’ll be glad you did! General Recommendations If you’re not confident that you can install the unit correctly, have it installed by a qualified Blaupunkt installation technician. Design and specifications subject to change without notice. -
Page 5: Compartimiento De Discos Y Discos Compactos
4. After disconnecting and reconnecting the car battery, etc. ID (Identity) Switch for 2nd CD Changer To connect a second CDC-RF 6 changer, you must use Blaupunkt’s CDC-RF BRIDGE, which is sold separately. When an additional CD changer has been connected... -
Page 6: Electrical Connections
Electrical Connections Electrical Connections before making connections, disconnect the ground wire terminal of the car battery to avoid Caution: shcrt circuits. l- 16 Volt) direct current (DC). Use this unit only with negative ground 12 Volt Be sure to use the supplied changer cord. Using a cord other than the one supplied may cause noise or damage. -
Page 7: Installation
(See page 5). If you have any questions or problems concerning your unit that are not covered in this manual, please contact your Blaupunkt dealer. Be sure to remove the transport screws (See page 5). - Page 8 Horizontal Installation Confirm that Anti-Vibration Switches on both left and right sides are set to position H. Attach bracket (L) and bracket (Ft) using the hexagonal bolts (M5 x 8). Attach brackets (L) and (R) to their respective brackets (B) using the hexagonal bolts (M6 x 20) and the hexagonal nuts (M6).
- Page 9 Vertical Installation onfinn that Anti-Vibration Switches on both left and right sides are set to position V, Attach brackets (L) and (R) using the hexagonal bolts (M5 x 8). Attach brackets (L) and (R) to their respective brackets (B) using the hexagonal bolts (M6 x 20) and the hexagonal nuts (MS).
- Page 10 45’ Installation Confirm that Anti-Vibration Switches on both left and right sides are set to position 45. Attach brackets (L) and (R) using the hexagonal bolts (M5 x 8). Attach brackets (L) and (R) to their respective brackets (B) using the hexagonal bolts (M6 x 20) and the hexagonal nuts (M6).
- Page 11 Sumended Installation Make sure that the unit does not hinder the movement of torsion bar spring or other parts of the trunk lid. Confirm Anti-Vibration Switches on both the left and right sides are set to position “H”. Attach bracket (L) and bracket (R) using the hexagonal bolts (M5 x 8).
-
Page 12: Specifications
9 7/8 x 2 l/2 x 7 in. (W x H x D) Mass Approximately 2.0 kg/4.4 tbs. 12 V DC Vehicle Battery (Negative Ground) Power Requirement Part Number FOOEB00020 Optional Accessories CDC-RF6ir Wireless Remote Control FOOEB00021 FOOEBOOO15 CDC-RF6 Magazine... -
Page 13: Magazine & Compact Discs
Magazine & Compact Discs Notes on the Disc Magazine Dirt, dust, scratches and warpage cause sound skips during playback and a deterioration of sound quality. Here are some suggestions on how to take care of your discs and the magazine: Use compact discs that have the mark compact disc logo. -
Page 14: Location Of Controls
Magazine & Compact Discs Installing The Magazine 1. Slide the door toward the right. 2. Position the magazine so the top is facing up, and the arrow is facing the changer. Push it in until it clicks into place. Note: When the magazine is used for the first time, it will not lock into place unless the power supply has been connected. -
Page 15: Operating Instructions
Operating Instructions Before operating the unit for the first item (or after reconnecting the battery, etc.) press the Reset Button on the Commander. See page 5. Load the discs into the CD magazine and install the magazine into the CD charger. Turning Unit On/Playing A CD Vehicle ignition must be on. -
Page 16: Optional Wireless Fiemoto Control
Optional Wireless Remote Control The optional Wireless Remote CDC-RF6ir Control allows you OF F to activate the following features in addition to the features that 0 ON can be controlled with the CDC-RFGir’s Wired Commander: MIX Button This plays the tracks or discs in a random sequence. -
Page 17: Troubleshooting Guide
Troubleshooting Guide The following check will assist in the correction of most problems that you might encounter with your unit. Perform the checks described below before contacting your Blaupunkt dealer. Symptom Cause Remedy Replace with a fuse of the same type No Power Fuse blown. -
Page 18: Error Codes
Error Codes If the changer malfunctions, one of the following error codes will be displayed: Error Display Cause Remedy ..I). Disc change malfunction. Consult with dealer. I..111 : : :...: 1.W. :...: ..L I.. -
Page 19: Archive Du Proprietaire
BLAUPUNKT Bosch Group Robert Bosch Corporation Sales Group-Blaupunkt Division 2800 South 25th Avenue, Broadview, Illinois 60153 Robert Bosch Inc. 6811 Century Avenue Mississauga, Ontario Canada L5N 1 Rl Robert Bosch S.A. de C.V. Dr. Lucia 270, Cols. Doctores, Mexico D. F. 06720...
Need help?
Do you have a question about the CDC-RF6IR and is the answer not in the manual?
Questions and answers