Table of Contents
Advertisement
Quick Links
Advertisement
Table of Contents

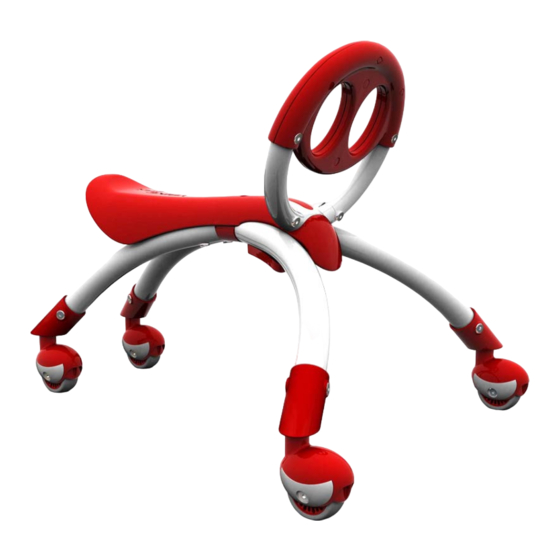
Summary of Contents for YBIKE Pewi
- Page 1 OWNER’S MANUAL...
-
Page 2: Important Safety Notice
DO NOT ride the PEWI with one or no hands. Hold the handlebars tightly with two hands. Ride PEWI only on flat and level ground. DO NOT ride Pewi on slopes. DO NOT go down a long ... - Page 3 Make sure all components are assembled correctly and secured properly before riding. Never allow more than one child to ride on Pewi at any time. Not to be used by children older than 3 years or weighing more than 20kgs due to insufficient strength.
- Page 4 DO NOT ride close to than 1 rider at a time. steps. Block stairs. hot places or heaters. Only play on Pewi as DO NOT ride close to DO NOT ride on intended for as a ride water or swimming slopes.
- Page 5 YBIKE PEWI PARTS LIST & COMPONENTS Open the box, and take out the four legs, seat, handlebar, x-bracket, cover cap, wave bracket and toolkit. Please check whether all NAME FRONT LEG (1) BACK LEG (2) FRONT LEG (3) BACK LEG (4)
-
Page 6: Leg Assembly
ASSEMBLY INSTRUCTION 1. Leg Assembly Assemble the four legs (No.1,2,3,4) onto the x-bracket (No. 8) according to the matching number references (1,2,3,4) marked on the x-bracket. Insert the first leg (No.1) into the x-bracket marked (1) as in picture A. Insert the leg screws (No.10) into position as in picture B and secure with the set of smaller Allen keys (No.12). -
Page 7: Seat Assembly
2. Seat Assembly front back Assemble the seat (No.5) onto the x-bracket (No.8). Ensure that the front of the seat is over front legs 1& 3, and that the back of the seat is over back legs 2 & 4 (as in picture D). Securely fasten the seat onto the x-bracket with the long screw (No. - Page 8 3. Handlebar Assembly A Insert the handlebar (No. 6) into the t cut-out on the seat (No. 5) as in picture F. Place the wave bracket (No.11) into position underneath the seat as in picture G.
- Page 9 NOTE there are 3 holes, only insert the two short screws into the 1st and 3rd holes. The middle hole remains open and can be used to unassembled Pewi (as seen in step 4). Insert the cover cap (No. 7) into the handlebar (No. 6) into the t-hole on the handlebar as in picture I.
- Page 10 4. To Unassemble If you would like to unassembled Pewi, then use the small set of Allen keys (No. 12) as in picture J, to push the cover cap (No. 7) from underneath the wave-bracket at bottom out of the handlebar (No. 6) at the top.
- Page 11 5. Caring for your Pewi 1. Please clean the wheels regularly after playing . Use soap water to wipe the wheels. Dry the wheels thoroughly after cleaning. 2. Clean handle regularly. 3. Regularly check to see if all parts are securely …...fastened.
-
Page 12: Check Before Riding
Finally after checking the above points, you can now start to ride. WARNING! This product must be assembled by an adult. Read the manufacturer’s instructions before using. Keep the instructions safe for future reference Download FUN and Educational GAMES for your Pewi! Visit WWW.YBIKEWORLD.COM...
Need help?
Do you have a question about the Pewi and is the answer not in the manual?
Questions and answers