Table of Contents
Advertisement
Quick Links
Advertisement
Table of Contents

Related Manuals for Apricorn PCI-X Drive Array


Summary of Contents for Apricorn PCI-X Drive Array
- Page 1 PCI-X Drive Array Quick Start Guide...
-
Page 2: Quick Start Guide
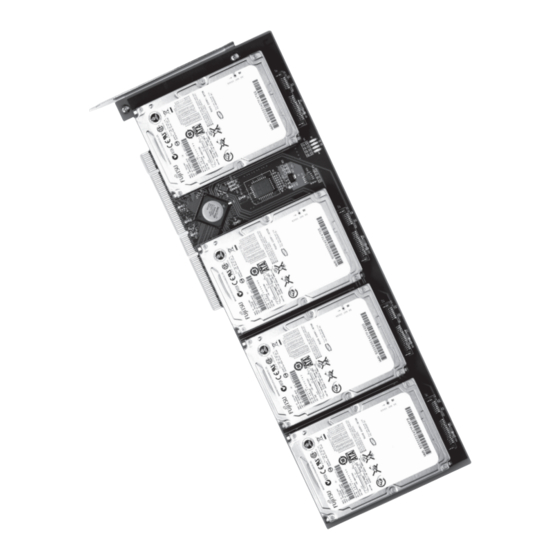
ATTACHING THE SATA DRIVES *if your card came with drives installed then proceed to ‘installing the card’ Place the PCI-X Drive Array on a static free mat with the drive connectors visible. Carefully remove 2.5” SATA drives from packaging materials. - Page 3 ROM. Please refer to the product manual for driver installation procedures for your operating system. CONFIGURING THE APRICORN PCI-X DRIVE ARRAY The Apricorn PCI-X Drive Array Card supports Raid levels 0, 1, 5, 10. To access the Silicon Image Raid Configuration Utility at system startup press F4 or “Ctrl S” when prompted. Follow the prompts in the utility to create / manage your array.
- Page 4 WARRANTY One Year Warranty: Apricorn offers a 1-year warranty on the PCI-X Drive Array against defects in materials and workmanship under normal use. The warranty period is effective from the date of purchase either directly from Apricorn or an authorized reseller.
Need help?
Do you have a question about the PCI-X Drive Array and is the answer not in the manual?
Questions and answers