Table of Contents
Advertisement
Advertisement
Table of Contents

Related Manuals for Laney LH50


Summary of Contents for Laney LH50
- Page 6 BEFORE SWITCHING ON...
- Page 7 SPECIFICATIONS Supply Voltage ~100V, ~120V, ~230V, ~240V 50/60Hz Factory Option Mains Fuse (~220V>240V = T2A L 250V) (~100>120V = T5A L 250V) HT Fuse T500mA L Power Consumption 100W Output Power Rating Loudspeaker outputs Extension speaker sockets 4, 8 & 16 Ohm (Use one at a time) Features Pure Class A/B Valve tone 2 x EL34B-STR Power Tubes...
- Page 8 INTRODUCTION...
- Page 9 Your LH50 should give you years of trouble-free amplification, however please take time to read this manual and familiarise yourself with the controls as it will allow you to get the best from your amplifier. We hope you enjoy using your LH50 as much as we enjoyed designing and making it.
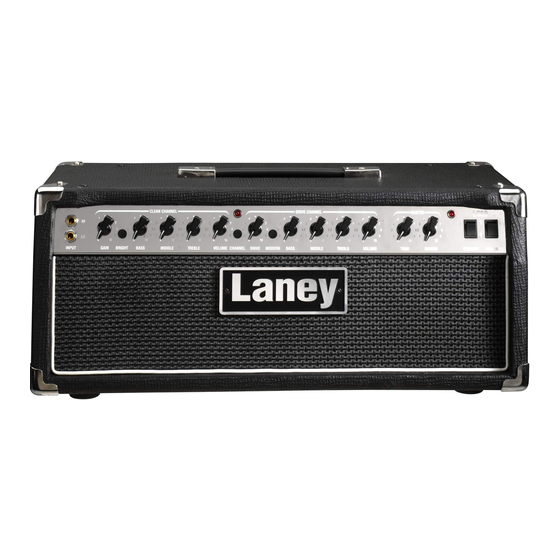
- Page 10 FRONT PANEL CONTROLS HI INPUT: ‘Hi’ stands for high gain. This input is designed for the connection of low output level guitars making it well suited for guitars with single coiled or low gain humbucker type pickups. Use of high gain pickups in this input may drive the preamp too hard causing a "mushy"...
- Page 11 CHANNEL SWITCH: Switch in to enable the 'Drive' channel. (This switch must be in the disengaged position in order for the drive to be switched remotely via a foot switch.) DRIVE LED: This led will illuminate when the Drive channel is activated with the Drive switch (8) or an optional Laney FS2 remote footswitch.
- Page 12 REAR PANEL CONTROLS Spare power fuse included in the tray. L Z B 1 2 3 4 POWER INLET SOCKET: Connect to your power source. Make sure the specified voltage is correct for your country! POWER FUSE: This drawer contains the main safety fuse for the unit. The fuse protects the AC power to the amplifier. USE ONLY THE CORRECT SIZE AND RATING OF FUSE AS SPECIFIED ON THE PANEL.
- Page 13 Multiple cabinets are to be daisy chained together: i.e. 2 x 16 Ohm cabinets linked together & pluged into the 8 Ohm socket, or 2 x 8 Ohm cabinets linked together & plugged into the 4 Ohm socket. See the LH50 Sample set ups, pages 18 & 19, for information on connecting your LH50 to a variety of Laney extension cabinets. PLEASE NOTE:...
- Page 14 QUICK START SETTINGS - suggestions only, experiment! CLEAN CLEAN CRUNCH BLUES LEAD ROCK LEAD Suggested starting place, adjust the Tone to taste.
- Page 15 USER SETTINGS - Store your own cool sounds...
- Page 16 • Tube amplifiers; generally sound much warmer/sweeter than solid state transistor amplifiers but they also need a little more respect due to the fragile glass tubes themselves. The LH50 uses top quality tubes, which should give you years of trouble free service, however like all tube amps;...
-
Page 17: Block Diagram
all system parts have stabilised; usually a couple of seconds. Similarly when turning off your system always turn down the Volume controls on your guitar amplifier and then turn off its power before turning off other equipment. • Servicing: The user should not attempt to service these products. Refer all servicing to qualified service personnel. LINE OUT FX SEND FX RETURN... - Page 18 LH50 SAMPLE SYSTEMS System using 8 Ohm Socket FX Controller 1* LH50 L Z B 1 2 3 4 1* GS212IE Output Input & FX Controller L Z B 1 2 3 4 4 Ohm Socket System using 1* LH50 Head...
- Page 19 FX Controller Output Input Input L Z B 1 2 3 4 8 Ohm Socket Input System using 1* LH50 Head 1* GS412IA Link System using 1* LH50 Head 1* GS212IE Set to Mono 16 Ohm 1* GS412IA & FX Controller...
Need help?
Do you have a question about the LH50 and is the answer not in the manual?
Questions and answers