Table of Contents
Advertisement
Quick Links
See also:
Owner's Manual
Shindaiwa Inc.
11975 S.W. Herman Road
Tualatin, Oregon 97062
Telephone: 503 692-3070
Fax:
503 692-6696
www.shindaiwa.com
Shindaiwa Kogyo Co., Ltd.
Head Office: 6-2-11 Ozuka
Nishi, Asaminami-Ku
Hiroshima, 731-3167, Japan
Telephone: 81-82-849-2220
Fax:
81-82-849-2481
2004 Shindaiwa, Inc.
Part Number 62068-94011
Printed in Japan
Rev. 3/04
Specifications subject to change without notice.
SHINDAIWA OWNER'S/
OPERATORS MANUAL
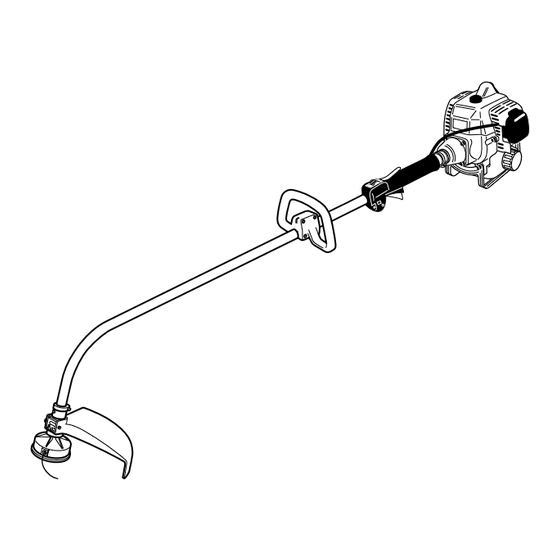
F230 GRASS TRIMMER
WARNING!
Minimize the risk of injury to yourself and others!
Read this manual and familiarize yourself with the
contents. Always wear eye and hearing protection
when operating this unit.
Part Number 62068-94011
Rev. 3/04
Advertisement
Table of Contents

Subscribe to Our Youtube Channel
Summary of Contents for Shindaiwa F230
- Page 1 SHINDAIWA OWNER’S/ OPERATORS MANUAL F230 GRASS TRIMMER Shindaiwa Inc. 11975 S.W. Herman Road Tualatin, Oregon 97062 Telephone: 503 692-3070 Fax: 503 692-6696 www.shindaiwa.com Shindaiwa Kogyo Co., Ltd. Head Office: 6-2-11 Ozuka Nishi, Asaminami-Ku WARNING! Hiroshima, 731-3167, Japan Telephone: 81-82-849-2220 Minimize the risk of injury to yourself and others!
-
Page 2: Table Of Contents
Shindaiwa unit, there may Emission System Warranty ....32 be some differences between your F230 and what is described here. Shindaiwa Inc. reserves the right to make changes to products without prior notice, and without obligation to make alterations to units previously manufactured. -
Page 3: Attention Statements
If you have questions regarding your NOTE: F230 grass trimmer, or if you do not A statement preceded by the word understand something in this manual, “NOTE” contains information that is... -
Page 4: General Safety Instructions
Never allow a person without coverage if the owner has not properly maintained the engine. Shindaiwa Kogyo Co., Ltd. will not NEVER run the engine when deny warranty repairs, however, solely because of the lack of repair, maintenance or failure to training or instruction to operate your keep maintenance records. - Page 5 As the engine owner, you should however be aware that Shindaiwa Kogyo Co., Ltd. may deny your warranty coverage if your engine or a part has failed due to abuse, neglect, improper maintenance or unapproved modifications.
-
Page 6: Safety Labels
Loose gearcase. Tighten gearcase securely. replace damaged or missing information labels. New labels are available from your Bent main shaft/worn or Inspect and replace local authorized Shindaiwa dealer. damaged bushings. as necessary. Shaft not installed Inspect and reinstall Cutting attachment in powerhead, coupler as required. - Page 7 Make sure no one is of 87 or higher mixed with within 50 feet (15 50:1 Shindaiwa Premium 2-cycle meters)—that’s about mixing oil or with an equivalent high quality 2-cycle mixing oil. 16 paces—of an operating attachment.
- Page 8 Do not operate with broken DEBRIS! fins dirty or damaged. as necessary. or damaged equipment. Use only authorized Shindaiwa parts Carbon deposits on the Consult with an authorized NEVER allow the engine to run at piston or in the muffler.
-
Page 9: Product Description
87 or higher mixed with fuel of the 50:1 Shindaiwa Premium 2-cycle proper grade? mixing oil or with an equivalent high quality 2-cycle mixing oil. Outer Tube Check for clogged fuel Clean as required;... -
Page 10: Specifications
To remove the remaining fuel from the fuel lines and carburetor and with 1. Remove the powerhead and slide Fuel/Oil Ratio ..........50:1 with Shindaiwa 2-cycle Mixing Oil the flexible cable from the shaft the fuel drained from the fuel tank. - Page 11 If carbon deposits are severe or if no WARNING! performance improvement is noted, your 230 grass trimmer should be Never operate the unit with a returned to your Shindaiwa authorized damaged or missing muffler or Ignition servicing dealer. spark arrester! Operating with...
-
Page 12: Throttle Linkage And Ignition Leads
See figure 26. Remove and replace Wire the filter element. Before reinstall- ing the filter, inspect the condition of the fuel line. If damage or deterioration is noted, the F230 Grass Trimmer should be removed 23005 Figure 8 from service until it can be in- spected by a Shindaiwa-trained service technician. - Page 13 Assembly Throttle Linkage and Ignition Leads 10-Hour Maintenance Loosen Red Wire Black Wire Remove and clean Knob Terminal Black Wire or replace the element 23021 Figure 24 Every 10 hours of operation (more CAUTION! frequently in dusty or dirty conditions): Do not operate the unit if the air Remove the air cleaner element.
-
Page 14: General Maintenance
FORMED BY A DEALER OR SER- Keep the spark plug and wire connec- VICE CENTER AUTHORIZED BY tions clean and tight. SHINDAIWA KOGYO CO., LTD. THE Fasteners USE OF PARTS THAT ARE NOT EQUIVALENT IN PERFORMANCE Make sure nuts, bolts, and screws... - Page 15 Assembly Cutting Grass Cutting Attachment Shield Your Shindaiwa F230 Grass Trimmer Trimming and Mowing Grass may be equipped with one of several Shindaiwa trimmer head models, each with features for specific applications and/or operational requirements. NOTE: For proper operation, always refer to...
-
Page 16: Trimmer Head
WARNING! until the notch on its skirt aligns serviceable one. with the hole in the gearcase, then The F230 Grass Trimmer should ALWAYS make sure the cutting insert the long end of the hex NEVER be operated with a blade-... -
Page 17: Mixing Fuel
4. Reinstall the fuel filler cap and ■ Mixed with 50:1 Shindaiwa Premium return the trimmer to your Shin- tighten firmly. 2-cycle mixing oil or with an equivalent daiwa dealer for inspection. - Page 18 Starting the Engine Starting the Engine (continued) IMPORTANT! IMPORTANT! WARNING! Engine ignition is controled by a two position switch mounted on the throttle If the engine fails to start after several housing labeled, "I" for ON or START and "O" for OFF or STOP. attempts with the choke in the closed The cutting attachment may rotate position, the engine may be flooded...


Need help?
Do you have a question about the F230 and is the answer not in the manual?
Questions and answers