Q-See QS408 Quick Installation Manual
8 channel h.264 compression dvr with cif real-time recording
Hide thumbs
Also See for QS408:
- User manual (31 pages) ,
- Quick start manual (3 pages) ,
- User manual (30 pages)

Related Manuals for Q-See QS408


Summary of Contents for Q-See QS408
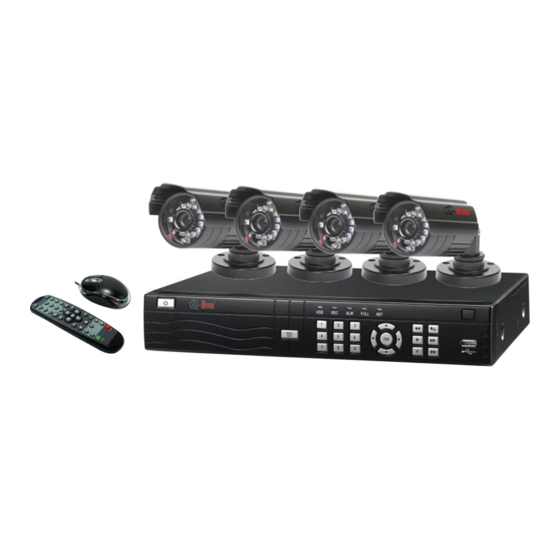
- Page 1 Quick Installation Guide For Bundles Featuring the QS408 H.264 Network DVR 8 Channel H.264 Compression DVR with CIF Real-Time Recording...
- Page 2 PART 1 - PACKAGE CONTENTS PART 2 - DVR CAMERA AND POWER CONNECTIONS Manual and Color Cameras with Stands QS408 DVR Software CD STEP 1: Connect the Cameras to the Cables Connect both camera leads to the matching ends on the power/video cable. Repeat for all cameras.
- Page 3 PART 3 - CONNECTING THE DVR TO YOUR DISPLAY PART 4 - DVR CONTROLS: FRONT PANEL To Connect to a Computer Monitor: Plug the VGA cable (not included) to the VGA port on the DVR. Connect the other end of the VGA cable to the monitor. To Connect to a TV: Plug the BNC to RCA adapter cable into the Video Out port on the DVR.
- Page 4 PART 5 - ACCESSING THE DVR’S MENUS PART 7 - RECORDING Choose MENU by right clicking on the mouse or by pushing the MENU button on the This System offers 3 modes for recording: DVR front panel or remote control. 1.
- Page 5 The Motion Detection Menu has 3 sec- The Schedule Grid shows the days of tions, including Channel Status, Sensitivity the week and hours 0~23. You can set and Motion Area. Alarm Recording (Red), General (Normal) Status: This option allows you to enable Recording (Green), or No Recording (Blue) motion detection on any channel.
-
Page 6: Video Search
PART 8 - VIDEO SEARCH AND PLAYBACK PART 9 - VIDEO BACKUP Video Search: Attach a USB flash drive or USB hard drive to the USB backup port and follow the instruc- From the Main Menu select SEARCH to tions in Part 9 to go to the File List in the Search menu. display the Video Search Menu shown to the right. -
Page 7: Customer Support
PRODUCT SUPPORT, DOWNLOADS, MAILING ADDRESS FIRMWARE UPDATES Q-See Products & MANUALS Digital Peripheral Solutions, Inc. www.Q-See.com 8015 E. Crystal Drive Anaheim, CA 92807 CUSTOMER SUPPORT Live Chat at www.Q-See.com (M-F, 9-5 PST) Email: support@dpsi-usa.com 714-998-3509 Phone: 877-998-3440 (M-F, 9-5 PST) WEBSITE www.Q-See.com...
Need help?
Do you have a question about the QS408 and is the answer not in the manual?
Questions and answers