Table of Contents
Advertisement
Quick Links
INTRODUCTION
Congratulations on your purchase of Pure acoustics Loudspeakers. Your new
speakers represent the latest technologies in loudspeaker design and manufacturing.
They will provide outstanding performance and years of listening enjoyment.
Please take time to read through this manual thoroughly to insure you get
maximum performance out of your new loudspeakers.
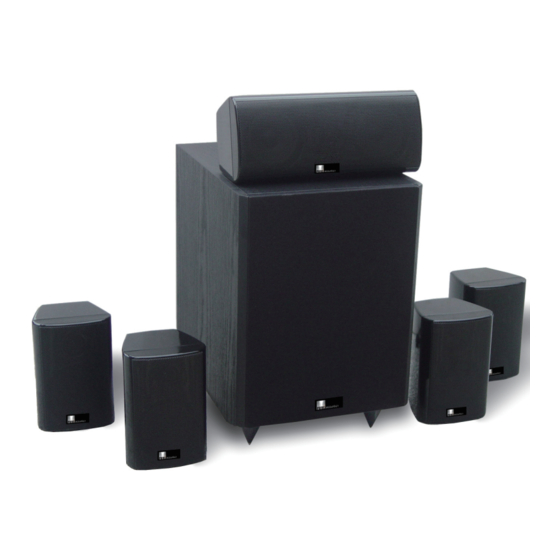
SATELLITE/CENTER CHANNEL FEATURES
• Video shielding for placement near a TV or monitor
• 1/2" Balanced dome tweeter
• Video sheilded
• Spring loaded push terminals
• Injection molded plastic cabinets
SUBWOOFER FEATURES
• High efficiency amplifier
• Bass reflex enclosure with low noise vent
• Adjustable low-pass crossover frequency
• Adjustable gain control
SPEAKER PLACEMENT
SUBWOOFER SET UP GUIDE
Typical Loudspeaker Placement
Figure 1 illustrates the most generally accepted speaker locations for a home the-
ater system. Although there are an infinite number of set up options using Figure
1 as a template will certainly provide a great starting point. Experimentation with
slightly different speaker locations may provide improved performance in your
specific listening environment.
The front left and right speakers should form a 45 degree triangle using the center
seating position as the apex.
The surround speakers should be placed beside the listening area, and pointed
towards each other. It is also recommended that the speakers be 2-3 feet above
the listeners head.
Left/Center/Right Front Speaker Height
One of the most important parameters for the left/center/right front speakers in
a home theater system is height. Figure 2 shows the ideal arrangement of the
speakers in relation to the viewing screen: all three speakers are aligned on the
same horizontal plane. This establishes a firm image height when special audio
effects are panned from one side to the other, such as a speeding car moving
across the screen. When a large discontinuity occurs between the heights of the
center front channel and the left/right front speakers, as depicted in Figure 3
image of the moving object becomes confused and somewhat unnatural due to
shifts in image height.
CARE AND MAINTENANCE
Your speakers are designed to work with a wide range of electronic components.
As little as 20 watts per channel can provide enough power for most applications.
If you have a large room or prefer louder listening levels, more power may be
required.
Caution: When choosing an amplifier, do not exceed the power
rating of the speaker. If you hear very high levels of audible dis-
tortion you are exceeding the capabilities of the system. Damage
can occur from this distortion, turn the volume back down until the
distortion disappears.
Use the following guidelines to maintain the appearance of your speakers. Use
a soft, damp cloth to clean the speaker cabinet. Avoid using harsh detergents or
cleaning fluids. Remove the grills to vacuum and remove dust. Do not vacuum
any of the speaker components, permanent damage could occur.
,
h t
e
Advertisement
Table of Contents

Related Manuals for Pure Acoustics Pure acoustics Loudspeakers


Summary of Contents for Pure Acoustics Pure acoustics Loudspeakers
-
Page 1: Speaker Placement
INTRODUCTION Congratulations on your purchase of Pure acoustics Loudspeakers. Your new CARE AND MAINTENANCE speakers represent the latest technologies in loudspeaker design and manufacturing. -
Page 2: Specifications
SPECIFICATIONS CENTER Satellite/Center Channel FR ONT RIGHT LEFT FR ONT FR ONT Driver Compliment Midrange- 3” shielded with paper cone, rubber surround Tweeter- 1/2" Balanced dome tweeter Frequency Response: 150Hz - 20kHz Impedance: 8 ohms nominal SUBW OOFER Power Handling: 75 watts RMS / 150 watts peak music Recommended Amplifier Power: 20-75 watts RMS Sensitivity: 85dB@2.83V/1M LEFT... -
Page 3: Wiring And Connections
EXPLANATION OF FEATURES AND CONTROLS WIRING AND CONNECTIONS Turn off all power to your subwoofer and other equipment before making any connections. Refer to Figure A Installation using speaker level inputs (Figure B). 1) Power Switch: This two position switch controls the power status of the sub- woofer.
Need help?
Do you have a question about the Pure acoustics Loudspeakers and is the answer not in the manual?
Questions and answers