Festool CT 33 E Assembly Manual
Air tools
Hide thumbs
Also See for CT 33 E:
- Instruction manual (19 pages) ,
- Instruction manual (18 pages) ,
- Instruction manual (26 pages)
Table of Contents
Advertisement
Quick Links
Download this manual
See also:
Instruction Manual
AIR TOOLS ASSEMBLY MANUAL
Supplementary guidelines for adapting the CT 33 E dust extractor in
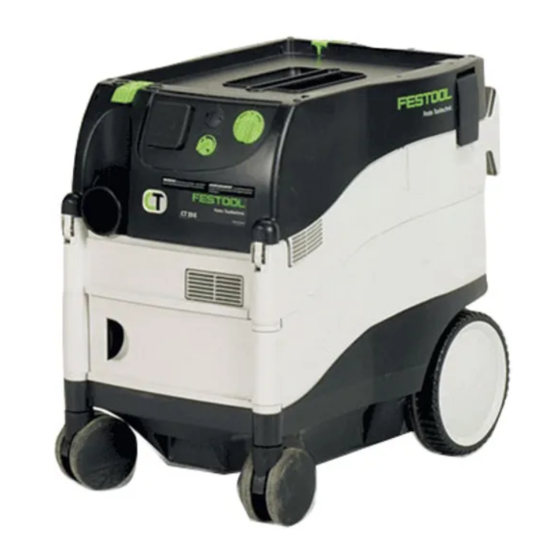
• CT 33 E dust extractor (1)
• Handle (2)
• Service unit (3)
• Compressed air module (4)
• IAS 2 adapter (5)
• IAS 2 hose (antistatic) 11.5' (6)
• Suction hose holder (7)
• 3/8" adapter (8)
#MAM0704
order to operate air tools with it.
Parts list:
SETUP:
FIG 2
1
(1)
(3)
(5)
(7)
STEP 1: Begin by opening the CT dust
extractor (vacuum) and removing the
lid completely (FIG 2).
(2)
(4)
(6)
(8)
FIG 1
Advertisement
Table of Contents

Related Manuals for Festool CT 33 E


Summary of Contents for Festool CT 33 E
-
Page 1: Parts List
AIR TOOLS ASSEMBLY MANUAL Supplementary guidelines for adapting the CT 33 E dust extractor in order to operate air tools with it. Parts list: • CT 33 E dust extractor (1) • Handle (2) • Service unit (3) • Compressed air module (4) •... - Page 2 STEP 2: Place the lid on a flat surface with internal components facing up (FIG 3). FIG 3 STEP 3: Using a screw driver and a hammer, remove the two round plastic inserts from the lid. FIG 4 STEP 4: Discard the two plastic inserts. FIG 5 STEP 5: Place the compressed air module through the two ends where the plastic...
- Page 3 STEP 7: Affix the compressed air module on the outside with washer and screw. FIG 8 STEP 8: Tighten both sides with a wrench. FIG 9 STEP 9: Close the lid. FIG 10 STEP 10: Assemble the service unit onto the handle with 2 black screws.
- Page 4 STEP 12: Place two nuts into the slots on the black part of the handle. FIG 13 STEP 13: Using two of the silver bolts, screw the handle onto the vacuum. FIG 14 STEP 14: Use two black screws to secure the service unit to the bottom of the vacuum.
- Page 5 STEP 15: Slide one silver nut into each of the four slots on the vacuum. FIG 16 STEP 16: Swing the handle brackets to align with the holes. FIG 17 STEP 17: Fasten the gray bracket onto the handle. FIG 18 STEP 18: Secure the bracket to the vacuum with four silver bolts.
- Page 6 STEP 20: Use two silver bolts to screw the cord holders onto the handle. FIG 21 STEP 21: Insert the IAS-2 adaptor into the hose port. FIG 22 STEP 22: Connect the compressed air module with the IAS 2 adaptor. FIG 23 STEP 23: The air pressure hose that connects the service unit to the compressed air module must be...
- Page 7 STEP 25: Tighten the nut with a wrench. FIG 26 STEP 26: Clamp the hose to the handle. FIG 27 STEP 27: Use the silver-spring hooks to clamp the hose to the front of the vacuum. FIG 28 STEP 28: Attach the side of the hose with the vacuum symbol to the IAS 2 adaptor.
- Page 8 STEP 31: Remove the ISO air coupling on the service unit and attach the 3/8” ISO to 3/8” NPT adapter. Then attach a 3/8” or larger male air coupling of your choice to the 3/8” NPT thread. If you have questions call the Festool service hotline at 1-800-554-8741...
Need help?
Do you have a question about the CT 33 E and is the answer not in the manual?
Questions and answers