
Related Manuals for Excalibur Motorized Pool Lounger PR10


Summary of Contents for Excalibur Motorized Pool Lounger PR10
- Page 1 User’s Guide for Motorized Pool Lounger Model No. PR10 www.ExcaliburElectronics.com...
-
Page 2: Table Of Contents
ongratulations on your purchase of the Motorized Pool Lounger from Excalibur Electronics, Inc. You and your friends will enjoy hours of outdoor fun with this innovative product. Your Motorized Pool Lounger contains two propellers which enable you to turn in all directions. -
Page 3: What's Included
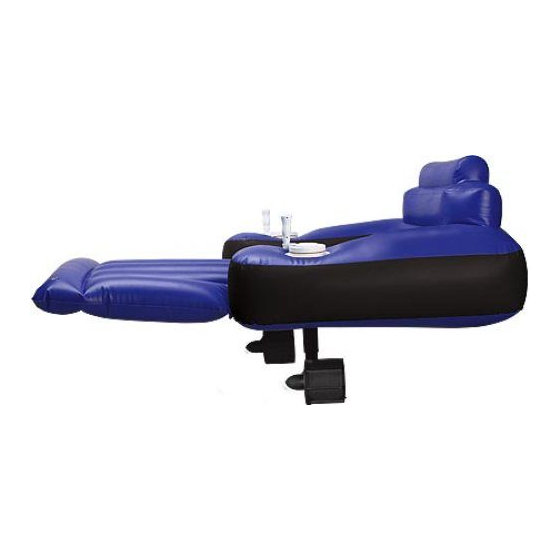
What’s Included Figure 6 Control Arm Figure 7: Electrical Connection Shaft Figure 1: Motorized Pool Lounger Figure 8: Motor Subassembly Figure 9: Electric Air Pump that Encloses the Propeller with Nozzle Attachments Figure 2: Nuts, Bolts, Washers Figure 3: Battery Compartment O-Rings and Restoration Kit Figure 10: Lug Nut Figure 11:... -
Page 4: How To Use
How to Use Setting up the Motorized in Figure 13. Be sure to read the instructions for the elec- Pool Lounger tric air pump on page 20. Insert the medium-size Your Motorized Pool valve into the electric air Lounger requires some pump, as shown in Figure assembly. -
Page 5: Assembly
Assembly Next, assemble the battery cover with the nuts, bolts, and o- Once the lounger has been rings in place, as shown in inflated, repeat the following Figure 21. steps on both sides of your Motorized Pool Lounger. Be sure to assemble it on a raised surface to prevent the motor assembly from being damaged. - Page 6 Figure 28 Figure 30 Carefully align the battery Insert the electrical connection compartment cover by matching shaft into the motor subassem- the “3” printed on both the cover bly that encloses the propeller, as and the battery compartment, as shown in Figure 31. shown in Figure 29.
-
Page 7: Testing The Motorized Pool Lounger
Testing the Motorized Pool Lounger After completing all of the previous assembly steps, press the button on the han- Figure 36 dle to test the propeller, as shown in Figure 38. Repeat the same steps on the other side of your Motorized Pool Lounger, as shown in Figure 37. -
Page 8: Repairing The Motorized Pool Lounger
Remove the batteries, as partment. Lift it off. shown in Figure 41. On the underside of the Motorized Pool Lounger, squeeze the holes on the base of the control arm sleeve, as shown in Figure 43. This will release the fas- teners holding the control arm in place. -
Page 9: Warning
Apply the glue on the damaged area and apply the supplementary PVC sheet. Wait approximately one minute for the glue to dry after applying the PVC sheet before handling your Motorized Pool Lounger. You should wait approxi- mately 24 hours before using the Motorized Pool Figure 46 Lounger in your pool again. -
Page 10: Special Care & Handling
Special Care & Handling • Avoid rough handling such as bumping or dropping. • Avoid extreme temperatures. For best results use between the temperatures of 39° F and 120° F (4° C and 38° C). • Clean using only a slightly damp cloth. Do not use cleaners with chemical agents. -
Page 11: How Use The Electric Air Pump
How to Use the Electric Air Pump The electric air pump is a high-volume, low-pressure pump, as shown in Figure 47. This is intended to inflate or deflate items, such as your Motorized Pool Lounger and air mattresses. To use your electric air Figure 47 pump, please follow these instructions. -
Page 12: Limited 90-Day Warranty
Warning for Electric Air Pump • This appliance has a polarized plug (one blade is wider than the other). To reduce the risk of electric shock, this plug is intended to fit into a polarized outlet only one way. If the plug does not fit fully into the outlet, reverse the plug. - Page 13 XCALIBUR LECTRONICS 13755 SW 119 VENUE 33186 U.S.A. IAMI LORIDA Phone: 305.477.8080 Fax: 305.477.9616 PR10 (MA) Motorized Pool Lounger 020306-V5 Play games live at: www.ExcaliburElectronics.com...
Need help?
Do you have a question about the Motorized Pool Lounger PR10 and is the answer not in the manual?
Questions and answers