Table of Contents
Advertisement
Quick Links
Advertisement
Table of Contents

Subscribe to Our Youtube Channel
Related Manuals for Kogan EziNAV G5


Summary of Contents for Kogan EziNAV G5
-
Page 1: User Manual
EziNav G5 User Manual 5” Touchscreen GPS with Bluetooth... -
Page 2: Table Of Contents
About this User Manual Congratulations on your purchase of your Kogan EziNav G5 GPS. This user manual provides information regarding the various features of the device and how to use them. For a detailed explanation of how to use the Navigation software please download the separate user manual. -
Page 3: Chapter 1: Introducing The Ezinav G5
Introducing the EziNav G5 Product Features: The EziNav G5 comes with all the necessary features for you to begin navigating to your destination with ease. It features the following: AtlasIII 400MHz CPU with Bluetooth 5" Touchscreen LCD, anti-glare, 65,536 colours, 480 x 272 resolution ... -
Page 4: Safety Precautions
Safety Precautions: Please ensure the GPS is correctly mounted in your Car to avoid it flying around. Failure to correctly mount the GPS could result in it being thrown out of lowered windows during turns. Do not clean the GPS with Chemical liquids or detergents, as it will damage the appearance of the device. -
Page 5: Chapter 2: Basic Operations
Basic Operations Overview of the Device: Turning the Device On and Off: To turn the device on, press the Power Button. The GPS will then load the main menu. To turn the device off, press and hold the Power Button. The GPS will prompt you to select Sleep or Power Off. -
Page 6: Connecting The Device To Your Computer
Connecting the Device to your Computer: Use the supplied USB Cable and connect one end into your Computer and the other end into your GPS. There are several different ways of using the USB Connection: 1) Mass Storage (Default) This will allow you to copy files to the Device and it will appear as a removable disk 2) MS Activesync This will allow you to synchronize your Device with the computer (This is only recommended for Advanced Users) -
Page 7: Chapter 3: Menu Operations
Menu Operations When the GPS first loads it will display the Main Menu. From here you can choose what you would like to do. To move between Menu’s press the options at the bottom of the screen. Then to see more information about that selection, press the middle of the Screen. -
Page 8: Gps
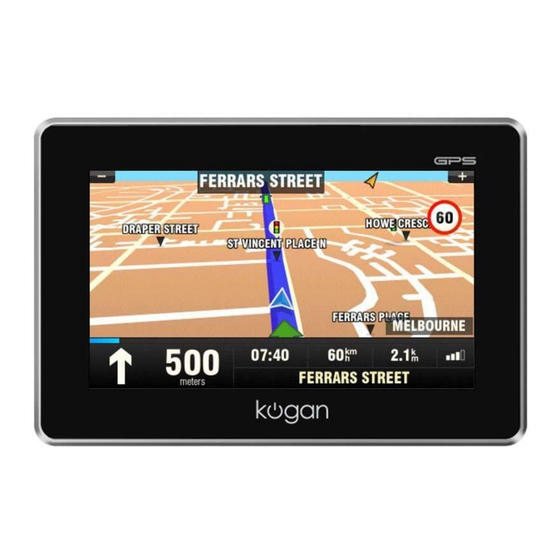
GPS: Select the GPS Option from the Bottom of the screen. Press the GPS Display in the middle of the screen. It will then load the Navigation software from the SD Card. If no SD Card is inserted pressing this button will not do anything. If you have correctly followed instructions the screen below will display: Music: Select the Music Option from the Bottom of the screen. - Page 9 This will then load the Music Player. You can then play music that you have loaded onto the SD Card. Press the Playlist button (Green button above) to find the music and add it to your playlist. Once you have added your songs to the Playlist press Play. You can change the position of the track which you are listening to by using the Bar at the bottom left of the screen.
-
Page 10: Video
Video: Select the Video Option from the Bottom of the screen. This will then load the Movie Player. You can then play Videos that you have loaded onto the SD Card. Press the Playlist button to select the movie to watch and it will load. Double tap the video to go to full screen and do the same to go back. -
Page 11: Photo
Photo: Select the Photo Option from the Bottom of the screen. This will then load the Photo Viewer. You can then display Photos that you have loaded onto the SD Card. Press the Folder button to select photos to view. The buttons (from left to right) are: ... -
Page 12: Ebook
Ebook: Select the Ebook Option from the Bottom of the screen. This will then load the Ebook Reader. You can then read Text Files that you have loaded onto the SD Card. Press the Document button to select the file to view. The buttons (from left to right) are: ... -
Page 13: Flash
Flash: Select the Ebook Option from the Bottom of the screen. This will then load the Ebook Reader. To exit, press the power button at the top Bluetooth: Select the Bluetooth Option from the Bottom of the screen. This will then load the Bluetooth Menu. pg. - Page 14 This will give you a number of options: 1) Dial 2) Dial Record 3) Redial 4) Pair 5) Setting 6) Pair Record 7) GPRS 8) IE The status will be displayed at the bottom of the screen. To Pair your Phone press “Pair” It will begin counting down from 60.
-
Page 15: Games
The Default name for the GPS is PND. Once it has detected the device, enter the Pin (8888 by Default to pair the devices) You may then need to select “Connect” on your phone to ensure the devices are paired. If it is successful the GPS will display “Connected Establish”. -
Page 16: Tools
Tools: Select the Tools Option from the Bottom of the screen to access the calculator and unit converter. Settings: Select the Settings Option from the Bottom of the screen to access the device settings. You will be able to change settings relating to: ... - Page 17 Sys Info USB (This will change the method of connection) Factory Reset (*This will wipe out all your settings*) Nav Path (*Do not change this unless you are using different software*) *Make sure you press the Disk at the top to save your settings* pg.
-
Page 18: Gps Info
GPS Info: Select the GPS Info Option from the Bottom of the screen to access statistics regarding the GPS receiver such as Location and Speed To exit, press the power button at the top pg. 18... -
Page 19: Chapter 4: Troubleshooting
If the SD Card has been formatted and you need a new copy of the maps please contact Kogan Support. **We reserve the right to charge a fee to supply a new copy of the software where there has been user error** If you have other issues please contact Kogan Support: support@kogan.com.au pg. 19...
Need help?
Do you have a question about the EziNAV G5 and is the answer not in the manual?
Questions and answers