
Subscribe to Our Youtube Channel
Related Manuals for Euro-Pro Shark EP600


Summary of Contents for Euro-Pro Shark EP600
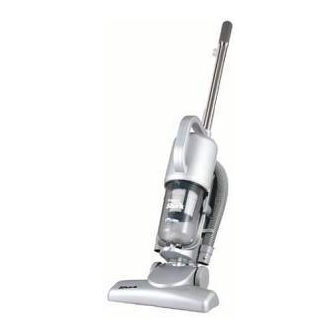
- Page 1 Turbo Stick Vac OWNER’S MANUAL Model EP600 120V., 60Hz., 7.5 Amps. For information or assistance: EURO-PRO Operating LLC 94 Main Mill Street, Door 16 Plattsburgh, NY 12901 Tel.: 1 866 98SHARK (74275) www.sharkvac.com...
- Page 2 Non-durable parts including, without limitation, filters, brushes and electrical parts which normally require replacement are specifically excluded from warranty. The liability of EURO-PRO Operating LLC is limited solely to the cost of the repair or replacement of the unit at our option. This warranty does not cover normal wear of parts and does not apply to any unit that has been tampered with or used for commercial purposes.
-
Page 3: Important Safety Instructions
Filter. shock, do not disassemble or attempt to Clean debris screen. repair the SHARK TURBO STICK VAC. Return the system to EURO-PRO Empty and clean dust cup. Operating LLC (see warranty) for Review Dust Cup instructions. examination and repair. Incorrect re-... -
Page 4: Technical Specifications
• If clogged hose or filter is found, the vacuum cleaner. When not in use, store the vacuum cleaner in a dry, clean • Wait at least 45 minutes before place. • After unit has cooled down for •... - Page 5 Make sure that the debris screen and the HEPA-TYPE filter have completely air dried before replacing into the vacuum. IMPORTANT: the vacuum cleaner and remove the blocking substance before you start the unit again. 1. Do not operate the vacuum cleaner too close to heaters, radiators or cigarette butts.
- Page 6 OPERATING INSTRUCTIONS NOTE: Always remove the power plug ATTACHING THE HOSE TO THE from the wall outlet before assembling or MAIN BODY removing accessories. • Press in the pin at the end of the INSERTING THE 2-PIECE METAL hose (see illustration below). HANDLE INTO THE MAIN BODY •...
Need help?
Do you have a question about the Shark EP600 and is the answer not in the manual?
Questions and answers