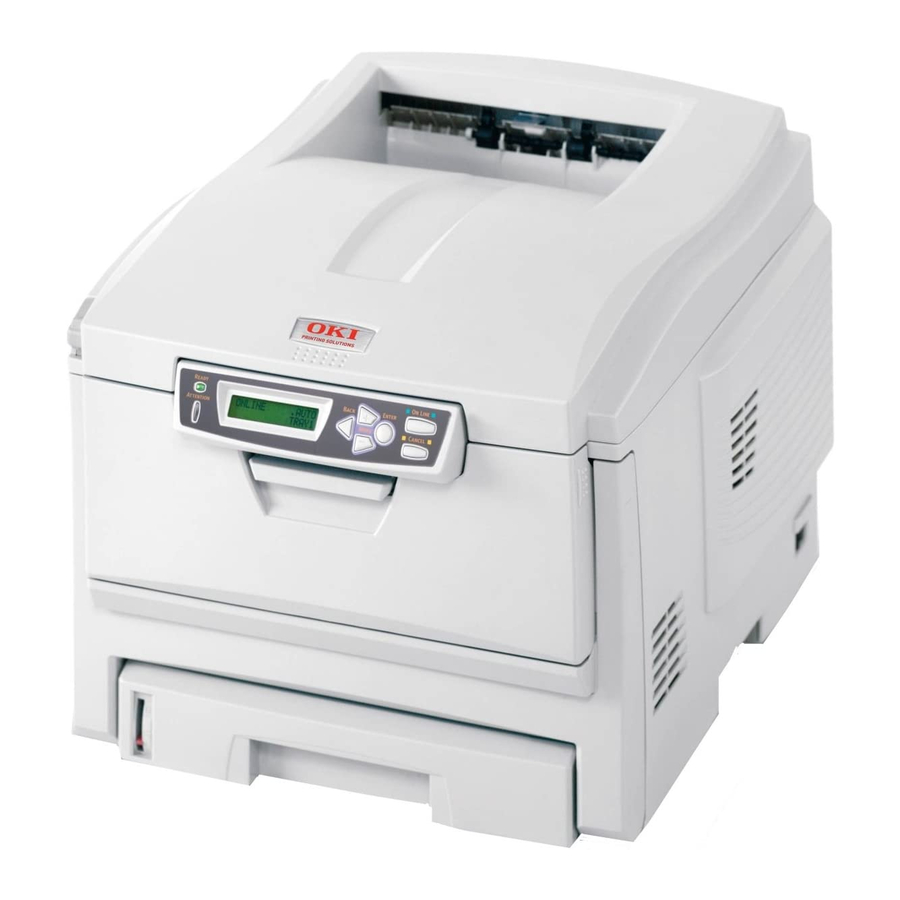
Oki C5100n Installation Instructions Manual
Memory dimm installation instructions
Hide thumbs
Also See for C5100n:
- User manual (174 pages) ,
- Reference manual (41 pages) ,
- Regulatory and safety information manual (17 pages)
Summary of Contents for Oki C5100n
-
Page 1: Memory Dimm
Memory DIMM Installation Instructions DIMM PART NUMBERS C5100 64 MB: 70042801 256 MB: 70042901 C5300 64 MB: 70043001 128 MB: 70043101 256 MB: 70043201... - Page 2 Every effort has been made to ensure that the information in this document is complete, accurate, and up-to-date. Oki Data assumes no responsibility for the results of errors beyond its control. Oki Data also cannot guarantee that changes in software and equipment made by other manufacturers and referred to in this guide will not affect the applicability of the information in it.
-
Page 3: Getting Started
Getting Started The printers have one socket for an optional memory DIMM board. You can expand the printer's memory by adding up to 256 additional memory. Model Memory Provided Maximum Memory C5100 32 Mb 288 Mb C5300 64 Mb 320 Mb Caution! To avoid damage by static electricity or rough handling, keep the DIMM board in its packaging until you're ready to install it... -
Page 4: Prepare The Printer
Prepare the Printer 1. Turn off the printer and unplug the power cord. 2. Detach the interface cable from the printer. 3. Open the top cover. - Page 5 4. Loosen the thumbscrew holding the printer side cover in place.
- Page 6 5. Open the front cover. 6. Remove the side panel from the printer.
- Page 7 Install the DIMM Caution! Circuit boards can be damaged by static electricity and rough handling. Keep the board in its packaging until you're ready to install it. 1. Locate the DIMM socket. C5100 C5300...
- Page 8 2. Push out the lock tabs at either end of the DIMM socket. C5100 C5300 Caution! To avoid damage, ground yourself (touch metal) before handling DIMMs. 3. Remove the DIMM from its shipping package.
- Page 9 4. Hold the DIMM with the narrower metallic contact edge (1) • C5100: vertical, narrower edge at the bottom • C5300: horizontal, narrower edge to the right then carefully insert the DIMM in the socket. Press firmly, until you feel the tabs snap to lock the DIMM in place.
-
Page 10: Complete The Installation
Complete the Installation 1. Replace the side panel on the printer and secure it in place with the thumbscrew. - Page 11 2. Close the front cover. 3. Close the top cover.
- Page 12 4. Reattach the computer interface cable. 5. Plug the power cord into the power outlet and turn on the printer.
-
Page 13: Check For Proper Installation
Check for Proper Installation Generate a MenuMap printout: N INE NTER ANCEL 1. Press one or more times until appears on the INFORMATION MENU display. 2. Press twice. ENTER The MenuMap prints. 3. Check the top of the MenuMap printout to verify that the Total Memory Size indicated matches the combined total of the printer’s standard memory (C5100 = 32 MB;... - Page 14 Change the Memory Setting in the Driver(s) Windows ® Postscript Emulation Driver, C5300 → → Start Settings Printers Printers and Faxes 1. Click for XP]. The Printers [Printers and Faxes] dialog box opens. Properties 2. Right click the appropriate printer name, then click Device Settings 3.
- Page 15 PCL Driver, C5300 No changes are necessary in the PCL driver. Hiper-C Driver, C5100 No changes are necessary in the Hiper-C driver. ® Macintosh OS 8.x and 9.x, C5300 Chooser 1. Activate from the Apple menu. LaserWriter 8 2. Select Printer→Setup 3.
- Page 16 OS X.2, C5300 Hard Drive → Applications → Utilities Print Center 1. Activate from Local → Print Center Printers → Show Info 2. Highlight the printer name and select from the menu Memory Configuration 3. Next to , click on the drop drown menu to select the total installed available memory (new DIMM + 64 MB resident) to enable the option.
-
Page 17: Limited Warranty: U.s And Canada
Limited Warranty. Oki Data will repair (or at its option, replace) at no charge, any defective part(s) of the OPTION for one (1) year from the date of purchase. This Limited War- ranty extends to the original purchaser only. - Page 18 Additional information on obtaining service under this Limited Warranty is available by contacting the Oki Data dealer from whom the product was pur- chased, by contacting Oki Data directly at 1-800-654-3282 (1-800-OKI-DATA, U.S. and Canada, English only) or at 1-856-222-5276 (Spanish only), or by contacting one of the listed service locations.
- Page 19 Tel: 1-800-654-3282 Tel: 800-654-3282 Fax: 1-856-222-5247 Fax: 905-238-4427 MEXICO BRAZIL Oki Data de Mexico, S.A. de C.V. Oki Data do Brasil, Ltda. Mariano Escobedo No. 748 - 8 Piso Rua Alexandre Dumas, Col Anzures, e.p. 11590 2220 - 8 andar Mexico, DF Chácara Sto Antonio...
- Page 20 Oki Data Americas, Inc. 2000 Bishops Gate Blvd. Mt. Laurel, NJ 08054-4620 Phone: (800) 654-3282 FAX: (856) 222-5320 www.okidata.com my.okidata.com 58359201...


Need help?
Do you have a question about the C5100n and is the answer not in the manual?
Questions and answers