
Subscribe to Our Youtube Channel
Related Manuals for Emerson RP6250


Summary of Contents for Emerson RP6250
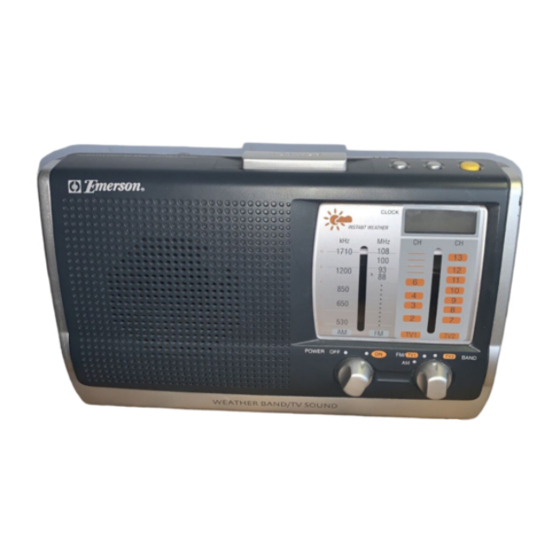
- Page 1 Portable AM / FM / TV Sound Instant Weather Band Radio with Digital Clock OWNER'S MANUAL RP6250 Visit our web site at www.emersonradio.com RP6250_011807.p65 18/1/2007, 10:58...
-
Page 2: Important Safety Instructions
TO PREVENT FIRE OR SHOCK HAZARD, DO NOT USE THIS PLUG WITH AN EXTENSION CORD, RECEPTACLE OR OTHER OUTLET UNLESS THE BLADES CAN BE FULLY INSERTED TO PREVENT BLADE EXPOSURE. TO PREVENT FIRE OR SHOCK HAZARD, DO NOT EXPOSE THIS APPLIANCE TO RAIN OR MOISTURE. The lightning flash with arrow- WARNING: TO REDUCE THE head symbol, within an equi-... - Page 3 If, after reading this Manual, you experience any problems with the operation of this product, please refer to the instructions for obtaining service at the end of this Manual. Emerson and Emerson retailers are committed to your satisfaction. Once again, thanks for purchasing this Emerson audio product.
-
Page 4: Important Notes
IMPORTANT NOTES • Avoid installing this unit in places exposed to direct sunlight or close to heat radiating appliances such as electric heaters, on top of other stereo equipment that radiates too much heat, places lacking ventilation or dusty areas, places subject to constant vibration and/or humid or moist areas. -
Page 5: Preparation For Use
PREPARATION FOR USE Unpacking And Set Up • Remove the radio from the carton and remove all packing material from the radio. We suggest that you save the packing material, if possible, in the unlikely event that your radio ever needs to be returned for service. The original carton and packing material is the only safe way to pack your radio to protect it from damage in transit. - Page 6 AC Operation The AC power cord is located inside the battery compartment. It is permanently attached to the radio to prevent loss. 1.) Open the battery compartment by pressing on the “ and sliding it downward in the direction of the arrows. 2.) Remove the coiled AC cord form the storage compartment and extend it to its full length.
- Page 7 Note: When the AC power cord is connected to the outlet, the power source automatically switches to AC. You may leave batteries inside the unit if desired. There is no battery consumption when the power cord is connected to an AC outlet.
-
Page 8: Battery Operation
Battery Operation This unit requires 4 “AA” batteries, not included. We recommend using a well- known brand of alkaline batteries for longest life and best performance. 1.) Open the battery compartment by pressing on the “ and sliding it downward in the direction of the arrows. 2.) If necessary, fold the AC power cord as shown and push it back into the cord storage compartment. - Page 9 LOCATION OF CONTROLS AND INDICATORS Front Panel Top Panel 1.) PHONES Jack. 2.) Speaker. 3.) LCD CLOCK. 4.) VOLUME Control. 5.) Dial Pointer. 6.) TUNING Control. 7.) (AM-FM/TV1-TV2) BAND Selector Switch. 8.) POWER ON/OFF Switch. 9.) Carrying Handle (Back Cabinet). RP6250_011807.p65 10.) FM/TV/Weather Band Telescopic Antenna.
-
Page 10: Radio Operation
OPERATING INSTRUCTIONS Radio Operation 1.) Move the POWER ON/OFF selector switch to the “ON” position to turn the radio ‘ On’ . 2.) Move the BAND Selector switch to select the desired band: AM, FM/TV1 or TV2. • Select AM to tune AM radio stations. •... - Page 11 Note: Since the National Weather Radio transmitters operate at much lower power than commercial radio stations, the volume on the weather band will be lower than for AM/FM or TV bands. This is normal and not an indication of any trouble with your unit. Adjust the VOLUME when listening to the Weather Band if necessary.
-
Page 12: Setting The Date And Time
Setting The Date And Time Note: The month and date are displayed numerically (MM/DD). For example, February 28 1.) Press the MODE button twice. The Month display appears. 2.) Press the SET button repeatedly to advance the display to the correct month. 3.) Press the MODE button again. -
Page 13: Display Light
Note: This radio includes a special circuit that will keep the clock running for a certain time after the batteries are exhausted, even if the unit is not connected to the AC outlet. However if you do not replace the batteries for a long period of time the clock will stop running and will need to be reset after fresh batteries are installed. -
Page 14: Care And Maintenance
FOR CUSTOMER SERVICE, PLEASE WRITE TO: RP6250_011807.p65 TO FIND THE LOCATION AND PHONE NUMBER OF YOUR NEAREST SERVICE CENTER PERMITTED TO PERFORM WARRANTY... 1-800-695-0098 PLEASE CALL: 1-800-898-9020 Emerson Radio Corp., Consumer Affairs Dept., 5101 Statesman Drive, Irving, TX 75063. 18/1/2007, 10:58... - Page 15 For repair or replacement, pack your unit in a padded box, enclose your check or money order payable to Emerson Radio Corp. in the amount of $5.00 (not required by California residents) to cover shipping and handling costs, and enclose a copy of your proof of purchase.
- Page 16 RP6250-011807-01 Printed in China RP6250_011807.p65 18/1/2007, 10:58...
Need help?
Do you have a question about the RP6250 and is the answer not in the manual?
Questions and answers
Why can't I set the day and time. After following instructions the digital read out still displays 18:88