
Related Manuals for Electrolux FHWC3055LSA


Summary of Contents for Electrolux FHWC3055LSA
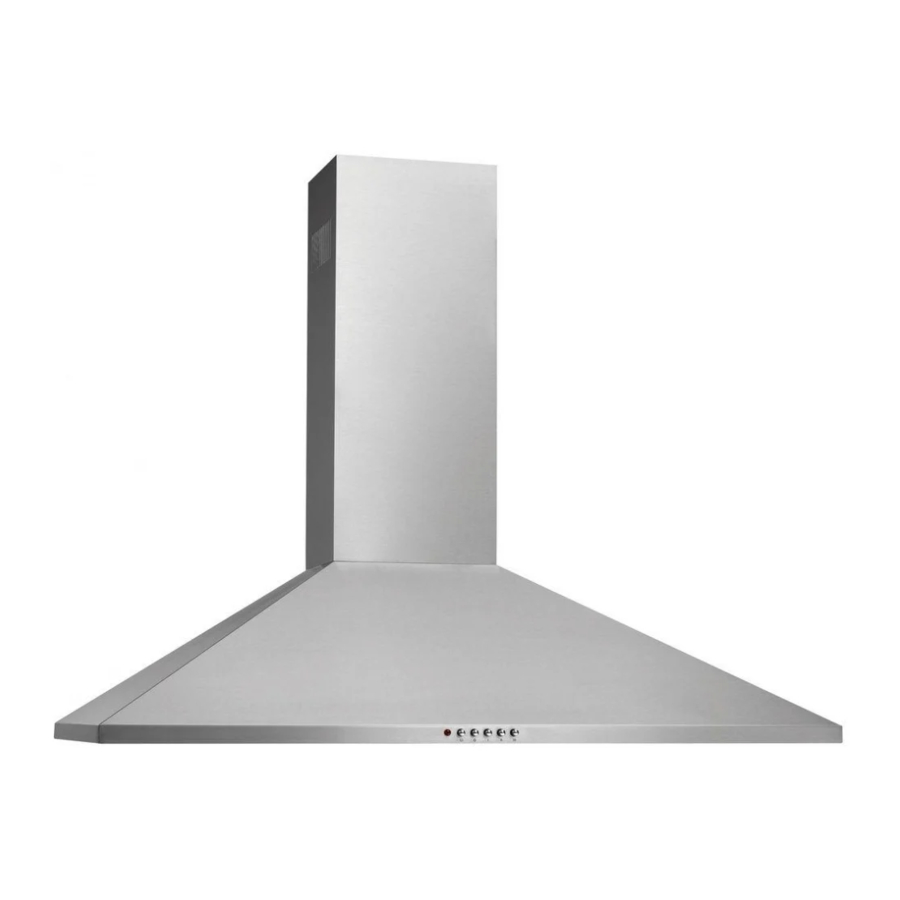
- Page 1 Use & care guide Guia de uso y cuidado Guide d’utilisation et d’entretien 30” and 36” Free-Standing Range Hood FHWC3055LSA + FHWC3655LSA 316902442 Rev A February 2012...
-
Page 2: Table Of Contents
Finding information Table of contents Please read and save this guide ... 02 Keep a record for quick reference ... 02 Important safety instructions ...02-04 Electrical requirements ...04-05 Intended use ... 05 Parts supplied ... 05 Installing the hood ...05-11 Operation... -
Page 3: Important Safety Instructions
Important safety instructions Important safety instructions IMPORTANT Indicates installation, operation, or maintenance information which is important but not hazard-related. Child safety Packing materials: • Packing cartons covered with rugs, bedspreads, plastic sheets, or stretch wrap may become airtight chambers and can quickly cause suffocation. • Remove the protective film covering the appliance before putting it into operation. -
Page 4: Electrical Requirements
Important safety instructions Important safety instructions WARNING To reduce the risk of fire, use only metal duct work. Install this hood in accordance with all requirements specified. WARNING To reduce the risk of fire or electric shock, do not use this hood with any external solid state speed control device. -
Page 5: Intended Use
IMPORTANT Save installation instructions inspector’s use. The range hood must be connected with copper wire only. The range hood should be connected directly to the fused disconnect (or circuit breaker) box through metal electrical conduit. Wire sizes must conform to the requirements of the National Electrical Code ANSI/NFPA 70 –... -
Page 6: Installing The Hood
Installing the hood Installing the hood IMPORTANT We recommend that two people carry out the installation. Pay attention to the procedure described in the assembly instructions. Preparation • Determine the exact location of the range hood. • Plan the route for venting exhaust to the outdoors •... - Page 7 Examples of possible ducting or air recirculation fig. Roof pitch with Sidewall cap flashing and cap Pipe Pipe Collar Collar Installing range hood to the wall (Exhaust operation) IMPORTANT This range hood is very heavy. Adequate structure and support must be provided in all types of installations.
- Page 8 Installing the hood fig. Ceiling Long screws Wood screws 1.5” 15.98”-FHWC3055L 23.86”-FHWC3655L Wall Desired range hood distance above a 36” high cook top Ceiling height 8 Feet 26”* 27-5/16” 27”* 28-5/16” 28”* 29-5/16” 29”* 30-5/16”* 30”* 31-5/16”* 31”* 32-5/16”* 32”* 33-5/16”* 33”...
-
Page 9: Electrical Connections
Electrical connections DANGER Danger of electric shock! All fittings must be installed by a competent person in accordance with current wiring regulations and local building regulations. If in doubt, consult a qualified electrician. IMPORTANT Always switch off the electricity supply at the mains during installation, cleaning and maintenance. -
Page 10: Recirculation Mode
Installing the hood fig. fig. CAUTION Danger of injury. The chimney skirts may have some sharp edges. Exhaust operation • During exhaust operation, the range hood removes air from a room. If other fire sources that require the surrounding air for combustion are being operated in the same room, (e.g. -
Page 11: Operation
Operation / Cleaning and maintenance fig. • Take out the grease filters and fit charcoal filters to two lateral sides of the motor blower. Assemble back the grease filters (fig. Operation • Press one of the speed ( • / • • / • • • ) buttons to turn the appliance on. Button Function Press button o to switch the appliance off (pilot lamp is lit when appliance is switched on). -
Page 12: Cleaning And Maintenance
Troubleshooting IMPORTANT Clean the filter every month to prevent risk of fire. Maintenance • User servicing – Do not repair or replace any part of the appliance unless specifically recommended in the manual. All other servicing should be referred to a qualified technician. Light bulb replacement • Switch the appliance off and disconnect the power supply. -
Page 13: Warranty Information
Major Appliances North America, a division of Electrolux Home Products, Inc. In Canada, your appliance is warranted by Electrolux Canada Corp. Electrolux authorizes no person to change or add to any obligations under this warranty. Obligations for service and parts under this warranty must be performed by Electrolux or an authorized service company.
Need help?
Do you have a question about the FHWC3055LSA and is the answer not in the manual?
Questions and answers
Replacement filters
The replacement filter for the Electrolux FHWC3055LSA range hood is the range hood grease filter, part number 5304482254.
This answer is automatically generated