Table of Contents
Advertisement
125994260
TUMBLE DRYER
TORKTUMLARE
KUIVAUSRUMPU
SUfiILWNAÅ MAfiINA
TCS 603 LT
INSTRUCTION BOOKLET
BRUKSANVISNING
KÄYTTÖOHJE
RUKOVODSTVO PO ÈKSPLUATACII
800 / 900
1000 / 1200
800 / 900
1000 / 1200
650
kg 5
85' -105'
75' - 100'
110' - 130'
100' - 125'
kg 2
45' - 55'
kg 2,5
45' - 60'
40' - 55'
60' - 75'
55' - 70'
kg 1
25' - 35'
GB
S
FIN
RUS
Advertisement
Table of Contents

Related Manuals for Zanussi TCS 603 LT


Summary of Contents for Zanussi TCS 603 LT
-
Page 1: Tumble Dryer
TUMBLE DRYER TORKTUMLARE KUIVAUSRUMPU SUfiILWNAÅ MAfiINA TCS 603 LT 800 / 900 1000 / 1200 800 / 900 1000 / 1200 kg 5 85' -105' 75' - 100' 110' - 130' 100' - 125' kg 2 45' - 55' kg 2,5 45' - 60' 40' - 55' 60' - 75'... -
Page 2: Dear Customer
Dear customer, Please read these operating instructions carefully and pay particular attention to the safety notes indicated in the first pages. We recommend that you keep this instruction booklet for future reference and pass it on to any future owners. Transport damages After unpacking the machine please check it is not damaged. -
Page 3: Table Of Contents
Contents Important safety information Maintenance and Cleaning ..4-5 ....12 External cleaning ..........12 Disposal ............5 Cleaning the filter ..........12 Cleaning the condenser unit ......12 Tips for environmental protection Emptying the water reservoir ......12 Your new tumble dryer ......6 Something not working? ....13 Description of the appliance ....6... -
Page 4: Important Safety Information
Contact your local Zanussi Service • If the machine is situated on a carpeted floor, Centre. Always insist on genuine Zanussi spare please adjust the feet in order to allow air to parts. -
Page 5: Disposal
Child safety • When the appliance is to be scrapped, cut off the electrical supply cable and destroy the plug with • Children are often not aware of how dangerous the remaining cable. Disable the door catch in electrical appliances can be. When the machine is order to prevent children from becoming trapped working, children should be carefully supervised inside while playing. -
Page 6: Your New Tumble Dryer
Your new tumble dryer This tumble dryer will give your wash that soft, relaxed feel whatever the weather. Extremely high quality standards both during development and manufacturing guarantee a long service life for your appliance. Maximum economy in the operation of your dryer is achieved through very frugal electricity consumption and short drying times. -
Page 7: Installation
Installation Positioning Stacking kit It is recommended that, for your convenience, the A special stacking kit is available through your machine is positioned close to your washing dealer, to enable the mounting of the dryer on top of machine. your washing machine. The tumble dryer must be installed in a clean place, where dirt does not build up. -
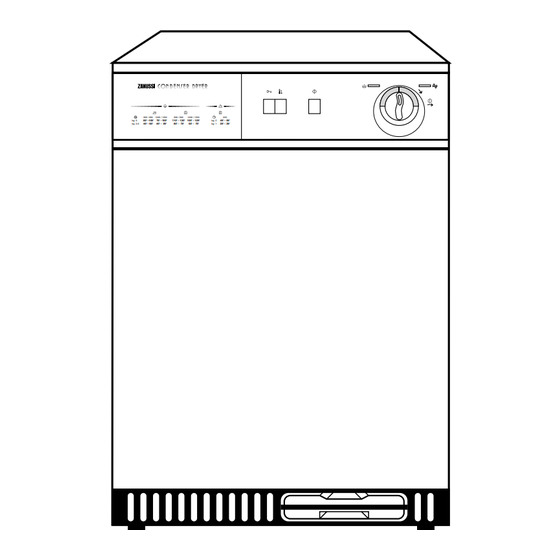
Page 8: Use
The control panel 800 / 900 1000 / 1200 800 / 900 1000 / 1200 85' -105' 75' - 100' 110' - 130' 100' - 125' kg 5 kg 2.5 65' - 75' kg 2,5 45' - 60' 40' - 55' 60' - 75' 55' - 70' kg 1... -
Page 9: Drying Times
Drying Times Cotton and Linen Selector dial: up to 150 minutes Degree of drying required Degree of spin given Quantity Drying times mins 85 - 105 800/900 45 - 60 Iron dry 75 - 100 1000/1200 40 - 55 110 - 130 800/900 60 - 75 Store dry... -
Page 10: Operating Sequence
Operating sequence Before using your tumble dryer for the first time, we recommend to place a few damp cloths inside the appliance and dry for about 20 minutes. There may be dust inside a brand new tumble dryer. 1. Connect the appliance. 2. -
Page 11: Useful Hints
• Easy-care items, too, e.g. shirts, should be briefly Useful hints pre-spun before drying (depending on crease resistance approx. 30 seconds or using the special • Try to load to the maximum capacity of the brief spin programme of your washing machine). machine as small loads are uneconomical. -
Page 12: Maintenance And Cleaning
Maintenance and Cleaning You must disconnect the appliance from the Also clean the outside, removing all fluff. electricity supply, before you can carry out any Clean the rubber seal round the porthole door and cleaning or maintenance work. the seal of the condenser in the inner door with a damp cloth. -
Page 13: Something Not Working
Something not working? Before contacting your local Zanussi Service Centre, please make the following checks: Problem Possible cause • The dryer does not work: • The door is open. • The plug is not fitted into the wall socket. • There is no electricity supply from the wall socket.
Need help?
Do you have a question about the TCS 603 LT and is the answer not in the manual?
Questions and answers