
Related Manuals for Akura SaorView AVT8010

Summary of Contents for Akura SaorView AVT8010
-
Page 1: High Definition
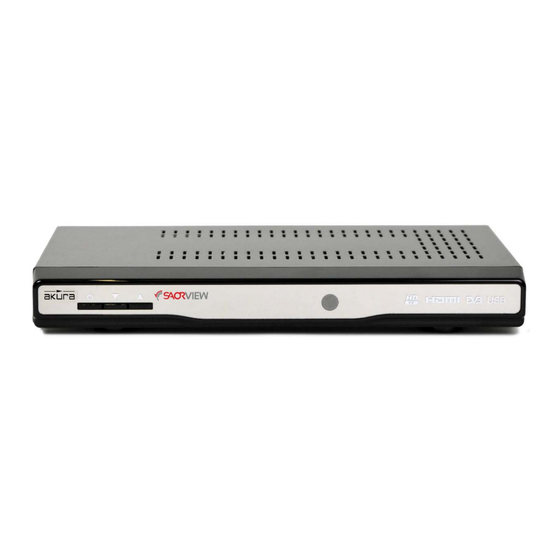
High Definition Set Top Receiver User’s Guide AVT8010 Customer Help Line : 1 800 88 2390 Website : www.ekey.co.uk... -
Page 2: Table Of Contents
Contents. Features. 1.Safety Information • DVB and VBI Teletext 2.Safety Instructions • 200 Channels. 3. Accessories • DVB 7 days event timer (7 day EPG) 4. User Controls • TV Scart (with RGB and CVBS output) 5. Remote Control • Last watched channel memory. -
Page 3: Safety Information
1. Safety Information The lightning flash with arrowhead symbol, within an equilateral triangle, is intended to alert the user to the presence of un-insulated “dangerous voltage” within the products enclosure that may be of sufficient magnitude to constitute a risk of electric shock to the persons. The exclamation point within an equilateral triangle is intend to alert the user to the presence of important operating and maintenance (servicing) instructions in the literature accompanying the appliance. -
Page 4: Safety Instructions
2. Safety Instructions CAUTION. PLEASE READ AND OBSERVE ALL WARNINGS AND INSTRUCTIONS GIVEN IN THIS USER MANUAL AND MARKED ON THE APPLIANCE. RETAIN THIS BOOKLET FOR FUTURE USE. This Set Top Box (STB) has been designed and manufactured to assure your personal safety. Improper use can result in Electric shock or Fire hazard. -
Page 5: Accessories
3. Accessories Please check the contents of the contents of Remote Control the box before you continue. If any item is missing please contact your point of purchase. Mains Adaptor User Manual 2 x AAA Cells HDMI lead 4. User Controls. Switches STB to On or Standby mode. -
Page 6: Remote Control
5. Remote Control... - Page 7 5. Remote Control Open the battery cover Fit two “AAA” batteries (Not supplied). Ensure the battery polarities are correct i.e + to + and – to -. Replace the battery cover To prevent injury, do NOT break open or throw exhausted batteries in a fire. Do not place in the domestic waste, consult your local waste disposal company.
-
Page 8: Connections
6. Connections. IMPORTANT. When making connections ensure the STB is disconnected from the MAINS supply input, and that the appliance being connected is also disconnected from the mains supply. : Connection to UHF Aerial. 1.Antenna In : Aerial signal output to other apparatus. 2.Antenna Out. -
Page 9: Menu System
STB and the box will enable the record feature. • IMPORTANT. To avoid data loss. Ensure any files on the Memory media is “Backed up”. Akura accepts no responsibility for any data lost on your External Memory, under ANY circumstances. -
Page 10: Main Menu System
7. Menu System Main Menu System The “Active Antenna” menu will be shown. Press the ►/◄ The first time the STB is turned on. There will be no buttons to set On or Off. Note :- Set to ON ONLY if you channels stored. -
Page 11: Instant Recording
7. Menu System Instant Recording. Watching Recorded Programmes. IMPORTANT. Ensure a Memory Medium is IMPORTANT. To view the recordings ensure your Memory connected to the STB before you record a media is connected to the STB. This must be done with the programme. -
Page 12: Main Menu
7. Menu System Main Menu . Moving the Channels in the Channel list The Main Menu is accessed by pressing the MENU Re ordering the list can be done by entering the “MOVE” button. The items accessed can be seen below. function using the ►/◄... -
Page 13: Setting Favourites
7. Menu System Green Button. Expands the time line display. Setting Favourites. Red Button. Shrinks the time line. Blue Button. Displays the “Next day” listing. Each press shows the next day and so on (7 Days). Yellow Button. Displays the “Previous day” listing. Note you cannot go back to a day prior to the current day. -
Page 14: Timers
7. Menu System Timers. The Green line at the bottom of the screen displays the available disk space. The Red line denotes “already used” space. Adding a Recording Timer. Press the Yellow button on the remote control. A list as shown below will be displayed. To display the Timers window, select from the Main Menu. -
Page 15: Setup
INFO. (Details). Displays the programme details. SETUP. The adjustments in this menu are as follows :- AKURA LTD ACCEPTS NO RESPONSIBILITY FOR ANY DATA LOST UNDER ANY CIRCUMSTANCES. Media Memory (Hard Disk) Information. This table shows you the various parameters of the Media Memory you have attached to the STB. - Page 16 7. Menu System Configuration. Cont… Configuration. Cont… If you have a Recording timed for 3am, then turn the Auto Upgrade Off using the ►/◄ buttons. If you have not upgraded the software for some time, use the ▲/▼ buttons to select “Scan for Upgrade”...
-
Page 17: Installation
7. Menu System Maturity Lock cont.. If the programme has a recommended level over Language setting Cont… Preferred. This is fixed and cannot be adjusted. the “set level” the programme will not be shown. All the other Languages may be adjusted. Use the Menu Lock. -
Page 18: Media Browser
7. Menu System Media Browser. The STB can support Memory Media such as USB Viewing Jpeg files cont.. Hard drive or Memory stick. This allows you to play Play / Slideshow. Starts the slide show with all the MP3 Music files, Jpeg pictures stored on these files in the folder. -
Page 19: Channel Navigation
7. Menu System 8. Specifications. Channel Navigation. Supply. DC +12V @ 70 m/A (with HDD). Channel CH + and CH – buttons. Pressing CH+ will increase the channel number by one, and CH- will Power Consumption with mains adaptor < 10W decrease the channel number by one with each press. -
Page 20: Trouble Shooting Guide
9. Trouble shooting Guide Should you experience difficulties operating this product please consult the guide below before calling the Customer Help Line. SYMPTOM POSSIBLE CAUSE REMEDY Dead. No led lit Power not connected to STB Check power lead and mains adaptor is connected and turned on No Picture.
Need help?
Do you have a question about the SaorView AVT8010 and is the answer not in the manual?
Questions and answers