Sign In
Upload
Download
Table of Contents
Contents
Add to my manuals
Delete from my manuals
Share
URL of this page:
HTML Link:
Bookmark this page
Add
Manual will be automatically added to "My Manuals"
Print this page
×
Bookmark added
×
Added to my manuals
Manuals
Brands
Acer Manuals
Monitor
X233HZ
Service manual
Acer X233HZ Service Manual
Hide thumbs
Also See for X233HZ
:
Quick setup manual
(3 pages)
,
User manual
(26 pages)
1
2
3
4
5
Table Of Contents
6
7
8
9
10
11
12
13
14
15
16
17
18
19
20
21
22
23
24
25
26
27
28
29
30
31
32
33
34
35
36
37
38
39
40
41
42
43
44
45
46
47
48
49
50
51
page
of
51
Go
/
51
Contents
Table of Contents
Troubleshooting
Bookmarks
Table of Contents
Table of Contents
Chapter 1 Monitor Features
Introduction
Electrical Requirements
LCD Monitor General Specification
LCD Panel Specification
Factory Preset Timing
Monitor Block Diagram
Main Board Diagram
Software Flow Chart
Main Board Layout
Installation
Chapter 2 Operating Instructions
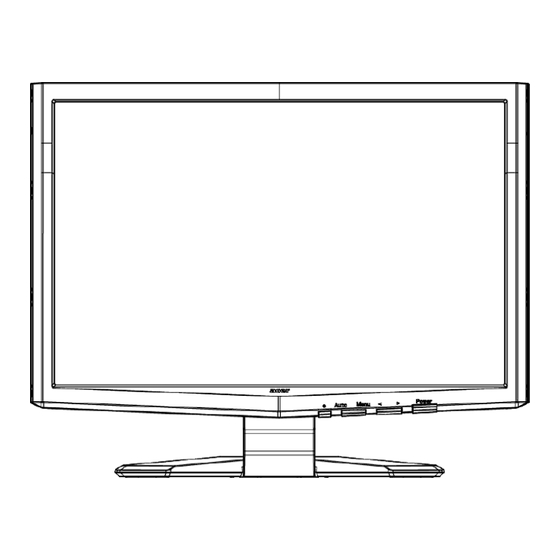
External Controls
Front Panel Controls
Ecolor Management (OSD)
How to Adjust a Setting
How to Optimize the DOS-Mode
Enter into the Factory Mode
Chapter 3 Machine Disassembly
Chapter 4 Troubleshooting
Chapter 5 Connector Information
Chapter 6 FRU (Field Replacement Unit) List
Exploded Diagram
Chapter 7 Schematic Diagram
Key Board
Advertisement
Quick Links
1
Introduction
2
Lcd Monitor General Specification
3
Lcd Panel Specification
4
External Controls
5
Chapter 3 Machine Disassembly
6
Chapter 4 Troubleshooting
7
Chapter 5 Connector Information
8
Chapter 7 Schematic Diagram
Download this manual
See also:
User Manual
Acer X233HZ&X243HQ
Service Guide
1
Table of
Contents
Previous
Page
Next
Page
1
2
3
4
5
Advertisement
Table of Contents
Need help?
Do you have a question about the X233HZ and is the answer not in the manual?
Ask a question
Questions and answers
Related Manuals for Acer X233HZ
Monitor Acer X233HZ User Manual
(26 pages)
Monitor Acer X233HZ Quick Setup Manual
Acer lcd monitor quick setup guide (3 pages)
Monitor ACER X243HQB User Manual
(23 pages)
Monitor Acer X243HQ Quick Setup Manual
(5 pages)
Monitor Acer X233H Service Manual
Acer computer monitor user manual (50 pages)
Monitor Acer X233H User Manual
23”w lcd monitor (23 pages)
Monitor Acer B203H Service Manual
(49 pages)
Monitor Acer X203H Service Manual
Acer computer monitor user manual (70 pages)
Monitor Acer X213H Service Manual
Acer computer monitor user manual (48 pages)
Monitor Acer X201W Install Manual
Acer x201w: install guide (11 pages)
Monitor Acer X241 Service Manual
(70 pages)
Monitor Acer X243H User Manual
24” lcd monitor (25 pages)
Monitor Acer P221W User Manual
22”w lcd monitor (23 pages)
Monitor Acer X223W User Manual
22" lcd monitor (25 pages)
Monitor Acer X25 Lifecycle Extension Manual
24.5" lcd monitor (56 pages)
Monitor Acer PREDATOR X27U Quick Start Manual
(43 pages)
This manual is also suitable for:
X243hq
V243hq
V233hz
Table of Contents
Print
Rename the bookmark
Delete bookmark?
Delete from my manuals?
Login
Sign In
OR
Sign in with Facebook
Sign in with Google
Upload manual
Upload from disk
Upload from URL


Need help?
Do you have a question about the X233HZ and is the answer not in the manual?
Questions and answers