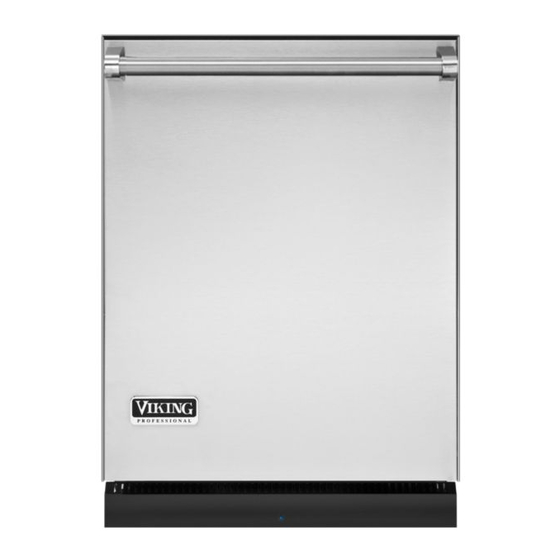
Viking FDB451 Installation Instructions Manual
Built-in dishwashers
Hide thumbs
Also See for FDB451:
- Service manual (46 pages) ,
- Use and care manual (22 pages) ,
- Option installation manual (4 pages)
Table of Contents
Advertisement
Quick Links
Advertisement
Table of Contents

Summary of Contents for Viking FDB451
- Page 1 Viking Installation Guide Viking Range Corporation 111 Front Street Greenwood, Mississippi 38930 USA (662) 455-1200 For product information, call 1-888-VIKING1 (845-4641) or visit the Viking Web site at vikingrange.com 301/451 Series Built-In Dishwashers F20880B EN (092812)
-
Page 2: Table Of Contents
Table of Contents IMPORTANT – Please Read and Follow Warnings & Important Information _____________________________________________________3 • Before beginning–please read these • Please ensure that this product is properly instructions completely and carefully. grounded. Dimensions & Cutout Dimensions _____________________________________________________6 Specifications _______________________________________________________________________7 • DO NOT remove permanently affixed •... - Page 3 • DO NOT use an extension cord. • Viking Range Corporation will NOT • Failure to follow these instructions, can warranty any problems resulting from GFI W A R N I N G result in death, fire or electrical shock.
-
Page 4: Dimensions & Cutout Dimensions
Dimensions & Cutout Dimensions Specifications Built-In Dishwasher Description 301 Models 451 Models - 7 / ( 6 0 8 ” ” Overall width 23-7/8” (60.6 cm) ( 6 1 ” Overall height from floor 33-7/8” (86.0 cm) min. to 35” (89.0 cm) max. ( 6 1 Overall depth from rear To edge of side –... -
Page 5: Custom Door Panel Specifications
Custom Door Panel Custom Door Panel (Installation Option) (Specifications for FDB451 Models) Have the overlay panel constructed per dimensions. The panel thickness MAY NOT exceed 3/4" (1.91 cm) for flush installation in most cabinets. Ensure that the design, construction, and installation of the panel... -
Page 6: General Information
Custom Door Panel General Information (Installation Option, cont.) • Read these instructions carefully and • For service convenience, a shut-off valve completely before installing the (not supplied) should be installed in the dishwasher. The installation should be supply line in a readily accessible location Verify operation of the door counter carried out by a qualified installer, who is (such as beneath the sink). -
Page 7: Electrical Connections
Hardwire Conduit Option (301 Models) Electrical Connections Grounding Instructions 4. Care should be exercised, when the appliance is installed or removed to This appliance must be grounded. In the reduce the likelihood of damage to the event of a malfunction or breakdown, power supply cord. -
Page 8: Hardwire Conduit Option (451 Models)
Hardwire Conduit Option Hardwire Conduit Option (301 Models, cont.) (451 Models, cont.) Green (Ground) White (Neutral) Black (Line) Connect ground wire. Tighten screws on strain relief. Run wire through grommet on bottom pan. Attach UL approved 3/4” strain relief (not included) to Connect wires to terminal block. -
Page 9: Trim Installation Options (451 Models)
Trim Installation Options Counter Balance Spring Adjustment (451 Models) (if necessary) Dishwasher ships with trim installed for flush install. If Disconnect cable from hook. Remove spring from dishwasher. needed, attach wiper gasket to dishwasher by pulling protective film off adhesive back. Apply behind hemmed edge of side trim. - Page 10 Installation Installation (cont.) Carefully lay dishwasher on its back and attach the kick To adjust the depth of the kick plate, loosen screws on Slide unit into opening; be sure to feed water, electrical plate brackets. Screws for the brackets will already be the bracket and position in the required depth.
-
Page 11: Final Installation
Final Installation Final Installation (cont.) Air Gap Air Gap For installation with trim, secure dishwasher by For installation without trim, secure dishwasher by (Discharge with air gap) (Discharge with food waste disposer and air gap) attaching provided mounting plugs and wood screws attaching screws through top brackets into cabinets. -
Page 12: Performance Checklist
• If the unit should need to be reset for any checks: reason, push and hold the “START” button for Contact Viking Range Corporation, 1-888-VIKING1 (845-4641), for the nearest service parts 4 seconds. distributor in your area or write to: Remove packaging and parts.


Need help?
Do you have a question about the FDB451 and is the answer not in the manual?
Questions and answers