Advertisement
Table of Contents
- 1 Important Safety Instructions
- 2 Controls and Basic Instructions
- 3 Remote Control
- 4 Quick Start Instructions
- 5 Buttons on the Remote Control
- 6 Control Button Functions
- 7 Using the Weather Center
- 8 Battery Installation
- 9 Weather Forecast
- 10 Troubleshooting and Faq
- 11 Frequently Asked Questions (Faq)
- 12 Technical Specifications
- 13 FCC Disclaimer
- Download this manual
Advertisement
Table of Contents

Related Manuals for Polaroid XSA-00770S


Summary of Contents for Polaroid XSA-00770S
- Page 1 Digital Photo Picture Frame With Built-in Weather Station User’s Manual 20070731...
-
Page 2: Important Safety Instructions
Important Safety Instructions CAUTION: These servicing instructions are for use by qualifi ed service personnel only. To reduce the risk of electric shock, do not perform any servicing other than that contained in the operating instructions unless you are qualifi ed to do so. Note: Do not touch the color TFT LCD screen by hand directly. -
Page 3: Controls And Basic Instructions
Controls and Basic Instructions on your purchase of a Polaroid digital photo frame. Please read carefully ONGRATULATIONS and follow all instructions in the manual and those marked on the product before fi rst use. Failing to follow these warnings could result in personal injury or damage to the device. Also, remember to keep this User’s Manual in a convenient location for future reference. -
Page 4: Remote Control
Set Up and Navigation Remote Control Remote Control Card Select Exit Setup Display Type Rotate Slide Show Mark Up Arrow Right Arrow Left Arrow Down Arrow... -
Page 5: Quick Start Instructions
Quick Start Quick Start Instructions 1. Plug the AC adapter into the Digital Photo Picture Frame with Built-in Weather Station and plug it into a wall outlet. 2. Insert a memory card into the slot or inset peripheral USB equipment into USB host: Memory Card Slot: Secure Digital™, MultiMedia Card™, Memory Stick™, Memory Stick Duo™... -
Page 6: Buttons On The Remote Control
Controls and Basic Instructions Set Up and Navigation Buttons on the Remote Control SETUP button Press to open menu for changing settings. CARD SELECTION button Press to choose a different memory card. EXIT button Hold down for one second to enter the on screen display menu, press again to exit. -
Page 7: Control Button Functions
Controls and Basic Instructions Control Button Functions All function settings for the Digital Photo Picture Frame can be controlled via the buttons located on the top of the frame. You will be able to access the on screen display (OSD) at any time, except when in Slide Show Mode, by simply holding down the “EXIT”... - Page 8 Controls and Basic Instructions Set Up and Navigation Control Button Functions - continued OSD Functions Note: To enter the OSD, hold the EXIT button down for one second. To exit, simply press the EXIT button. Note: The OK button has two functions: 1:Press it just for a second to confi...
-
Page 9: Using The Weather Center
Using The Weather Center Battery Installation Slide the outdoor temperature transmitter from the bracket as illustrated. Reverse the outdoor temperature transmitter. Remove the battery cover. Observe the correct polarity (+/-) and install 2 x AAA batteries. Make sure the batteries are fi... -
Page 10: Weather Forecast
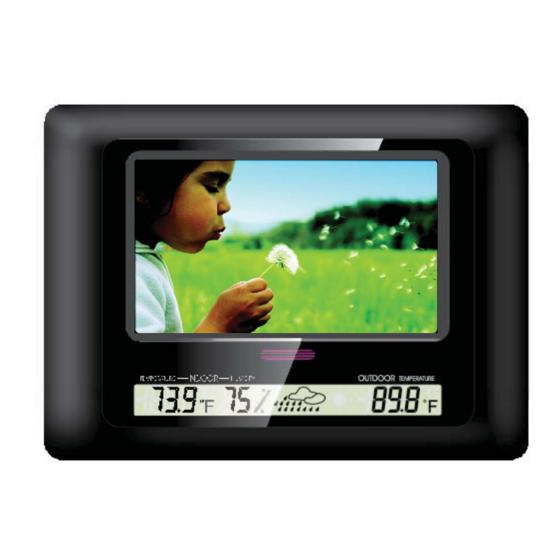
Using The Weather Center Getting Started with Fahrenheit and Celsius 1. Turn the power on the Digital Photo Frame to the “on” position. 2. The LCD screen will display Indoor Temperature, Indoor Humidity, Weather Forecast and Outdoor Temperature for 3 seconds. 3.The built-in weather station will begin to examine the indoor temperature and humidity while scan- ning the outdoor wireless signal. -
Page 11: Troubleshooting And Faq
Troubleshooting and FAQ Troubleshooting Q: I powered up the built-in weather station for about 3 minutes, but the outdoor temperature does not display. A: Normally, outdoor temperature is sensed after the built-in weather station is powered on for 3 minutes. The problem may be: 1) The emitter is too far from the receiver’s indoor location. -
Page 12: Technical Specifications
To fi nd out how to properly dispose of this product, please go to www.polaroid.com and click on “Company“ or call the customer service number for your country listed in the instruction manual.
Need help?
Do you have a question about the XSA-00770S and is the answer not in the manual?
Questions and answers