
Related Manuals for Bertazzoni K36PROX


Summary of Contents for Bertazzoni K36PROX
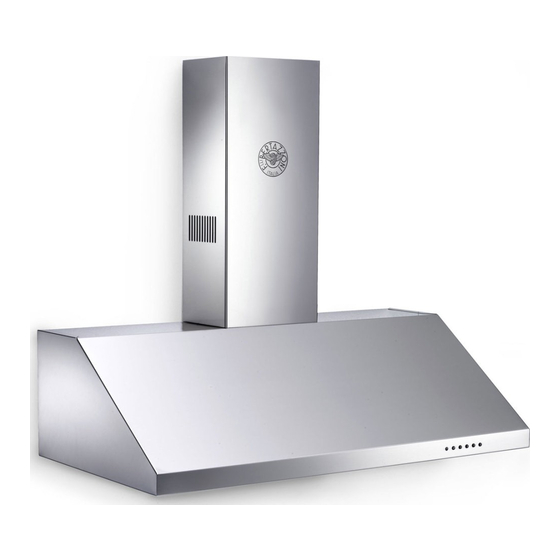
- Page 1 CAPPA CAMINO ISTRUZIONI DI MONTAGGIO CHIMNEY HOOD INSTALLATION INSTRUCTIONS HOTTE DE CHEMINÉE INSTRUCTION POUR LE MONTAGE K36PROX 10401257500...
- Page 2 FIG. 1 FIG. 3 MONTAGGIO CON STAFFA INSTALLATION WITH BRACKET MONTAGE AVEC ÉTRIER STAFFA FISSAGGIO TUBI TUBES FIXING BRACKET ÉTRIER FIXER LES TUBES FIG. 5 FIG. 6 STAFFA FISSAGGIO CAPPA HOOD FIXING BRACKET ÉTRIER FIXER À LA HOTTE FORI FISSAGGIO CAPPA Ø 8 mm HOOD FIXING HOLES DIAMETER 8mm ÉCROUS POUR FIXER LA HOTTE DE Ø...
- Page 3 MONTAGGIO SENZA STAFFA INSTALLATION WITHOUT BRACKET MONTAGE SANS ÉTRIER ÉTRIER FIXER LES TUBES STAFFA FISSAGGIO TUBI TUBES FIXING BRACKET ÉTRIER FIXER LES TUBES FIG. 7 FIG. 8 FORI PER APPENDERE LA CAPPA HOLES FOR THE HOOD-FIXING TROUS POUR ACCROCHER LA HOTTE FORI FISSAGGIO CAPPA Ø...
- Page 4 la flangia (Fig. 6/L) sull’uscita del motore. Importanti accorgimenti da seguire: 4) Agganciare la cappa alla staffa o fissare la cappa alla staffa - Non collegate la cappa a camini, tubi e condotti d’aria che tramite le viti fornite in dotazione, a seconda del tipo di staffa, servono alla stanza.
- Page 5 5 secondi. COTTURA OSSERVATE I SEGUENTI CONSIGLI: Sostituzione delle lampade A. ABBASSATE LE FIAMME con un coperchio aderente, un coperchio a rete o un vassoio metallico , poi spegnete il La vostra cappa è dotata di lampada alogena, fare attenzione fornello.
- Page 6 diameter (pict. 6/S), where the two screws with plugs have to Important safeguards be inserted (pict. 6/Q). Insure that all parts are properly fixed – Do not connect the exhaust hood to chimneys, flues and air and that it is impossible to touch moving parts. ducts serving the room.
-
Page 7: Warning - To Reduce The Risk Of Fire, Electric Shock, Or Injury To Persons, Observe The Fol- Lowing
ings: 5) CAUTION - For General Ventilating Use Only. Do Not Use To Green Light: less than 6 working hours Exhaust Hazardous Or Explosive Material And Vapors. Yellow Light: between 6 and 12 working hours 6) WARNING - TO REDUCE THE RISK OF INJURY TO PER- Red Light: more than 12 working hours (the grease filter should SONS IN THE EVENT OF A RANGE TOP FIRE, OBSERVE THE FOLLOWING a :... - Page 8 2) Fixer l’étrier au mur ( Fig. 6/A) à travers les deux vis et les Précautions importantes à suivre: deux chevilles (Fig. 6/B). Pour certain model, les vis de - Ne pas lier la hotte à cheminée, tubes et conduits d’air fixage de l’étrier peuvent être quatre.
- Page 9 peuvent s’enflammer. Chauffer lentement et à basse flamme Mode d’emploi l’huile. La hotte doit être utilisée au début de la cuisson. Avant d’utiliser B.Allumer toujours la hotte quand vous cuisinez à température la hotte, enlever toutes les feuilles de protection comme par élevée ou quand vous faites un flambé...
Need help?
Do you have a question about the K36PROX and is the answer not in the manual?
Questions and answers