Table of Contents
Advertisement
etic
1
1
United States
SALES OFFICES
DOMETIC SALES CORP.
2320 Industrial Pkwy.
Elkhart, IN 46515
Phone 219-295-5228
DOMETIC SALES CORP.
14441 Bonelli St.
City of industry, CA 91746
Phone 818-968-9431
DOMETIC SALES CORP.
1625-A Rock Mountain Blvd.
Stone Mountain, GA 30083
Phone 404-493-6214
DOMETIC SALES CORP.
7895 SW. Hunziker Rd.
Portland, OR 97223
Phone 503-620-9510
DOMETIC SALES CORP.
2920 Avenue "E" East
Alington, TX 76011
- P h o n e 817-277-72 1
DOMETIC SALES CORP.
East Oak Ridge Dr.
Rt. 9, Box I7 A
Hagerstown, MD 21740
Phone 301-797-0826
Canada
Euroclean Canada Inc.
Dometic Recreation Division
866 Langs Drive
Cambridge, Ontario
N3H 2N7 Canada
(519) 653-8880
1
Edition
Publication No.
5415-E I Service
DSC #650
RM360
RM460
SERVICE MANUAL
RM660
RM760
REFRIGERATOR
RM360
,
RM460
RM660
RM760
Advertisement
Table of Contents

Related Manuals for Dometic RM36O


Summary of Contents for Dometic RM36O
- Page 1 United States SALES OFFICES DOMETIC SALES CORP. 2320 Industrial Pkwy. Elkhart, IN 46515 Phone 219-295-5228 DOMETIC SALES CORP. 14441 Bonelli St. City of industry, CA 91746 Phone 818-968-9431 DOMETIC SALES CORP. 1625-A Rock Mountain Blvd. Stone Mountain, GA 30083 Phone 404-493-6214 DOMETIC SALES CORP.
-
Page 2: Table Of Contents
Installation Instructions for use Cabinet adjustments To change door panel Panel dimensions Replacement of door gasket Reversing outer door Replacement of evaporator door on RM360/460/660 Replacement of evaporator door gasket on RM360/460/660 The absorption cooling unit Operation analysis for cooling unit Cooling unit replacement RM360/460/660 Cooling unit replacement RM760 The gas/electric equipment... -
Page 3: Electrical Connection
The refrigerator will draw from l0-21 Amps at 12 Volt depending on model. CAUTION Do not operate the refrigerator on 12 Volt when the vehicle is parked. You will run out of battery in a rather short time. -
Page 4: Special Hints
SPECIAL HINTS The refrigerator must be installed in a sub- stantial enclosure and must be level. A spirit level is supplied with each refrigerator and by placing it in the freezer compartment one can level the refrigerator both ways front to back and side to side. - Page 5 Side Bottom 0 Rear Clearance M between the rear-most part of the refrigerator and the wall behind the refrige- rator. Clearance N on top of the condenser is related to the minimum ventilation height. See Fig. 5 and examples below.
-
Page 6: Instructions For Use
The coldest positions in the refrige- rators are underneath the cooling evaporator and at the bottom of the refrigerator, and the least cold positions are on the upper door shelves. This should be considered when different types of food are placed in the refrigerator. - Page 7 When the frozen food storage 'compartment is covered with frost the refrigerator must be shut down temporarily till the frost is melted. Before the refrigerator is restarted the compartment should be dried, the ice trays washed and re- filled with fresh water.
-
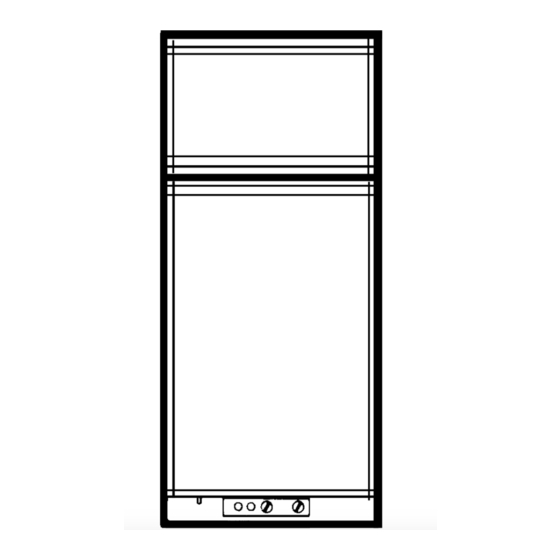
Page 8: Cabinet Adjustments
CABINET ADJUSTMENTS To change door panel The refrigerator is normally delivered without door panel(s). Before starting the mounting work check that the panel dimensions are in compliance with those given in the table and read the instructions through. When mounting the panel, proceed as follows: Remove the top decoration strip (2) with two screws (1). -
Page 9: Replacement Of Door Gasket
Replacement of door gasket (Fig. 9) 1. Pull the old gasket out from the door frame. 2. Make sure that no gasket parts are left in the groove. 3. Beginning in one of the corners, fit the new gasket by pressing it into the groove. Reversing outer door (Fig. -
Page 10: Replacement Of Evaporator Door Gasket On Rm360/460/660
The same symptom can show up with too much or too little heat input either on electric or on gas operation and also if the refrigerator had been operating in an off-level position or with inadequate ventila- tion. -
Page 11: Cooling Unit Replacement Rm360/460/660
COOLING UNIT REPLACEMENT RM360, RM460, RM660 Remove the refrigerator from its recess as follows Check that refrigerator is empty and remove ice tray. Turn off gas bottle. -
Page 12: Cooling Unit Replacement Rm760
Remove the screws (2) in fig. 14 and take away the evaporator fin. Remove the screws (3). Remove the connection block (4) cover (Fig. 15) and dis- connect the electrical wires for the heaters. Remove the grounding screw (5).(Fig. 15). Remove the flue and the flue baffle. -
Page 13: Gas Equipment Parts
THE GAS/ELECTRIC EQUIPMENT Gas equipment parts Burner tube Burner, housing Feeler point thermocouple) Flame failure safety device Bypass screw Gas/Electric thermostat Pressure test gage connection Capillary tube for thermostat Shut-off value Piezo igniter Firing tip Flue baffle Fig.20 Electric equipment parts Flexible cord Change-over switch Terminal block, 12 V D C... -
Page 14: Replacement Of Gas/Electric Equipment Complete
Replacement of gas/electric equipment complete Remove the covers by removing the screws (1). Disconnect the heater cords at the terminal blocks (note the locations for later relocation). Remove the capillary tube carefully from the evaporator. Remove the screws (2). Release the burner housing from the flue by turning the lever (3) as shown. -
Page 15: Disassembly Of Burner Jet And Burner
JET AND BURNER DISASSEMBLY OF BURNER Remove the cover removing the screw (1). Unscrew burner jet (2). Remove the burner by removing the screw (3) OPERATION ANALYSIS FOR LP GAS REFRIGERATORS S Y M P T O M C A U S E Note: It will be noted in this tabulation that several causes can be responsible for the one c .rl... -
Page 16: Operation Analysis For Refrigerators Operating On Electricity
The thermostat incorrectly used Improper storage of liquids and moist foods Leaky cabinet seals Infrequent cleaning of food compartment Refrigerator shut off with closed door Unwrapped odorous food Incomplete contact of thermostat capillary tube Lost thermostat charge Failed refrigerating unit... -
Page 17: Wiring Diagrams
200 7 3 9 0 Fig.25 Wiring Diagram for Product No. 926 63 01 Fig.26 Wiring Diagram for Product No. 926 63 02 12VOLTS DC 12VOLTS DC 115 VOLTS AC @ GREEN @ G R E E N / Y E L L O W RM760 115VOLTS A C RM760... -
Page 18: Wiring Diagrams
20075871 Product No. 926 69 01, 926 70 01, 926 71 01 W i r i n g D i a g r a m f o r Fig.27 Product N Fig.28 Wiring Diagram for 115VOLTS A C @ S W I T C H @I THERMOS TAT 8 JHEyTIRm B L O C K @ W H I T E...
Need help?
Do you have a question about the RM36O and is the answer not in the manual?
Questions and answers