Advertisement
Table of Contents
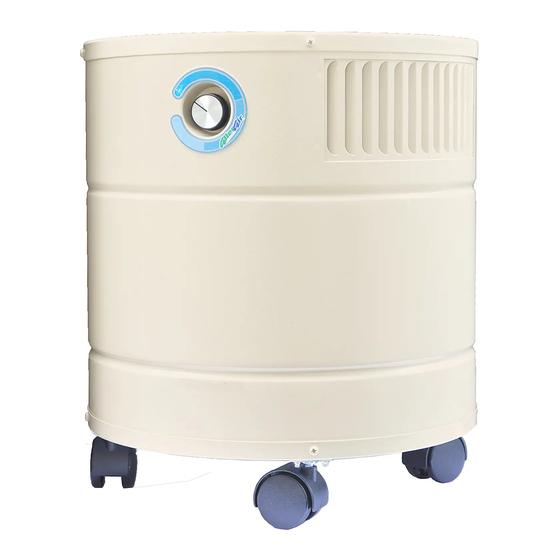
FILTER REPLACEMENT INSTRUCTIONS - 4000,5000,6000 & 8000 SERIES
REPLACE THE PRE-FILTER
STEP 1
Make sure the unit is
set to "off" and the
unit is unplugged.
Lay the unit on its side.
REPLACE CARBON & HEPA FILTERS
STEP 1
Make sure the unit is
set to "off" and the
unit is unplugged.
Lay the unit upside down,
so that the wheels face up.
STEP 5
First, remove the carbon
filter. (pull up gently by
placing thumbs on the
inner side of the filter)
Step 9
Put back the felt pad
removed in STEP 4.
AllerAir Industries Inc. Toll Free: 1888-852-8247 Fax: 1-877-688-2193 www.allerair.com
STEP 2
Slowly remove the dirty filter
to avoid dispersing its contents.
Gently insert it into a plastic bag
before discarding.
STEP 2
Using a #2 Philips screwdriver,
remove the four screws that
hold the base onto the unit.
STEP 6
Then, remove the HEPA filter
with the same technique.
Step 10
Replace the base, making sure the
arrow on the gold sticker lines up
with unit's rear seam.
STEP 3
Insert the new filter by
pressing it gently against
the sides of the carbon
filter inside the unit
STEP 3
Grasp the wheels. Remove
the base by pulling gently
on the wheels
NEW
HEPA
STEP 7
Now, gently insert the new
HEPA filter.
Step 11
Replace the four screws.
These replacement filters will
extend the life of your AllerAir
unit. Please be sure to follow
the instructions for changing
the filters in your unit.
We recommend changing pre-
filters every two months, HEPA
filters every three to five years,
and carbon filters every two
years.
STEP 4
Reach inside the unit, and
remove the felt pad.
NEW
CARBON
STEP 8
Then, insert the new
carbon filter into the unit.
Step 12
Turn the unit back onto its
wheels. It is now ready for use.
Advertisement
Table of Contents


Need help?
Do you have a question about the 5000 Series and is the answer not in the manual?
Questions and answers