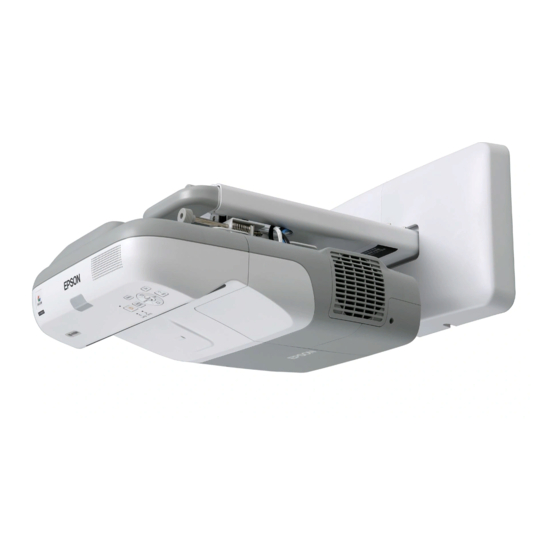
Epson BrightLink 455Wi User Manual
User's guide - using easy interactive tools for mac os
Hide thumbs
Also See for BrightLink 455Wi:
- User manual (204 pages) ,
- Quick manual (84 pages) ,
- Installation manual (60 pages)
Advertisement
Quick Links
Using Easy Interactive Tools for Mac OS
After you download and install Easy Interactive Tools, you can use the pens included with your BrightLink
projector to write or draw on the projection surface.
Note:
Easy Interactive Tools are not required for using the interactive features of the projector. You can use TeamBoard Draw
or other annotation software.
Introduction
You can use the tools in two different modes: interactive (transparent background) and
whiteboard (white background).
■
In interactive mode, the toolbox appears on the projected image and lets you annotate
whatever is displayed from your computer. You can also use the pen as a mouse to open
applications, access links, and operate scroll bars, for example.
■
In whiteboard mode, the toolbox appears on a blank white surface. You can write or draw
with the pen and save your pages.
1. To start Easy Interactive Tools, select
. You see the toolbox on your desktop, as shown on the right.
Interactive Tools
2. To quit, select the Easy Interactive Tools menu and select
>
Applications
Easy Interactive Tools
Quit Easy Interactive Tools
™
>
Easy
.
1
Advertisement

Related Manuals for Epson BrightLink 455Wi


Summary of Contents for Epson BrightLink 455Wi
- Page 1 Using Easy Interactive Tools for Mac OS ™ After you download and install Easy Interactive Tools, you can use the pens included with your BrightLink projector to write or draw on the projection surface. Note: Easy Interactive Tools are not required for using the interactive features of the projector. You can use TeamBoard Draw or other annotation software.
- Page 2 Using Interactive Mode (Transparent Background) When you first open Easy Interactive Tools, you are in interactive pen mode, which lets you use your interactive pen to draw or annotate on the applications or images on the screen. You see the toolbox: Hide toolbox Draw free-form lines Erase...
-
Page 3: Entering Text
Mac OS tools (continued) Icon Description Tap and drag the slider to select the line width for circles, rectangles, lines, and the eraser. This also affects the font size of the text you enter into the text input box. Select the line color (upper box) and fill color (lower box) for circles, rectangles, and lines. See page 5 for more information. - Page 4 Note: If the keyboard does not appear, you may need to follow these steps to activate it: 1. Open the Apple menu and select System Preferences 2. Select , then select the tab. Language & Text Input Sources 3. Select , then scroll down if necessary and select Keyboard &...
- Page 5 ■ Use the options on the upper part of the menu to search on the text, look it up in a dictionary, or cut, copy, and paste it. ■ Use the options on the lower part of the menu to change the font, check spelling and grammar, or change the capitalization of the text.
- Page 6 After you select a color that you like, you can drag it from the color bar at the top to one of the squares at the bottom of the dialog box. This allows you to save favorite colors for later use. More squares are available; you can save up to 300 colors.
-
Page 7: Saving Your Pages
Your captured screen image is saved in the location you selected, with an automatically generated filename based on the current date and time, for example: image20101005132629 seconds month hour prefix year minutes 5. Select to confirm. © 2010 Epson America, Inc. 12/10 CPD-33642 Defining Line and Fill Color...
Need help?
Do you have a question about the BrightLink 455Wi and is the answer not in the manual?
Questions and answers