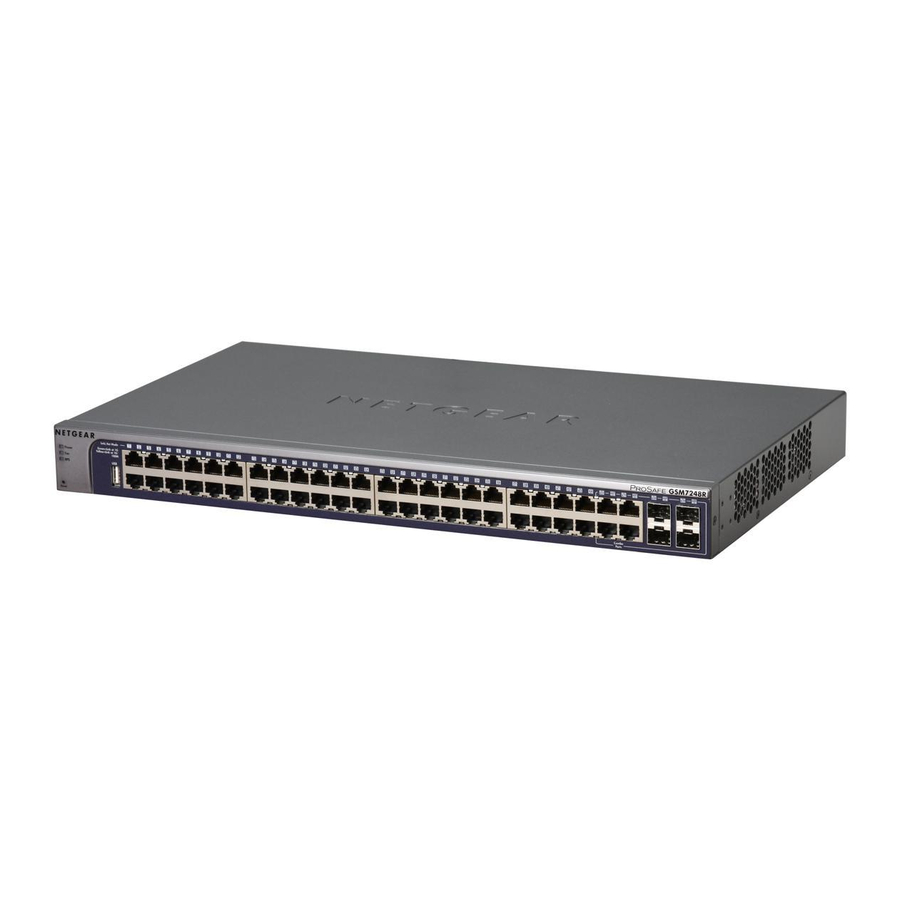
NETGEAR GSM7248R Supplement Manual
Shared access to the internet across multiple routing vlans using a prosafe firewall
Hide thumbs
Also See for GSM7248R:
- Command line interface reference manual (394 pages) ,
- Hardware installation manual (34 pages) ,
- Supplement manual (10 pages)
Table of Contents
Advertisement
Quick Links
FSM73xx GSM73xx GMS72xxR - Shared access to the Internet across
Multiple routing VLANs using a Prosafe Firewall
This document describes how to:
-
Create multiple routing VLANs
-
Obtain Internet access on multiple VLANs using one Internet gateway
The procedure described can apply to most Layer 2 and Layer 3 Switches and VPN Firewall with new
Web Interface (defined as the one with the Menus appearing horizontally on top).
Hardware differences among different models must be taken in consideration.
NOTE:
This document is not intended to illustrate how to perform full Layer3 separation, for which Access
Control Lists (ACLs) should be used.
Table of Contents
VLAN-Definition ................................................................................................................ 2
Notes when setting-up VLANs ....................................................................................... 2
1 - Physical Setup ............................................................................................................ 3
2 - Logical Setup .............................................................................................................. 3
3 - Configuring the Switch management IP address .................................................. 4
4 - Creating a routing VLAN ........................................................................................... 6
5 - Remove ports' VLAN membership .......................................................................... 8
6 - Enable DHCP and create a DHCP pool per VLAN ............................................. 10
8 - Configuring the switch default route ..................................................................... 14
9 - Configuring static routes on the Internet Default Gateway ............................... 16
10 - Saving the configuration ....................................................................................... 17
Advertisement
Table of Contents

Subscribe to Our Youtube Channel
Related Manuals for NETGEAR GSM7248R


Summary of Contents for NETGEAR GSM7248R
-
Page 1: Table Of Contents
FSM73xx GSM73xx GMS72xxR – Shared access to the Internet across Multiple routing VLANs using a Prosafe Firewall This document describes how to: Create multiple routing VLANs Obtain Internet access on multiple VLANs using one Internet gateway The procedure described can apply to most Layer 2 and Layer 3 Switches and VPN Firewall with new Web Interface (defined as the one with the Menus appearing horizontally on top). -
Page 2: Vlan-Definition
VLAN-Definition VLANs are logical subgroups within a Local Area Network (LAN), which combine user stations, and network devices into a single unit, regardless of the physical LAN segment to which they are attached. VLANs allow network traffic to flow more efficiently within subgroups. VLANs use software to reduce the amount of time it takes for network changes, additions, and moves to be implemented. -
Page 3: Physical Setup
1 - Physical Setup 1x GSM7352S Prosafe Layer3 - Firmware 7.2.1.6 3x Windows XP Computers (1 on each VLAN) 1 x Prosafe Firewall Router DGFV338 2 - Logical Setup DGFV338: LAN IP 192.168.2.254/24 DHCP enabled (192.168.2.0/24, DG 192.168.2.1, DNS 192.168.2.254) Static routes: 192.168.3.0 255.255.255.0 192.168.2.1 192.168.4.0 255.255.255.0 192.168.2.1... -
Page 4: Configuring The Switch Management Ip Address
3 - Configuring the Switch management IP address The Management IP address (by default on VLAN1) can be setup using the CLI (Command Line Interface). The CLI should be access via HyperTerminal (or similar applications) using the Console cable included in the box. ----------------------------------------------------------------------------------------------------------------------------- ---- User: admin Password:... - Page 5 When a Management IP address is configured, the Web Interface of the switch can be accessed. It will possible to modify the Management IP configuration via System – Management – IP configuration including the IP address, Subnet Mask, Default Gateway and Management VLAN...
-
Page 6: Creating A Routing Vlan
4 - Creating a routing VLAN To create routing VLANs access the VLAN Routing Wizard via Routing VLAN. 1) Type the VLAN ID (in the example the VLAN ID is 2) 2) Specify the IP address (192.168.2.1) and the subnet mask (255.255.255.0) 3) Expand the Port list by clicking on Unit 1 4) Select the correct option for each port that will be member of the VLAN Three options are available:... - Page 7 Once all the relevant VLANs have been added – a summary can be found in the VLAN routing section of the menu. In this case VLAN 2, 3, and 4 have been added to the configuration. A new Virtual port is assigned to each VLAN.
-
Page 8: Remove Ports' Vlan Membership
5 - Remove ports’ VLAN membership To remove port memberships from a VLAN, the VLAN configuration must be accessed via Switching – VLAN – VLAN Membership. In order to remove a port from the VLAN memberships just continuously click on the gray box underneath the port number, until no symbol appears as in the picture below. - Page 9 In this scenario we require to remove from VLAN1, membership to those ports that appear in any of the other VLANs to ensure total VLAN separation. When setting a routing VLAN the PVID (Port VLAN ID) is automatically set to the VLAN ID. This can be confirmed using the Port PVID Configuration page.
-
Page 10: Enable Dhcp And Create A Dhcp Pool Per Vlan
6 - Enable DHCP and create a DHCP pool per VLAN The DHCP server can be enabled via the System – Services – DHCP Server Configuration page. To create a new DHCP pool, access the DHCP Pool Configuration page: 1) Select the Pool name - for ease of configuration this might be same as the VLAN name if the pool will be associate t a VLAN... - Page 11 2) Specify the Network number (subnet address), Subnet mask , Default router and DNS Server The association between a DHCP pool and a VLAN will be on the basis of the IP address assigned to the VLAN itself and the subnet mask. Therefore if it is required to associate a DHCP Pool to a VLAN ensure that the IP address assigned to the VLAN falls within the network number (or subnet) specified in the pool.
- Page 12 7 – VLAN routing By default RIP is enabled on the Layer 3 switches. RIP can be disabled on all the ports via Routing – RIP – RIP configuration or alternatively it can be disabled on a per port basis , including the VLAN virtual ports. The picture below shows RIP enable on all the Virtual ports associated to each of the VLAN created and the Link State for each port as “Link Down”.
- Page 13 The next picture shows that at least one device has been connected to one of the ports in VLAN 2 (Interface 0/2/1) and VLAN 4 (Interface 0/2/3) changing the Link state to “Link up”.
-
Page 14: Configuring The Switch Default Route
8 – Configuring the switch default route Although RIP is enabled by default, this is not necessary for routing to take place and can be disabled. When creating a routing VLAN a static route is added to the Layer 3 switch routing table A summary of the routes can be found in Routing –... -
Page 16: Configuring Static Routes On The Internet Default Gateway
9 – Configuring static routes on the Internet Default Gateway In order to ensure the Internet Gateway is aware on how to return traffic to devices in VLAN not directly attached to it, static routes must be configured for each VLAN. The following two pictures provide a summary of how this is achieved on the DGFV338 via the Network Configuration –... -
Page 17: Saving The Configuration
10 – Saving the configuration The switch does not save the configuration automatically every time a change is performed, either via the CLI or the WEB GUI. It is necessary to force the saving, which can be achieved via Maintenance – Save Config...
Need help?
Do you have a question about the GSM7248R and is the answer not in the manual?
Questions and answers