Advertisement
Installation and connection


Professional installation Recommended. Turn off the power to your existing light fixture first.
Wall Mount


Eave Mount


Remove the existing light

H05RN-F 3G1.00mm2


Wall Mount

Eave Mount

Wall Mount

Eave Mount


The pressing plate should be over the cable insulation, and not over the individual wires.
Please follow standard electrical code in your country. Depending on the age of the home, the wires may not match the colours shown below. Consult an electrician if you are unsure.

Attach each wire and tug individually to ensure they are secure.

Tighten the pressing plate over the cable insulation.

Hang the camera using the strap. Loop the plastic buckle onto the mounting hook. Make sure it is secure before letting go.

Connect each wire from the camera to the terminal block. Tug each wire individually to make sure they are secure.

Route the wires from the light fixture along the right side of the mounting plate. Slide the camera onto the mounting bracket, but do not force. Check the cables are not caught. Remove the reversible bit from the included screwdriver and use the handle to tighten the hex cap nuts.

Restore power at the consumer unit.
Safety Instructions


Risk of electrical shock.
Installation by a qualified electrician may be required in your area. Refer to your local laws and building regulations before performing electrical work; permits and/or professional installation may be required by law.
- Turn off power at the consumer unit before installing.
- Verify that the supply voltage is correct. Connect fixture to a 100~240 VAC 50/60 Hz power source.
- The Earth wire must be connected to the light fixture. DO NOT INSTALL if a working earth connection is not available.
- Do not connect this light fixture to a dimmer switch or timer.

Risk of fire.
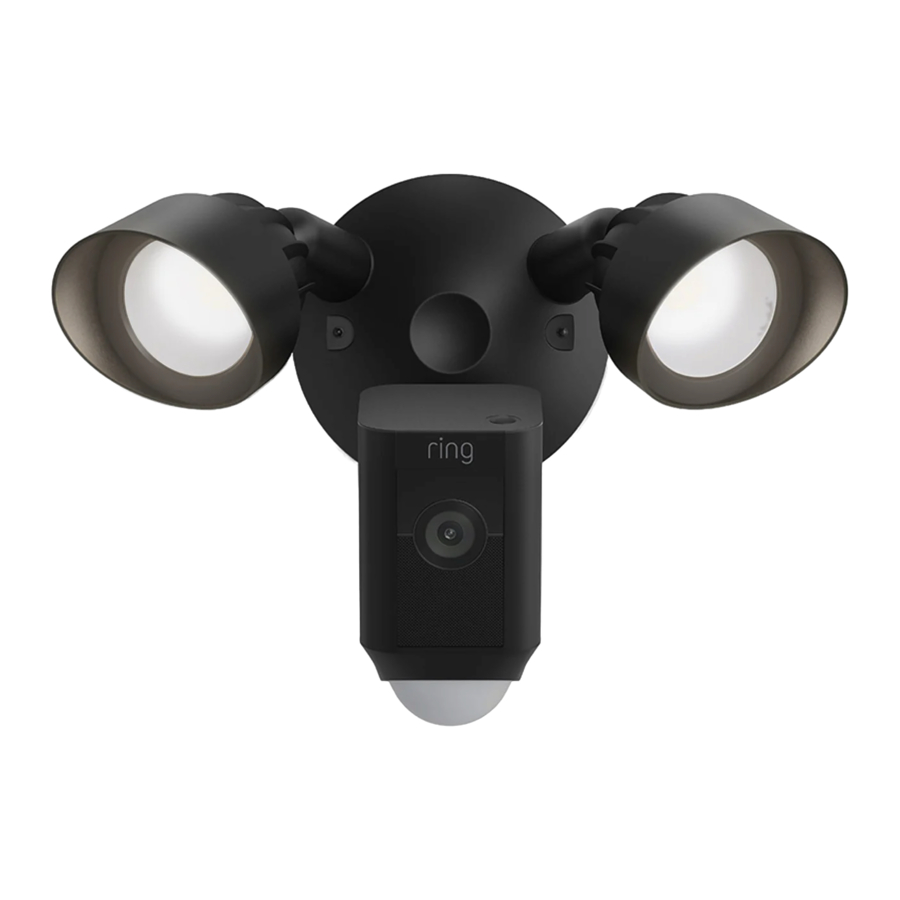
Do not install near combustible or flammable surfaces. Floodlight Cam must be installed on a wall or eave.
Documents / ResourcesDownload manual
Here you can download full pdf version of manual, it may contain additional safety instructions, warranty information, FCC rules, etc.
Advertisement


Need help?
Do you have a question about the Floodlight Cam Plus and is the answer not in the manual?
Questions and answers