Honeywell Home RDWL313A2000 Manual
- Installation and operation manual (25 pages)
Advertisement
Preparation
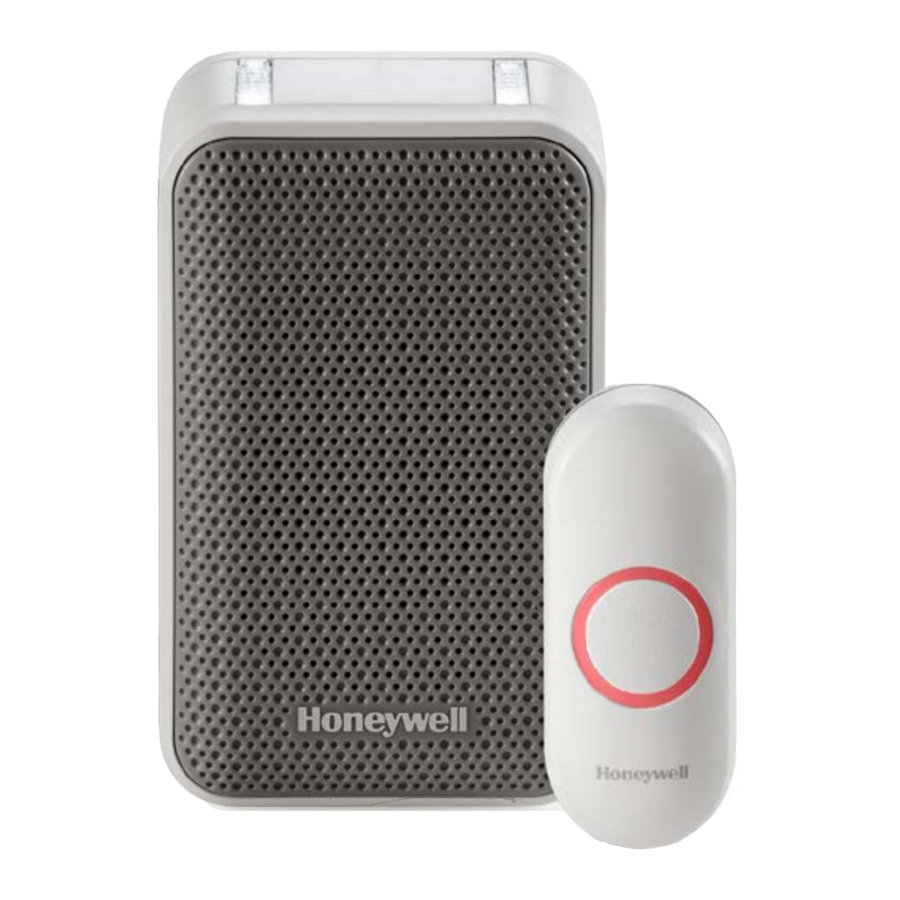
In the box you will find

To install you will need

The push button supplied with this kit is pre-programmed to operate with the doorbell.
If it is not, see "Connect a Push Button".
Overview
Just follow these simple steps:
- Install batteries.
- Set up the doorbell and your preferences.
- Install the doorbell and the push button.
Safety
Before proceeding with the installation, please note the following safety warnings:
- Always follow the manufacturer's advice when using power tools and wear suitable protective equipment (e.g. safety goggles) when drilling holes, etc.
- Before drilling holes in walls, check for hidden electricity cables and water pipes. The use of a cable/pipe locator is advisable if in doubt.
Install Batteries

- Open the battery cover and install 4 AA alkaline batteries.
- Open the battery cover and install the CR2032 battery.
Setup and Operation
Press the push button to test whether it is paired with the doorbell. The doorbell will light up and ring. If it does not, see "Connect a Push Button".
Change the Tune
Press the Music button to change the doorbell tune.
Every time you press the Music button, the tune will change. Stop pressing the Music button when you hear the tune you want:

Ding Dong
Westminster
Piano
Fantasy
Soft Alert
Smart Sax
Change the Light Setting

Press the Sunlight button to change the lights that flash when the doorbell rings.
Press the Sunlight button

Adjust the Volume

Press the Volume Up or Volume Down buttons to adjust the volume of the Doorbell.
Installation
Choose a location that is not near a heat source or on something that moves (like a door). For non-mounting locations, choose a place where the doorbell will be easy to see and hear.

Install Doorbell
If you are not mounting the doorbell to the wall, place it where you want it.
- Screw the doorbell wall mounting bracket to the wall using the included screws and anchors (if necessary).
![]()
- Hang the doorbell on the mounting bracket. Drill 1/4 inch holes for the anchors.
![]()


Install Push Button

- Mount the push button bracket in the desired location. Use the screws
–OR–
Use the adhesive backing. If using the adhesive backing, clean the surface first. - Snap the push button onto the mounting bracket.
 Note: If you need to remove the push button, use a small screwdriver to release the tab.

Accessories

You can connect up to 4 accessories to your doorbell, including other push buttons, window or door opening sensors, and motion sensors.
If you try to connect more accessories than the max number, the LED on the side blinks red.
Connect a Motion Sensor

- Press and hold the Setting button on the doorbell for three seconds. The LED on the side turns on with an amber color.
- Within 20 seconds of pressing the Setting button, wave or make some other kind of motion in front of the motion sensor.
Connect a Push Button
Follow these steps to change the ring and light setting for an existing doorbell, too.
- Press and hold the Setting button on the doorbell for three seconds. The LED on the side turns on with an amber color.

- Press the push button.
- Within 12 seconds of pressing the push button, press the Music button to select the ring for that push button.
- Within 12 seconds of pressing the doorbell, press the Sunlight button to select a light setting for that push button.


Secret Knock
You can set up a Secret Knock that makes a different ring and light setting for each push button. The Secret Knock is triggered by pressing the push button quickly 3 times.
- Press the push button 3 times quickly.
- Within 12 seconds of pressing the push button, press the Music button to select the ring for the Secret Knock.
- Within 12 seconds of pressing the push button, press the Sunlight button to select a light setting for the Secret Knock.
Maintenance
Your doorbell and push button require no maintenance except to periodically change the batteries.
If using the correct batteries, battery life should be approximately:
- Up to 2 years for the doorbell; replace with4 AA alkaline batteries
- Up to 2 years for the push button; replace with aCR2032 lithium battery
Low Battery Notification
When the doorbell batteries are low, the LED on the side turns on.
When the push button batteries are low, two beep sounds are heard after the normal tune.
Reset
This process removes all pairings, including the push button that came with this doorbell:
- Remove the doorbell battery.
- Press and hold the Setting button, and replace the battery at the same time.
- The doorbell will beep several times rapidly, and is returned to its factory default settings.
Specifications
| Doorbell | Push Button | |
| Operating Temperature | 23°F to 104°F (-5ºC to 40ºC) | -4°F to 122°F (-20ºC to 50ºC) |
| Honeywell ActivLink™ | 916.8 MHz | 916.8 MHz |
| Range (open field) | 250 ft. (76 m) | 250 ft. (76 m) |
| Sound Level (typical) | 87dBA | - |
| RF Power | - | <1.2W |
| Battery Type | AA cell alkaline (x 4) | CR2032 |
| Battery Life (5 activations/day) | Up to 2 years | Up to 2 years |
| Rain proof | N/A | Pass UL1598 rain test. |
Troubleshooting
| If | Then |
The doorbell does not work |
|
Two 'beep' sounds are heard after the normal tune | Replace push button battery with a new CR2032. |
The LED on the side turns on | Replace doorbell batteries with 4 new AA alkaline batteries. |
Range is reduced |
|
For help please visit yourhome.honeywell.com or call 1-800-468-1502.
If you have any questions concerning warranty, please write Honeywell Customer Care, 1985 Douglas Dr, Golden Valley, MN 55422 or call 1-800-468-1502.
Documents / ResourcesDownload manual
Here you can download full pdf version of manual, it may contain additional safety instructions, warranty information, FCC rules, etc.
Advertisement


Need help?
Do you have a question about the RDWL313A2000 and is the answer not in the manual?
Questions and answers