Advertisement
In tne box

STOP: READ THIS BEFORE USING YOUR CHOCOLATE PEN.
The Chocolate Pen™ requires adult assembly. To ensure the best experience, it's advisable to prep the pen before use.
Assemble the tools you'll need to enjoy your Chocolate Pen™:
- 2 AAA Batteries
- 2 AMP USB Charging Block
- Small Phillips Head Screwdriver
- Large Bowl
- Wax or Parchment Paper
NOTE: If packaging or Confectionery Candy is damaged, please do not use. Please contact customer service for replacement.
- Adult supervision & participation is required.
- Please retain all packaging & instructions for future reference. They contain valuable product information.
- Remove all packaging before giving this product to a child.
- An adult should check toy to ensure there is no damage.

CHOKING HAZARD- Small parts. Not for children under 3 years.
Batteries & Controls
- Unscrew battery cover using a Phillips head screwdriver (not included).
- Install 2 new "AAA" (LR03) UM4 alkaline batteries in the orientation shown.
- Replace battery cover and tighten screws to close.

USB charging block not included. For best results, a 2 Amp block is highly recommended.


ALKALINE BATTERY CAUTIONS
- Do not use rechargeable batteries.
- Non-rechargeable batteries are not to be recharged.
- Different types of batteries or new and old batteries are not to be mixed.
- Batteries are to be inserted using correct polarity.
- Remove exhausted batteries as soon as possible and discard properly.
- Remove all batteries from compartment if toy is not used for a long period.
- The supply terminals are not to be short-circuited.
- Never throw batteries in a fire or attempt to open the outer casing.
![]()
Batteries are harmful if swallowed. Please keep away from children.
Want to Make More?
Chocolate Pen Refill may be purchased online through your favorite retailers.
You may also purchase from https://support.skyrocketon.com

- Use Chocolate Pen™ as instructed.
- Wash hands before use.
- Wash all parts by hand thoroughly before use, refer to cleaning information.
- Do not let water touch the confectionery candy, as this will prevent hardening.
- Adult should supervise melting the confectionery candy and pen use.
- Have adult check the temperature of water before melting confectionery candy.
- Do not heat confectionery candy in a microwave or an oven.
- Do not heat any components in a microwave or an oven.
- Melted candy may be HOT. Avoid contact with skin.
- Avoid getting candy in eyes. Rinse eyes with water and seek medical attention if necessary.
- Candy might stain clothing, furniture, or carpeting, please use with caution when using the pen.
- Store in cool dry place.
- Store homemade pen "treats" in a sealed container, or re-sealable plastic bag.
- Results will vary from product images depending on age and skill level.
- Confectionery candy pouches inside not labeled for retail sale.
- Toy parts made and assembled in China.
CLEAN THOROUGHLY BEFORE AND AFTER USE
- DO NOT SUBMERGE PEN, OR WARMER IN WATER.
- Wash all parts with damp sponge and mild soap before use.
- Do not use harsh chemicals to clean pen.
- Do not wash in dishwasher.
- Non-electrical parts that are covered with hardened candy can be pre-soaked with warm water to loosen candy before cleaning.
- Make sure pen and all components are completely dry before using.
Preparation
ADULT SUPERVISION REQUIRED
- Assemble & plug in.
![]()
Warmer should only be used with tray. Never pour anything directly into warmer without tray.

- LED will light up and/or blink as tray warms.

- Place pouch of candy into warm water. Knead until melted.

- Open pouch and squeeze melted candy into tray.

- Stir and gently tap side of tray to remove air bubbles.

- Add other colors and cover with lid to keep melted.


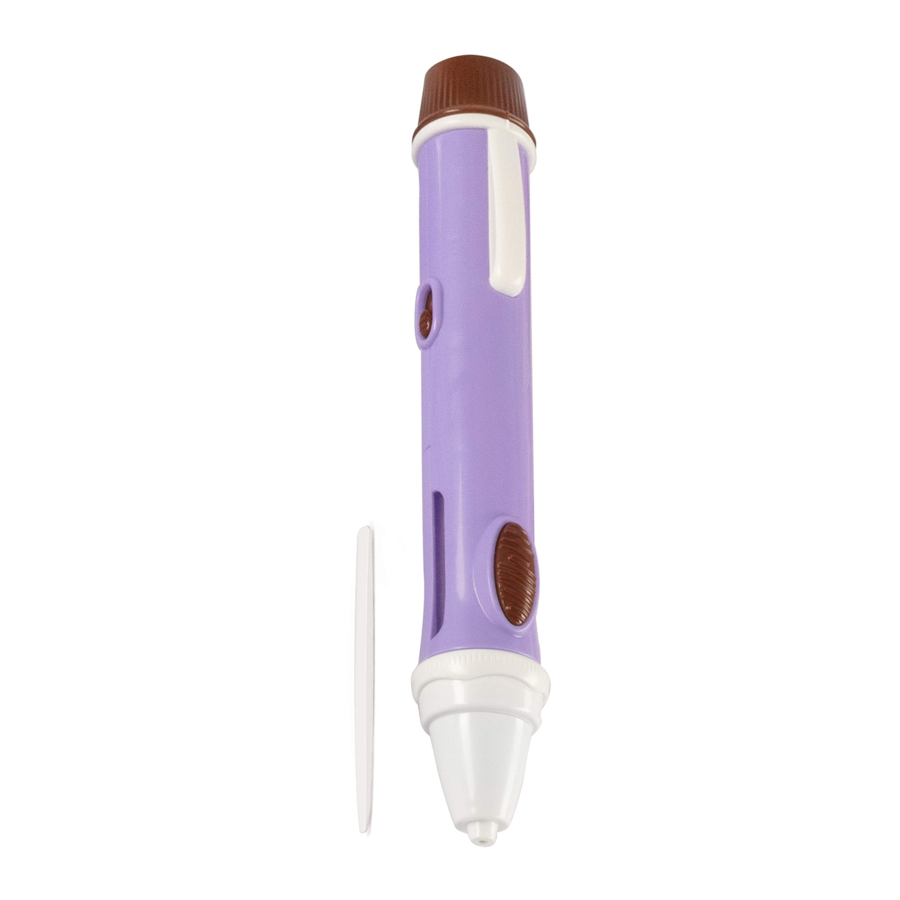
Assembly & Filling Pen
- Slide plunger into pen, then slide cartridge over tip of plunger.

- Cover with pen door, then lock in place with retainer ring.

- With pen in draw mode, press draw button until plunger moves all the way to tip.

- Stir to ensure candy is fully melted and gently tap on side of tray.

- Dip pen into deep end of desired color.

- Push switch up to start auto-fill cycle.

- Gently stir & tap side of tray while keeping tip submerged to avoid sucking air.

- Watch pen filling through window gauge

- Pen will automatically CLICK off when full.

- Push switch down (draw mode) to end auto-fill cycle

- Wipe tip clean with damp cloth and snap on drawing tip.


To ensure there are no air bubbles:

- Point pen upwards
- Tap gently against table
- Tap draw button until all air is out & you see chocolate.
TIP: Start drawing immediately! Candy will harden within approx 10 minutes of removal from tray.
Molding & Drawing
- Press draw button to make candy flow from pen.

- Use the pen to draw shapes. Use Stir Stick for fine details.

- Fill remainder of shape with a different color. (See changing colors on next page)

- Draw pictures on squares of wax or parchment paper.

- Place designs in refrigerator and allow them to harden.

- After design has hardened, carefully peel back paper.


Changing Colors or Removing Hardened Candy
Changing Colors
Drain color back into warming tray, disassemble & wipe parts clean with cloth. Refill with new color!

- If candy hardens, pen will stop working.

- Disassemble and pull cartridge and stuck plunger from pen.

- Seal into locking bag and place in warm water for 1 minute.

- Remove from bag, then free candy from cartridge with stir stick.

- Seal candy into bag and follow preparation steps 3-6.


#ChocolatePen
FOR A HOW-TO VIDEO please visit: www.chocolate-pen.com
Documents / ResourcesDownload manual
Here you can download full pdf version of manual, it may contain additional safety instructions, warranty information, FCC rules, etc.
Advertisement


Need help?
Do you have a question about the Chocolate Pen 18193 and is the answer not in the manual?
Questions and answers