Advertisement
Quick Links
Advertisement

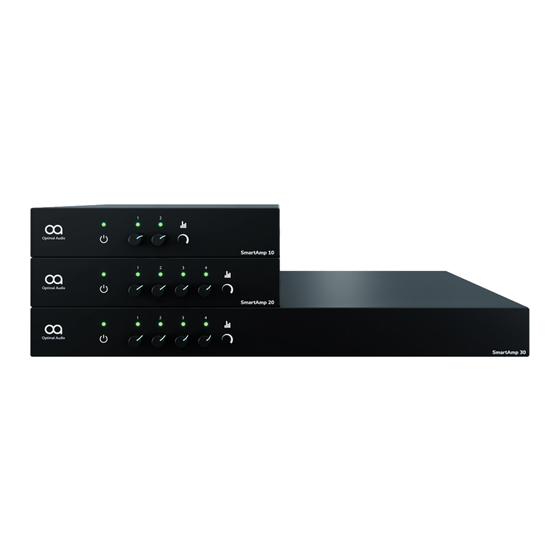
Related Manuals for Optimal Audio SmartAmp 30


Summarization of Contents
Important Information
Firmware Update Check
Check for the latest firmware update prior to installing SmartAmp for optimal performance.
Installation of the Firmware Update Tool
Update Tool Launch and Search
Locate and run the SmartAmp Firmware Update Tool; it searches for the product.
Start using your SmartAmp
Initial Setup and Connectivity Guide
Connect speakers, power up the amplifier, and adjust volume for operational status.
Powering Up
Connecting to Mains Power
Connect the amplifier to a switched mains supply; it operates upon power connection.
Rear Panel Connections & Controls
SmartAmp 10 Rear Panel Overview
Details the maintenance, DIP switches, GPIO, and input/output connections for SmartAmp 10.
SmartAmp 20 & 30 Rear Panel Overview
Details connections for SmartAmp 20 and 30, including input/output and AC mains.
Input Connections
Euro Block Input Connector Setup
Connect balanced, line-level signals using two-core, screened signal cable via Euro Block connectors.
Loudspeaker Outputs
Low-Z and Hi-Z Output Configuration
Configure output impedance (Low-Z or Hi-Z) using Euro Block connectors and DIP switches.
Dip Switches
Speaker Configuration Presets
Set dip switches one to five based on loudspeaker type for SmartAmp 10, 20, and 30.
Dip Switches six and seven
Dip Switch Eight: Input Sensitivity
Configure input sensitivity for Optimal Audio Zone or third-party systems using Dip Switch 8.
GPIO (General Purpose In/Out) Connections
GPIO Pin Functions and Control
Utilize GPIO pins for remote control of parameters like gain and mute.
Installation & Rack Mounting
Rack Mounting Hardware Options
Overview of hardware kits (A, B) and wall mount for rack and surface installation.
SmartAmp 20 Rack Mounting
Specific Rack Fittings for SmartAmp 20
Details rack installation for SmartAmp 20 using extension pieces and optional rear support.
Free-standing and Unit Coupling
Unit Coupling and Free-standing Setup
Describes coupling units and free-standing placement with adhesive feet.
Maintenance
Fan Filter Cleaning and Servicing
Minimal maintenance required; clean fan filters periodically to prevent overheating.
Appendix A
Single Half Rack Unit Mounting
Details hardware for mounting a single half-rack unit.
Two Joined Half Rack Units Mounting
Details hardware for coupling two half-rack units together.
Appendix B
Rack Kit B Installation Details
Describes the front and back installation of Rack Kit B for rear support.
Appendix C
SmartAmp Wall Mount Installation
Details the wall mount bracket and screws for securing the amplifier to walls.
Important Safety Instructions
Safety Precautions and Warnings
Essential safety guidelines including electrical shock, ventilation, and general handling precautions.
FCC Compliance
FCC Regulatory Information
Details FCC compliance statements and potential interference guidelines for the device.
Need help?
Do you have a question about the SmartAmp 30 and is the answer not in the manual?
Questions and answers