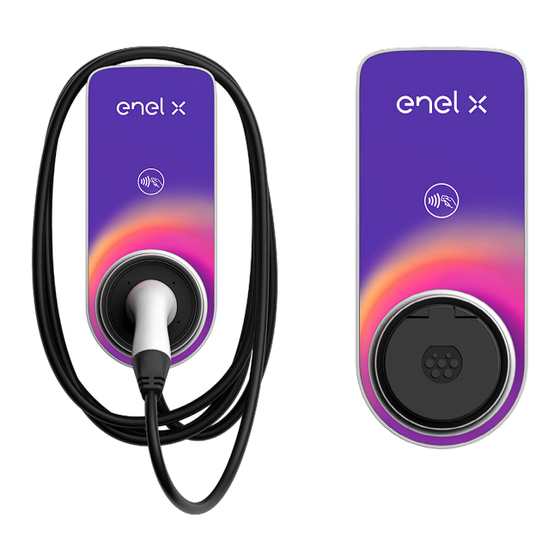
Table of Contents
Advertisement
Quick Links
Advertisement
Table of Contents

Summarization of Contents
Product Specifications and Dimensions
Product Characteristics
Details output power, input voltage, charging mode, LED, protection, temperature, and certifications.
Product Dimensions
Provides detailed measurements for the wall frame and JuiceBox in socket and cable versions.
Installation Procedure
Initial Cable and Seal Block Preparation
Ensure cable is de-energized and prepare the seal block for wire entry.
Seal Block Fastener Adjustment
Loosen and adjust fasteners securing the seal block using specified tools.
Wire Routing and Seal Management
Remove seals from the seal block and route input wires into the wall frame.
Input Wire Sealing Procedure
Route input wires through the appropriate seals for proper connection.
Internal Wire Routing into Enclosure
Route wires into the partition and top section of the enclosure.
Continued Internal Wire Routing
Continue routing wires through the partition into the top enclosure section.
Final Internal Assembly and Ferrite Application
Reinstall seals, tighten fasteners, and apply ferrite around input wires.
Wall Frame Mounting Preparation
Position wall frame, mark drill points, drill holes, and install wall anchors.
Wall Frame Mounting and Terminal Block Wiring
Secure wall frame and connect input wires to the terminal block.
Terminal Block Securing and OptoMOS Connection
Secure the terminal block and connect optoMOS board wires as shown.
External Antenna and OptoMOS Connection
Connect external antenna coaxial cable and optoMOS board connection cable.
Final JuiceBox Mounting and Power-Up
Mount the JuiceBox to the wall frame and verify LED status after energizing.


Need help?
Do you have a question about the JuiceBox Plus and is the answer not in the manual?
Questions and answers