Table of Contents
Advertisement
Quick Links
OPERATION and MAINTENANCE MANUAL
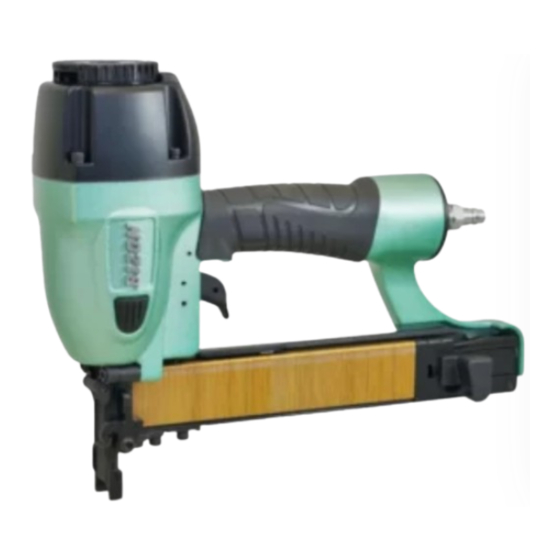
□ MODEL: BIZON 14 / 40-B74
□ MODEL: BIZON 14 / 50-B81
16GA. MEDIUM CROWN STAPLER
△
WARNING:
,!
BEFORE OPERATING THIS TOOL, ALL OPERATORS SHOULD STUDY MANUAL TO UNDERSTAND AND FOLLOW
THE SAFETY WARNINGS AND INSTRUCTIONS. KEEP THESE INSTRUCTIONS WITH THE TOOL FOR FUTURE
REFERENCE. IF YOU HAVE QUESTIONS, CONTACT YOUR DISTRIBUTOR.
2022/06
Advertisement
Table of Contents

Related Manuals for Bizon 14/50-B81

Summarization of Contents
Introduction and Specifications
Introduction
Overview of the pneumatic tool's design and intended use.
Tool Specifications
Details on model, length, width, height, weight, and load capacity.
Fastener Specifications
Information on staple model, crown size, width, thickness, and length.
Tool Air Fitting
Specifies the type of air fitting required for the tool.
Operating Pressure
Recommended operating pressure range for optimal fastener performance.
Safety Instructions
Wear Eye and Hearing Protection
Always wear hearing and eye protection devices, including side shields.
Tool Usage Purpose
Use the tool only as intended; do not misuse it for other purposes.
No Horseplay With Tool
Do not treat the tool as a toy; never point it at people, even if unloaded.
Never Assume Tool is Empty
Always check the magazine; never point the tool at anyone, as unseen fasteners could fire.
No Locked Trigger
Never tamper with the trigger to keep it in a locked or operating position.
Loading Safety
Disconnect air line and do not depress trigger/contact element when loading fasteners.
Operate Only on Workpiece
Operate the tool only when in contact with a workpiece to prevent accidental firing.
Do Not Disable Work Contacting Element
Never disable or remove the work contacting element; it prevents accidental firing.
Disconnect When Not in Use
Disconnect tool from air line when not in use or leaving the work area.
Carry Only By Handle
Always carry the tool by the handle only, not by the air hose or depressed trigger.
Do Not Weaken Tool Housing
Never weaken the tool housing, as it is a pressure vessel.
Disconnect for Repairs/Jams
Disconnect tool from air line and remove fasteners before repairs or clearing jams.
Use Proper Air Fitting
Use only MALE pneumatic type air connectors to vent pressure when disconnected.
Do Not Exceed Max Air Pressure
Operate tool only at recommended air pressure; check gauge regularly.
Keep Tool Clean and Lubricated
Clean the tool at least daily and lubricate as required; never operate a dirty tool.
Use Recommended Parts and Fasteners
Use only specified parts and fasteners; unauthorized items create danger.
Air Systems
Indoor Air System Installation
Ensure pipes have adequate diameter, slope down, have storage, and outlets at top.
Outdoor Air System Installation
Ensure moisture trap, filter/regulator/lubricator are installed at compressor.
Filter / Regulator / Lubricator Units
Units must meet specific port size, filter rating, and pressure specifications.
Tool Installation and Adjustment
Safety and Manuals
Operators must read safety instructions; keep manuals and schematic for reference.
Air Fitting Installation
Remove plastic cap from air inlet before installing male air fitting.
Install Filter/Regulator/Lubricator
Install filter/regulator/lubricator unit with a gauge close to the tool.
Bench Setup
Run air lines under benches for better setup.
Troubleshooting New Connection
If tool doesn't work, contact service center; do not attempt repairs.
Depth of Drive Adjustment
Adjust depth by moving work contacting element up or down with hex wrench.
Depth Adjustment: Overdriving
Move work contacting element downward if tool is overdriving fasteners.
Depth Adjustment: Fasteners Stand Up
Move work contacting element upward if fasteners are not flush.
Adjust Work Contacting Arm
Adjust work contacting arm until fastener depth meets job requirements.
Tool Operation and Stapler Loading
Precision Placement Driving
Hold work contacting element firmly, squeeze trigger, lift tool from workpiece.
Successive (Bounce) Driving
Grasp handle, squeeze trigger, move tool with bouncing motion, depressing element.
Trigger Clamp Warning
Do not clamp or hold trigger with anything other than hand.
Sequential Operation
Sequential operation prevents successive or 'bounce' driving.
Pre-Drive Safety Check
Depress work contacting element against surface before pulling trigger.
Post-Drive Procedure
Release trigger and lift tool after each fastener is driven.
Stapler Loading Step 1
Pull pusher to rear of magazine until latched in loading position.
Stapler Loading Step 2
Insert one or two strips of fasteners into magazine.
Stapler Loading Step 3
Hold pusher and slide forward until it contacts staples; tool is ready.
Fastening and Maintenance Procedures
Contact Fire Operation
Hold trigger, then depress contact arm against work surface.
Cleaning Jammed Staples
Remove staples, open door, use punch/screwdriver to clear nose jams.
Post-Jam Cleaning
Close door after removing staples; tool is ready.
Maintenance Overview
Tools built for ease of maintenance assure trouble-free operation and long life.
Periodic Inspection and Parts
Inspect tools periodically; replace worn/broken parts for safety and efficiency.
Cold Weather Care
Keep tools warm in freezing temperatures; use specific procedures to warm up parts.
High Pressure Free-Fire Warning
Never free-fire tool at high pressure.
Cold Weather Operator Tips
Cold weather operators should use antifreeze oil and clean tools weekly.
Cleaning Solvents Warning
Never use kerosene or flammable solvents for cleaning.
Testing Tool After Servicing
Test tool after servicing to ensure correct assembly, safety, and proper function.
Check Hardware Tightness
Ensure all hardware is tight.
Check Element and Trigger Installation
Check work contacting element and trigger are correctly installed and move freely.
Check Magazine Attachment
Verify magazine is properly attached.
Check Legibility of Safety Information
Confirm safety information on tool is legible.
Use Correct Fasteners
Use approved fasteners correct for application.
Check Air Fitting Connection
Verify male air fitting is securely connected.
Test Fastening Performance
Test tool by driving fasteners into identical workpiece.
Check for Air Leaks and Sequence
Check for air leaks and proper sequence during testing.
Ensure Fastener Depth and Flushness
Ensure fasteners are driven to same depth and crown is flush.
Tool Lubrication
Proper lubrication via air line lubricator is crucial for function and longevity.
Lubricator Use and Filling
Use proper lubricant in air line lubricator, keeping it filled.
Lubrication Without FRL
Lubricate tools daily with oil if no FRL is installed.
Model Identification
Identifies contact trip (black trigger) and sequential trip (orange trigger).
Model 14/50-B81 Operation Reference
Refer to Page 9 for Operation instructions for tool 14/50-B81.
Maintenance: Disconnect for Repairs/Jams
Disconnect tool when performing repairs or clearing jams.
Operator Troubleshooting
Troubleshooting: Disconnect for Repairs/Jams
Disconnect tool when performing repairs or clearing jams.
Need help?
Do you have a question about the 14/50-B81 and is the answer not in the manual?
Questions and answers