
Related Manuals for Equator q12


Summary of Contents for Equator q12
- Page 1 Equator Room Analysis User Guide v2.0 Equator Q Series User Guide Q8 | Q10 | Q12 | Q15 Equator Room Analysis Automated RRC & SRC Software ©2008 Equator Audio Research, LLC. All Rights Reserved. Page 1...
-
Page 2: Important Safety Instructions
17. These servicing instructions are for use by qualified personnel only. To reduce the risk of electric shock, do not perform any servicing other than that contained in the operating instructions unless you are qualified to do so. ©2008 Equator Audio Research, LLC. All Rights Reserved. Page 2... - Page 3 CAUTION: TO REDUCE THE RISK OF ELECTRIC SHOCK, DO NOT REMOVE COVER. THERE ARE NO USER SERVICEABLE PARTS INSIDE. REFER ALL SERVICING TO QUALIFIED PERSONNEL. ©2008 Equator Audio Research, LLC. All Rights Reserved. Page 3...
- Page 4 CPU. The Q Series monitors benefit from cutting-edge DSP technology that helps mix engineers ensure the monitors are optimized for the room. Included with every Equator Q Series monitor is the Equator Control software application. This software enables interaction with...
-
Page 5: Monitor Features
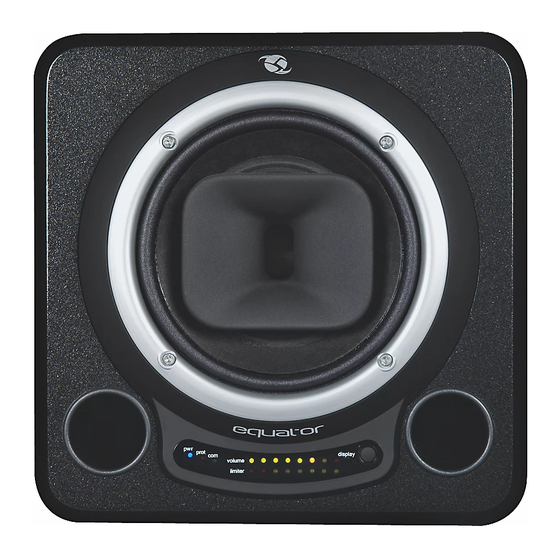
All are equipped with rubber pads and OmniMount™ compatible mounting holes: Q8 & Q10 use OmniMount™ model 60.0WBB. Q12 & Q15 use OmniMount™ model 120.0WBW The Q12 and Q15 are also equipped with side-mounted handles for easy transportation. ©2008 Equator Audio Research, LLC. All Rights Reserved. Page 5... - Page 6 Their Look is as Refined as their Performance Serious attention was spent developing not only the sound of the Q Series monitors, but their look and feel as well. Their perfect cubed shape and symmetry delivers the biggest possible sound in the smallest possible foot print.
- Page 7 Equator Room Analysis User Guide v2.0 Unpack the Monitor The Q Series shipping carton was designed to protect the monitor during transport. Do Not Discard these Materials. Inspect Carefully If there is any damage, immediately report it to the dealer or contact Equator Audio Research directly by emailing info@equatoraudio.com...
- Page 8 The optional Room Analysis software is capable of distinguishing and compensating for placement variances and boundary conditions. It is, however, advised to start the basic speaker placement setup adhering to the equilateral triangle rule as outlined above. ©2008 Equator Audio Research, LLC. All Rights Reserved. Page 8...
- Page 9 Connect each monitor to a power source using supplied AC power cable. DO NOT POWER ON MONITOR YET OS Compatibility (for use with Equator Control Software & Equator Room Analysis) Mac OS X 10.4 or higher Windows XP Connect USB Cable Create a USB connection between a computer and the USB port on the back of any Q monitor.
- Page 10 Equator software. Each of these groups can be configured from stereo all the way up to 8.2. In the stereo setup example (above image), switches 5 & 6 are set to the down position 0) which reflects System Group 1 as shown on the legend above.
- Page 11 Connect the outputs of the playback device or mixing console to the appropriate analog audio input on the back of each monitor. Q Series monitors can accommodate both XLR and ¼” cables that are wired for either balanced or unbalanced operation. For balanced operation consult the Input Connector Wiring diagram located on the back panel of a Q monitor.
- Page 12 Browse the included CDROM and locate a file called SLAB_USB to UART Installer. Double- click the file and follow the on-screen prompts. After rebooting your computer, continue the installation by double-clicking the Equator Room Analyzer file. Follow the on-screen prompts to finish installing the software.
- Page 13 Equator Room Analysis User Guide v2.0 Installing Equator Room Analysis Software Continued ©2008 Equator Audio Research, LLC. All Rights Reserved. Page 13...
- Page 14 It should be noted that Windows based installations do not require an additional install of a USB specific driver. Simply insert the included CDROM and locate the folder named Equator Room Analyzer. Double-click on the file named setup.exe and follow the on- screen prompts.
- Page 15 Upon launching the Equator application, the software will initialize and interrogate the system looking for all networked Q Series monitors. As long as the ID Switches and cable connections on the back the monitors are correct, Equator software will populate the screen with all monitors identified within Speaker Group 1 or however Speaker Group 1 was last titled from within the software.
- Page 16 Equator Room Analysis User Guide v2.0 Using Equator Room Analysis Software Continued Tab 1 Before You Begin Tab 1 displays the software version installed. Latest versions can be downloaded at http://www.equatoraudio.com/software.htm ©2008 Equator Audio Research, LLC. All Rights Reserved. Page 16...
-
Page 17: System Configuration
Distance Units: Values throughout the software can be displayed in either Feet or Meters. Speaker LED Brightness: Allows control over the brightness of the volume LEDs on the speakers themselves. ©2008 Equator Audio Research, LLC. All Rights Reserved. Page 17... -
Page 18: Audio Configuration
RMC file (explained later). ©2008 Equator Audio Research, LLC. All Rights Reserved. Page 18... - Page 19 All enabled computer DAW input devices connected to the computer will automatically appear within the Microphone Input Device drop-down menu. Select the appropriate Microphone Input Device that the Equator measurement microphone is connected to Select the microphone input channel as well. In this case channel 1.
- Page 20 Announce Test announces an additional five second notice to stand clear. It can be defeated by clicking on the green button. Tutorial: www.equatoraudio.com/rrc.mov ©2008 Equator Audio Research, LLC. All Rights Reserved. Page 20...
- Page 21 RRC calculation data and the previous data that was programmed into the speakers. There’s also a Phase Invert switch that reverses the phase of the selected speaker. ©2008 Equator Audio Research, LLC. All Rights Reserved. Page 21...
- Page 22 The Reflection Threshold drop-down settings determine the sensitivity of the compensation. Reducing the threshold to -12dB for example will correct for less reflections. -24dB is the default setting. ©2008 Equator Audio Research, LLC. All Rights Reserved. Page 22...
-
Page 23: All Speakers
Double-clicking inside of any cell allows access to that cell for editing capability. Individual voicing’s can be named, saved, and recalled at anytime from within Tab 9. There is also the ability to Bypass Room Response Compensation to the bottom right. ©2008 Equator Audio Research, LLC. All Rights Reserved. Page 23... - Page 24 These settings can be named, saved, and recalled from within Tab 9. RRC can be bypassed without using Equator software by setting ID Switch No. 8 on the back of each speaker to the down position and recycling their power. Upon powering back on, the speaker ignores room compensation data, but the tone contour voicing’s (producer curves) will still be...
- Page 25 Tab 9 provides the ability to save, load, or recall factory or user-created RMC files. RMC files contains the data generated by Equator software. Click the Save As button to create a new file. This new file will store all current data (from within all tabs). There will be a prompt to title it.
-
Page 26: Speaker Specifications
Q10: 1.0” Titanium Dome Forward Firing Compression Driver Q12: 1.5” Titanium Dome Forward Firing Compression Driver Q15: 1.5” Titanium Dome Forward Firing Compression Driver Crossover Center Frequency: 2kHz Q10: 1.8kHz Q12: 1.5kHz Q15: 1.2kHz ©2008 Equator Audio Research, LLC. All Rights Reserved. Page 26... - Page 27 Enclosure Alignment (All Models): Bass-Reflex Enclosure Construction (All Models): 1” HDF baffle & 3/4” 13-layer Baltic Birch Finish (All Models): Black/Micro-Metallic gray Specifications subject to change without notice. Patents filed. ©2008 Equator Audio Research, LLC. All Rights Reserved. Page 27...
-
Page 28: Warranty Information
Warranty Information Equator Audio Research, LLC. Limited Warranty Equator Audio Research, LLC. warrants this product to be free of defects in material and workmanship for a period of 1 year from the date of original retail purchase. This warranty is enforceable only by the original retail purchaser.
Need help?
Do you have a question about the q12 and is the answer not in the manual?
Questions and answers