Table of Contents
Advertisement
Quick Links
Advertisement
Table of Contents

Summary of Contents for Digital Design SS1b
- Page 1 SSlb SS2a SS4a Owner’s Manual High Performance Digital Amplifier...
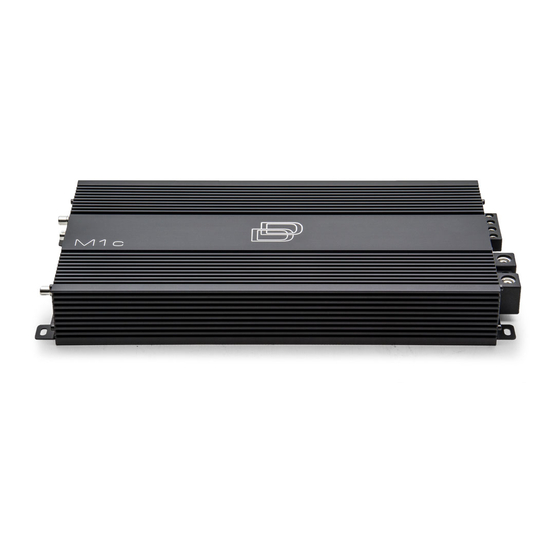
- Page 2 Thanks you for purchasing Digital Designs amplifiers for your car audio systems and competitions. The M-Class amplifiers are digital monoblock and SS-Class amplifiers are full range digital multi-channels which are engineered for low frequency applications and full range car audio systems in compact dimensions.
-
Page 3: Design Features
2. DESIGN FEATURES M-Class Design Deatures 1) The M-Class amplifiers are working fully stable down to 4/2/1 ohm as single unit. Daisy Chain connection makes it fully stable down to 2 ohm. 2) The M-Class has the possible highest efficiency and sufficient amount of the parts to maximize the performance at especially 12V application. - Page 4 REMOTE CONTROL REMOTE LEVEL CONTROL PORT If you turn knob to dock-wise ( Min ), it reduces Level. This port is for connecting turn-down remote level control. If you turn knob to counter clock-wise ( Max ), it is maximum level position. Remote level control adjusts the level Clipping LED shows the clipping point of The M-Class amplifiers.
-
Page 5: Installation
INPUT LOW PASS FILTER ( 50Hz ~ 5KHz ) Connect preamp signal cables from the headunit to Rca Input of SS4. Controls the low pass point for the speaker outputs. OUTPUT LPF CROSSOVER SELECTOR Connect Output Rea Jack to another amplifier's input. Low Pass Filter selector determines whether SS2a/SS4a will operate in Low pass or full range mode. - Page 6 Connect the power cables to power terminal labeled as + 12V. all M&S-Class amplifiers are equipped with fuses so you have to install the external fuses on the power cable. Connect one end of fuse holder to the power cable and the other end of fuse holder to positive battery within 20 cm of the same cable.
-
Page 7: Speaker Connection
4-4. SPEAKER CONNECTION The M&S-Class amplifiers are recommended to use 12 gauge speaker connecting cables. Run 12 gauge speaker connecting cables from your speakers to the M&S-Class amplifiers' mounting location. Keep speaker cables away from power cables and M&S-Class amplifier's input cables. Use grommets anywhere the cables have to pass through the holes in the metal frame or sheet metal. - Page 8 SS2a SPEAKER CONNECTION DIAGRAM i SS2a SPEAKER CONNECTION DIAGRAM ii SS4a SPEAKER CONNECTION DIAGRAM i...
-
Page 9: Daisy Chain Connection
SS4a SPEAKER CONNECTION DIAGRAM ii SS4a SPEAKER CONNECTION DIAGRAM iii 4-5. DAISY CHAIN CONNECTION Daisy chain connection makes 2pcs of same M lc, M2b and SSlb amplifiers linkable . Please read the following connection and diagram carefully to make correct connection. Connect the master amplifier to the head-unit and set its output master and input slave switch to output master position. -
Page 11: Troubleshooting Tips
5. TROUBLE SHOOTING TIPS NO SOUND ( NO OUTPUT) @ Pls check all connections, cables' rounting, short, voltage at The M/SS-Class and headunit @ Pls check fuses ,If they are blown or burnt, Pls replace with new one. @ Pls check whether speakers work well, you can test speakers by connecting to another amplifier PROTECTION @ Pls check overload, overheat (thermal), short and voltage. - Page 12 www.ddaudio.com...


Need help?
Do you have a question about the SS1b and is the answer not in the manual?
Questions and answers