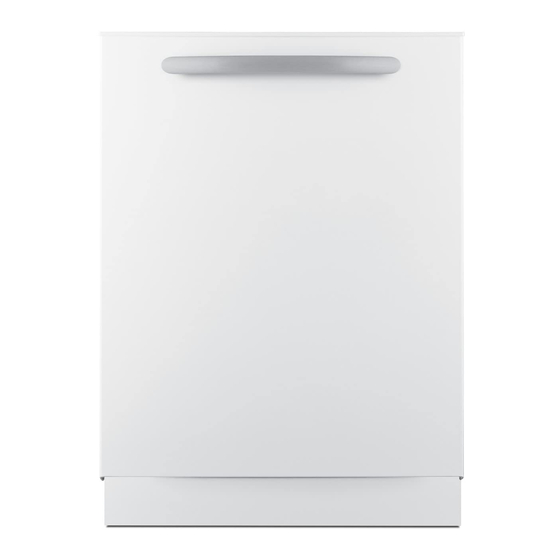
Summary of Contents for Summit DW244SSADA
- Page 1 DISHWASHER Models: DW242WADA LDW24WA DW242W ADADW24W DW243BADA LDW24BA DW243B ADADW24B DW245NTADA LDW24NTA DW245NT ADADW24NT Installation Instructions BEFORE USE, PLEASE READ AND FOLLOW ALL SAFETY RULES AND OPERATING INSTRUCTIONS...
-
Page 2: Table Of Contents
TABLE OF CONTENTS Important Safety Instructions Installation Materials Dishwasher Specifications Enclosure Preparation 8-12 Movable Kickplate (Model Depending) Installing the Outer Door (Model Depending) 14-16 Installer Checklist Helpful Hints Thank you for choosing this product. These installation instructions contain important information on safety and instructions intended to assist you in the operation and maintenance of your appliance. - Page 3 Icon Type Meaning WARNING Serious injury or death risk RISK OF ELECTRIC Dangerous voltage risk SHOCK FIRE Warning; Risk of fire / flammable materials CAUTION Injury or property damage risk IMPORTANT / NOTE Operating the system correctly...
-
Page 4: Important Safety Instructions
INTRODUCTION • Please read this user manual and particularly the safety instructions completely and carefully. They will save you time and effort and help to ensure optimum dishwasher performance. • Be sure to observe all listed warnings and cautions. Look particularly for the icons with exclamation marks inside. -
Page 5: Installation Materials
• Remove the door to the washing compartment when removing an old dishwasher from service or discarding it. Ensure that the appliance presents no danger to children while being stored for disposal. • Old appliances may contain materials that can be recycled. Please contact your local recycling authority about the possibility of recycling these materials. - Page 6 Supplied Materials The parts required for positioning the dishwasher are in plastic bags. Check that all of the following parts are included with your unit: Manual Bag The dishwasher comes with a manual bag containing the User Manual and the Installation Instructions. Dishwasher Parts Bag 1 This dishwasher bag comes with the following parts: a) Test strip (model depending)
-
Page 7: Dishwasher Specifications
DISHWASHER SPECIFICATIONS Technical Features Load Capacity 14 place settings 43.5 – 145 psi (0.3 – 10 bars) Permissible Water Pressure Eletrical Connection 120V, 12A, 60 Hz Total Power 1400 W Heater Power 1100 W NOTE: We continue to strive to improve our products. We may change our specifications or design without prior notice. -
Page 8: Enclosure Preparation
ENCLOSURE PREPARATION CAUTION: This dishwasher is designed for an electrical supply of 120V, 60Hz AC, connected to a dishwasher-dedicated, properly grounded electrical circuit with a fuse or breaker rated for 15 Amps. Unit ships with a NEMA 5-15P connector. The power supply receptacle for the appliance shall be installed in a cabinet or on a wall adjacent to the under counter space in which the appliance is to be installed. - Page 9 Adjusting Height 1. Adjust the front feet with a screwdriver to stabilize the dishwasher and raise it to meet the hieght of the enclosure. 2. Adjust the rear feet with a screwdriver to balance and raise the dishwasher to the appropriate height of the enclosure.
- Page 10 Steam Protection Foil Steam will be produced when the dishwasher door is opened during operation and after completion of the wash cycle. In order to prevent the resulting steam from collecting and damaiging the underside of the counter top, use a steam protection foil included with your unit. 1) Clean the surface with a damp cloth before applying steam protection to the underside of the counter top.
- Page 11 Drain Hose Connection There are several ways to insert the drain hose into the drain hose connector of the sink, as shown in the following figures. You much connect the drain hose in accordance with the water pipe installation regulations in your region. Without disposal: With disposal: 1.
- Page 12 3. If there is no air gap, make sure to hang. the middle of the drain hose well above the sink cabinet base to prevent back flow (see Figure E below). 4. When drilling a hole for the drain hose on the cabinet wall, take caution not to damage the drain hose by sharp edges of the hole.
-
Page 13: Movable Kickplate (Model Depending)
ADJUSTING THE MOVABLE KICK PLATE (MODEL DEPENDING) Now that you have successfully installed the dishwasher, you need to attch the toe kick to the dishwasher. The two piece toe kick can be adjusted to the height and depth needed for your kitchen. 1. -
Page 14: Installing The Outer Door (Model Depending)
Installing the Outer Door (Model Depending) As shown in Figure A, you must measure the height and depth of the cabinetry to determine the dimensions of the outer door. The mounting plan in the plastic bag is fixed to the inside of the Dishwasher door. - Page 15 As shown in Figure D, the 5/32" x 53/32" (4mm x 42.5mm) screws are installed in positions 1,111 and V. Before mounting the 5/32" x 53/32" (4mm x 42.5mm) screws; Screws in positions 1,111 and V must be removed. According to the weight of the assembled wooden door, the balancing must be provided by the mechanism shown in Figure E.
- Page 16 Check whether the bottom of the door hits the toe kick of the kitchen cabinet. • If the door hits the toe kick cut the necessary section out of the toe kick. • Apply silicon or sealant to the cut edge of the kitchen cabinet toe kick or paint so it does not absorb moisture.
-
Page 17: Installer Checklist
INSTALLER CHECKLIST Your installer must have completed the following: • The dishwasher is square the level. • The dishwasher is fastened securely to the cabinetry. • The dishwasher door opens and closes freely. The dishwasher door must close without hittng any cabnetry or the counter top.


Need help?
Do you have a question about the DW244SSADA and is the answer not in the manual?
Questions and answers