Advertisement
Table of Contents
© 2012 KidKraft, LP
Please retain this information for future reference
HARDWARE:
PARTS LIST:
A. Round Head Screw x 4
7
(15mm / 5/8 inches)
The following tool (not
included) is required for
assembly :
Phillips screwdriver
11
x 2
FURNITURE PARTS LIST:
4
1
2
3
15
16
18
17
21
22
23
WARNING:
ADULT ASSEMBLY REQUIRED.
Product includes small parts with potentially hazardous
sharp points and sharp edges in the unassembled state.
Keep unassembled parts away from children.
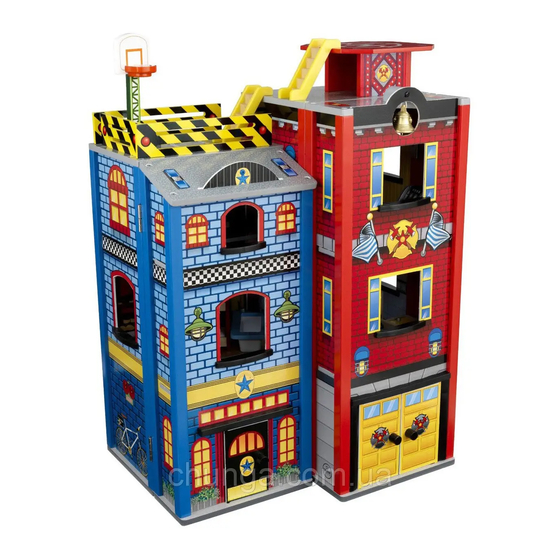
Everyday Heroes Wooden Play Set
Assembly Instructions
Step 1
8
5
9
6
10
13
14
12
27
19
20
26
x 2
25
29
30
24
31
31
28
USE AND MAINTENANCE:
-Use on level surfaces only
-Please check assembly at regular intervals, and
frequently tighten hardware if necessary. If
maintenance is not carried out, the product could
cease to function properly.
5
9
10
8
6
A
A
A
A
WARNING:
CHOKING HAZARD. Small parts and sharp points, not suitable
for children under 3 years.
To order replacement parts, please visit www.kidkraft.com
Step 2
7
Before calling customer service, please
locate the batch code number
(example: 105906/65006/04) found on the
bottom or back of your product.
Item #63239
11
11
Customer Service
1-800-933-0771
www.kidkraft.com
1
Advertisement
Table of Contents

Related Manuals for KidKraft 63239


Summarization of Contents
Everyday Heroes Wooden Play Set Assembly Instructions
Step 1: Initial Components
First step of assembly, showing hardware and initial parts placement for Step 1.
Step 2: Structural Assembly
Second step of assembly, continuing the build with additional structural connections.
Safety Warnings
Crucial warnings regarding adult assembly, sharp points, and choking hazards.
Product Use and Maintenance
Guidelines for proper product usage and periodic maintenance for longevity.
Customer Support
Contact information and resources for customer service and replacement parts.
Step 3: Base Construction
Assembly phase focused on constructing the base of the play set.
Step 4: Connecting Panels
Connecting side panels and hardware to the base structure.
Step 5: Adding Shelving
Installing internal shelving components into the play set structure.
Step 6: Securing Panels
Securing the side panels using specified hardware.
Step 7: Drawer/Shelf Integration
Integrating drawer or shelf components into the main structure.
Step 8: Attaching Walls
Attaching vertical wall sections to the assembled base.
Step 9: Installing Doors/Windows
Installing door and window elements onto the play set walls.
Step 10: Connecting Main Sections
Connecting major pre-assembled sections of the play set.
Step 11: Attaching Back Panels
Attaching the rear panels to enclose the play set structure.
Step 12: Final Wall Connections
Making final connections for the main wall structures.
Step 13: Drawer Slides Installation
Installing the necessary hardware for drawer slides.
Step 14: Attaching Front Panels
Attaching front panels, likely for drawers or doors.
Step 15: Securing Front Panels
Securing the attached front panels with hardware.
Step 16: Installing Vertical Supports
Installing vertical support elements within the play set.
Step 17: Attaching Side Walls
Attaching the remaining side walls to the structure.
Step 18: Installing Hardware for Accessories
Installing specific hardware for attaching accessories.
Step 19: Attaching Back Doors
Attaching back doors or panels to the play set.
Step 20: Adding Roof Section
Attaching the roof section or top cover of the play set.
Step 21: Securing Roof
Securing the roof section with appropriate hardware.
Step 22: Installing Interior Features
Installing internal features like shelves or dividers.
Step 23: Attaching Furniture Pieces
Attaching furniture items like beds or chairs to the interior.
Step 24: Final Hardware Installation
Final installation of various hardware components, potentially for doors or drawers.
Step 25: Completion and Securing
Final steps to complete assembly and secure all parts.
Need help?
Do you have a question about the 63239 and is the answer not in the manual?
Questions and answers