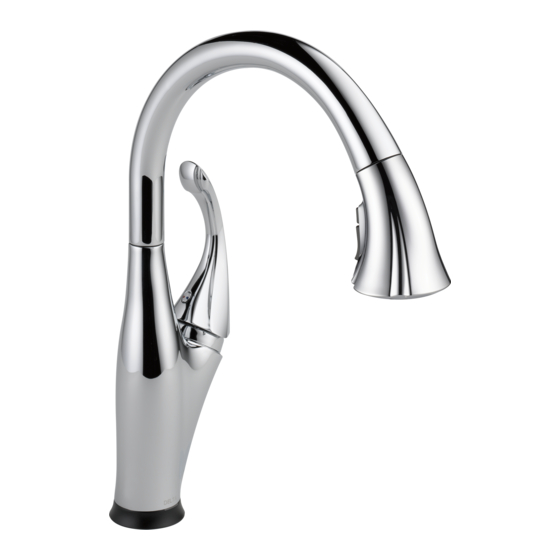
Advertisement
Quick Links
Models/Modelos/Modèles
ADDISON™, ASHTON
®
& LELAND
Write purchased model number here.
Escriba aquí el número del modelo comprado.
Inscrivez le numéro de modèle ici.
You may need/Usted puede necesitar/Articles dont vous pouvez avoir besoin:
3/32" (2.38 mm)
For easy installation of your
Delta
faucet you will need:
®
• To READ ALL the instructions completely
before beginning.
• To READ ALL warnings, care, and maintenance
information.
Para instalación fácil de su llave
Delta
usted necesitará:
®
• LEER TODAS las instrucciones completamente
antes de empezar.
• LEER TODOS los avisos, cuidados, e
información de mantenimiento.
Pour installer votre robinet
Delta
facilement, vous devez:
®
• LIRE TOUTES les instructions avant de débuter;
• LIRE TOUS les avertissements ainsi que toutes
les instructions de nettoyage et d'entretien.
To access additional technical documents & product info, visit www.deltafaucet.com/p/Your-Model-Number-Here
(Example: www.deltafaucet.com/p/9159T-DST)
Para acceder a documentos técnicos adicionales e información sobre el producto, visítenos en www.deltafaucet.
com/p/Your-Model-Number-Here (ejemplo: www.deltafaucet.com/p/9159T-DST)
Pour avoir accès à des documents techniques supplémentaires et à de l'information sur le produit, visitez www.delta-
faucet.com/p/Votre-numéro-de-modèle-ci (exemple : www.deltafaucet.com/p/9159T-DST)
92834
®
, ESQUE™
®
TOUCH
O
PULL-OUT KITCHEN & BAR/ PREP FAUCET
2
LLAVE DE AGUA/GRIFO EXTRAÍBLE TOUCH
COCINAS Y FREGADEROS PARA PREPARATIVOS/
BARES
ROBINET TOUCH
O
2
ÉVIER D'ÎLOT, DE BAR ET DE CUISINE
9178T-DSTs
9678T-DSTs
1
®
À BEC RÉTRACTABLE POUR
9181T-DSTs
9192T-DSTs
9981T-DSTs
9992T-DSTs
?
www.deltafaucet.com
1-800-345-DELTA (3358)
customerservice@deltafaucet.com
®
O
PARA
2
19922T-DSTs
03/23/2017
Rev. A
Advertisement

Summarization of Contents
Limited Warranty on Delta Faucets
Warranty for Parts and Finish
Covers defects in material and workmanship for faucet parts and finishes.
Warranty for Electronic Parts and Batteries
Covers electronic parts for 5 years; no warranty on batteries.
Mount Faucet to Deck
Faucet Insertion and Mounting Hole Alignment
Insert faucet tubes and shank through hole, align light.
Securing Faucet to Sink
Secure faucet with mounting bracket and nut, tighten.
Locking Screw Tightening
Adjust faucet position and tighten locking screws with screwdriver.
Spout Tube Balancing for Mounting
Tip to turn spout tube opposite handle for balance.
Water Line Connections
Ensuring Clean Fittings and Connections
Check fittings for debris; connect tubes, hand tighten, then wrench tighten.
Custom Fit PEX Tubing Installation
Instructions for custom fitting PEX tubing, using sleeves and nuts.
Potential Problems and Remedies
Tubing Cut Perpendicularity Issue
Address tubing not cut perpendicular to axis.
Tubing Cut Too Short Issue
Solutions for tubing cut too short, recommending coupling unions.
Lost Sleeve or Connection Nut Issue
Guidance on replacing lost plastic sleeves or connection nuts.
Plastic Sleeve Installation Guide
Correct Method for Sleeve Installation
Illustrates correct methods for sleeve installation.
Incorrect Installation Methods
Illustrates incorrect methods to avoid for sleeve installation.
Step-by-Step Plastic Sleeve Installation
Detailed steps for installing plastic sleeves on PEX tubing.
Flushing Supply Lines
Procedure for Flushing Lines
Steps to flush supply lines to prevent debris in hose and sprayer.
Solenoid Installation
Attaching Solenoid Tube and Clip
Slide tube into solenoid nipple and rotate clip to secure connection.
Solenoid Assembly Connection
Connecting Hose to Solenoid Outlet
Push hose end onto solenoid outlet and attach clip.
Securing Shank Clip and LED Wire
Push shank clip, ensure LED wire is properly inserted, avoid bunching wires.
Leak Detection and Resolution
Checking Connections for Leaks
Inspect all connections for leaks; retighten or order replacements if needed.
Sprayer Operation Check
Check sprayer operation by activating the trigger.
Faucet Maintenance and Troubleshooting
Addressing Very Low Water Flow
Steps to clean aerator, spray head screen, and solenoid valve filter.
Resolving Handle Leaks
Instructions for leaks from under the handle, including tightening bonnet nut.
Resolving Spout Outlet Leaks
Instructions for leaks from the spout outlet, including replacing valve cartridge.
Adjusting Touch Sensitivity
Tips for improving touch sensitivity if it's not acceptable.
Troubleshooting Low Water Output
Verifies handle position, water supply, and cleans solenoid filter.
Quick Tips for Touch₂O® Faucet Operation
Basic Touch Operation
How to turn the faucet on/off by tapping the spout, base, or handle.
Touch vs. Grab Detection
The faucet differentiates between touch and grab.
Temperature and Volume Control
Using the handle for manual and electronic temperature/volume control.
Water Flow and Auto Shut-Off
How water flows and the faucet's auto shut-off feature after 4 minutes.
Solenoid Troubleshooting and Solutions
Battery Replacement for Red Flashes
Replace batteries if spout shows three red flashes.
Troubleshooting No Water or Light Indication
Checks for battery orientation, power, clip attachment, and solenoid connection.
Adjusting Faucet Touch Sensitivity
Tips for improving touch sensitivity if it's not acceptable.
Troubleshooting Low Water Output
Verifies handle position, water supply, and cleans solenoid filter.
Troubleshooting Continuous Water Flow
Flushes solenoid assembly or replaces it if water flows with light off.
Troubleshooting Indicator Light Issues
Checks connector insertion and suggests replacing indicator base/solenoid.


Need help?
Do you have a question about the ESQUE and is the answer not in the manual?
Questions and answers