Advertisement
Quick Links
HOW TO SERVICE NOVA CHUCKS
SAFETY WARNING
Safety glasses must be worn when dealing with snap rings on the
chucks. Snap rings can for fly off in any direction. Use caution and
wear safety glasses.
Note: Remove jaws or any other accessories attached on the chucks
before disassembling the chucks. Wipe/blow off visible dust from the
chucks before disassembly.
Preparation:
Before starting the disassembly, lay a disposable thick towel or cloth on top of the
working area as the disassembly process can get messy. The towel will protect the
chuck body during this process.
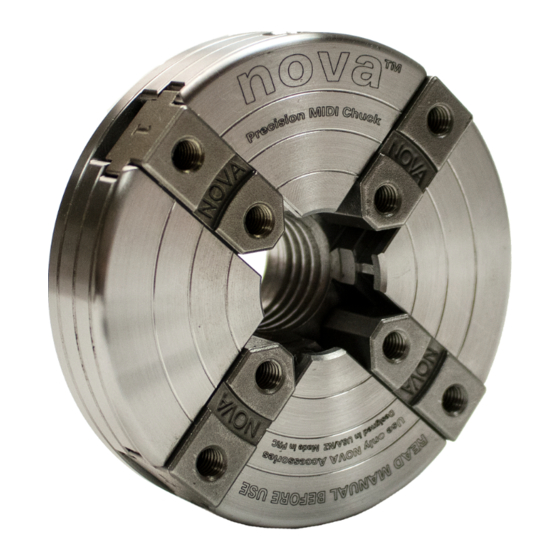
This guide outlines the disassembly, cleaning and reassembly for:
Precision Midi
G3
SuperNOVA2
Titan
p.1
Advertisement

Related Manuals for Nova 48202


Summarization of Contents
Nova Chucks Servicing Overview and Safety
Safety Warning
Mandatory safety measures including wearing safety glasses during chuck servicing to prevent injury from flying parts.
Preparation for Disassembly
Steps to prepare the workspace and chuck for disassembly, using a towel to manage mess and protect components.
SuperNova2 Disassembly Process
Step 1: Initial Chuck Placement
Place the chuck face down with jaw slides in any position before starting disassembly.
Step 2: Remove Retaining Ring
Use external snap ring pliers to remove the retaining ring from the chuck assembly.
Step 3: Remove Backing Plate
Remove the backing plate using flat-head screwdrivers or an insert and mallet if stuck.
Step 4: Remove Pinion Gears
Push pinion gears outwards to remove them, applying force if dirt is present.
Step 5: Remove Scroll Ring
Slide the scroll ring out of the chuck body; gentle tapping may be needed if stuck.
Step 6: Remove Jaw Slides
Mark jaw slides with a marker before removal, as they correspond to specific slideways.
Step 7: Parts Verification
Ensure all parts, including chuck body, gears, plates, rings, and slides, are accounted for.
SuperNova2 Cleaning Procedure
Step 1: Initial Wipe Down
Use a disposable cloth to wipe off visible dirt from all main chuck parts.
Step 2: Apply Degreaser
Apply a degreaser or rust remover to parts to tackle built-up grime, letting it sit for at least two hours.
Step 3: Scrubbing Grime and Rust
Use a wired brush to remove rust and grime, especially in hard-to-reach areas like scroll ring slits.
Step 4: Final Drying and Cleaning
Wipe parts with a clean cloth to ensure they are dry and free of sticky residue.
SuperNova2 Reassembly Process
Step 1: Lubricate Surfaces
Apply generous lubricant to all surfaces that contact other parts before reassembly.
Step 2: Reinsert Jaw Slides
Reinsert jaw slides into their original slots, ensuring they are numbered 1-4 clockwise.
Step 3: Position Jaw Slides for Square
Flip chuck face down and position jaw slides to form a square in the center.
Step 4: Engage Scroll Ring
Slide scroll ring into chuck body, rotating it to engage jaw slides and expose the snap ring slot.
Step 5: Lubricate Scroll Ring Gear
Apply lubricant to the geared side of the scroll ring for smooth operation.
Step 6: Insert Pinion Gears
Insert pinion gears back into the chuck body in their correct positions.
Step 7: Check Jaw Slide Alignment
Rotate scroll ring with chuck key to verify jaw slides align correctly, forming a square.
Step 8: Install Snap Ring
Once the back plate is in place, install the snap ring correctly into its groove to finish.
Nova Chucks Parts List
Precision Midi Parts
List of SKUs, thread sizes, and part numbers for the Precision Midi chuck.
G3 Chuck Parts
List of SKUs, thread sizes, and part numbers for G3 Direct and Insert type chucks.
SuperNOVA2 Chuck Parts
List of SKUs, thread sizes, and part numbers for SuperNOVA2 Direct and Insert type chucks.
Titan Chuck Parts
List of SKUs, thread sizes, and part numbers for Titan III Direct and Europe version chucks.
Need help?
Do you have a question about the 48202 and is the answer not in the manual?
Questions and answers