Advertisement
Quick Links
Installation and Care Guide
Guide d'installation et d'entretien
Guía de instalación y cuidado
Inodoros asistidos por presión
K-3493
K-3554
M product numbers are for Mexico (i.e. K-12345M)
Los números de productos seguidos de M
corresponden a México (Ej. K-12345M)
1115561-2-A
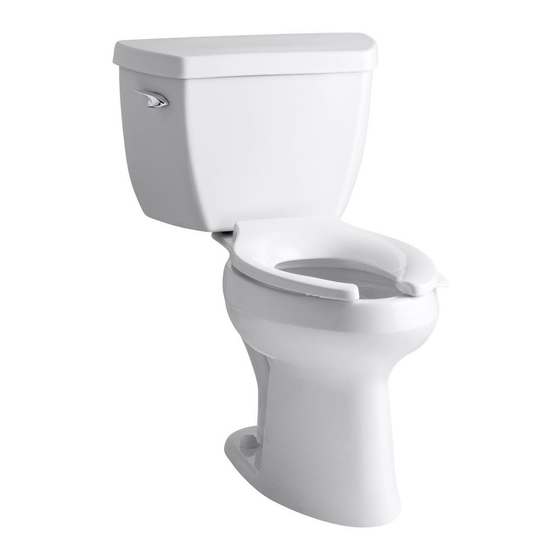
Pressure-Assisted Toilet
WC à pression assistée
USA/Canada: 1-800-4KOHLER
K-3505
México: 001-877-680-1310
kohler.com
©2009 Kohler Co.
Advertisement

Summarization of Contents
Important Information and Safety Warnings
Risk of Injury or Water Damage
Contents of vessel under pressure can cause severe injury. Read instructions before service.
Risk of Injury or Product Damage (Vitreous China)
Handle vitreous china products carefully. China can break or chip if bolts/nuts are overtightened.
Risk of Product Damage (Oils/Lubricants)
Do not use any oils or lubricants on the system to prevent product damage.
Risk of Product Damage (Fittings)
Toilet fittings require no adjustment. Modifications void warranty.
Sloan Flushmate Service and Warranty
Refer to the Sloan Flushmate Owner's Service Manual for service and warranty.
Supply Pressure Requirement
Supply pressure must be a minimum of 35 psi (2.4 bar) for proper toilet function.
Follow Local Plumbing Codes
Ensure compliance with all local plumbing codes for installation and use.
Kohler Co. Design Revisions
Kohler Co. reserves the right to make design revisions without prior notice.
Floor Outlet Model Installation Guide
Step 1: Remove Old Wax Seal
If replacing a toilet, remove the old wax seal before installation.
Step 2: Install T-Bolts
Install the 5/16" T-Bolts into the flange for securing the toilet.
Step 3: Place Wax Seal
Position the wax seal correctly on the flange or toilet base.
Step 4: Apply Weight Evenly
Apply weight evenly to the toilet. Do not move after placement to maintain seal.
Step 5: Orient Toilet Correctly
Ensure the toilet is oriented correctly (this side up).
Step 6: Trim Excess Wax
Cut excess wax seal if it extends beyond 1/4" (6 mm).
Step 7: Check Gap
Ensure a gap of 1/16" (2 mm) - 1/8" (3 mm) is maintained.
Wall Outlet Model Installation Guide
Step 1: Secure Flange to Wall
Secure the outlet connection of the flange to the wall using T-Bolts.
Step 2: Dry Fit and Mark
Dry fit toilet, mark bolt locations, remove, and drill pilot holes.
Step 3: Install Floor Bolts
Install the floor bolts into the prepared holes.
Step 4: Install Gasket
Install the gasket onto the toilet base.
Step 5: Position Toilet
Carefully move the toilet into its final position.
Step 6: Tighten Fasteners
Do not overtighten fasteners when securing the toilet.
Step 7: Trim Excess Material
Trim any excess material to ensure a proper fit, maintaining a 1/4" (6 mm) gap.
All Models Final Installation Steps
Step 8: Tighten Tank Bolts
Tighten tank bolts evenly, but do not overtighten.
Step 9: Level the Tank
Ensure the tank is level before proceeding with connections.
Step 10: Connect Water Supply
Connect the 3/8" supply line and turn on the water supply.
Step 11: Flush and Check for Leaks
Flush several times, check for leaks, and do not overtighten connections.
Step 12: Install Tank Lid and Seat
Install the tank lid and the toilet seat.
Service: Adjusting the Actuator-Plunger Gap
Resetting the Actuator Gap
Steps to reset the gap between the actuator and plunger arm for proper function.
NOTICE: Seal Integrity and Leakage
Improper gap adjustment can cause leakage and continuous water flow.
Toilet Winterization and Reactivation
Winterize the Toilet
Steps to prepare the toilet for freezing temperatures, including draining and adding antifreeze.
Reactivate the Toilet
Procedure to reconnect water supply and pressurize system after winterization.
Refer to Sloan Flushmate Manual
Refer to the Sloan Flushmate Owner's Service Manual for additional winterization information.
Toilet Troubleshooting Guide
Symptom: Poor Flush
Recommended actions for a weak or incomplete toilet flush.
Symptom: No Flush
Recommended actions when the toilet does not flush at all.
Symptom: Continuous Water Flow
Actions for when bowl water flows continuously or tank fill stops.
Additional Troubleshooting Assistance
Refer to the Sloan Flushmate Owner's Service Manual for further troubleshooting help.
Service Parts and Identification
Trip Lever and Plunger Arm Parts
Part numbers and identification for trip lever and plunger arm components.
Vessel Internal Components
List of internal components for the toilet vessel, including nuts, washers, and screws.
Ordering Replacement Parts
Note on specifying finish/color code when ordering replacement parts.


Need help?
Do you have a question about the K-3505 and is the answer not in the manual?
Questions and answers