Table of Contents
Advertisement
Quick Links
Advertisement
Table of Contents

Related Manuals for Audison prima AP 690


Summarization of Contents
Removal of Dash Speakers
5.1 Dash Speaker Removal Procedure
Detailed steps for removing the dash speakers and associated grilles.
Removal of Front Left Seat, Door Sill, and Kick Panel
6.1 Front Left Door Sill Removal
Instructions for removing the front left door sill cover.
6.2 Front Left Kick Panel Removal
Steps to remove the front left kick panel.
6.3 Front Left Seat Removal
Procedure for removing the front left seat assembly.
AP Tacoma P&P Harness Cables Routing
7.1 Amplifier Power Wiring Routing
Guide for routing amplifier power wires, including ground and positive connections.
7.2 P&P Harness Cable Routing and Connections
Detailed steps for routing P&P harness cables from the driver's seat and connecting them.
Installation of AP5.9 bit Amplifier
8.1 Prima Tower Kit Installation
Steps for installing the Prima Tower Kit under the carpet for amplifier mounting.
8.2 AP5.9 bit Amplifier Mounting
Mounting the AP5.9 bit amplifier onto the plate and connecting cables.
Installation of APBX 8 DS Subwoofer
9.1 APBX 8 DS Subwoofer Installation
Procedure for installing the APBX 8 DS subwoofer, including seat folding and mounting.
Installation of AP 2 Wide Range Speaker
10.1 AP 2 Speaker Installation
Steps for mounting and connecting the AP 2 wide range speakers.
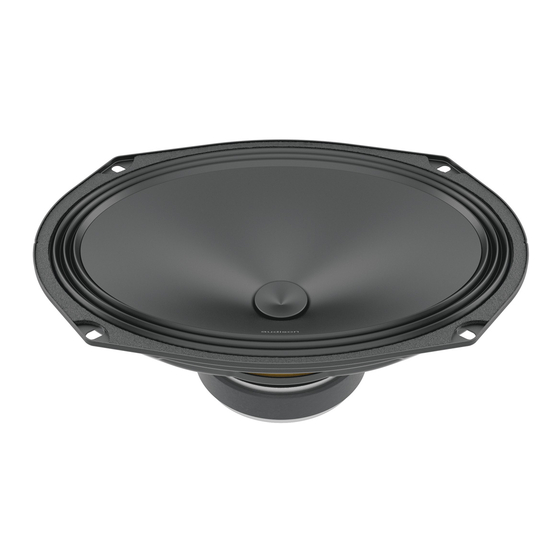
Installation of AP690 Woofer
11.1 Front Door Panel Removal
Instructions for removing the front left and right door panels.
11.2 Front Door Speaker Removal
Steps to unplug and remove the OEM front door speakers.
11.3 Woofer Mounting in Housing
Securing the AP690 woofer using provided fastening screws.
11.4 Wiring Adapter to Woofer Securement
Securing the wiring adapter to the AP690 woofer.
11.5 Speaker Mounting and Harness Connection
Mounting the speaker to the door and connecting the harness.
11.6 Foam Ring Attachment
Attaching the foam ring to the back of the door panel.
Re-assembly of Uninstalled Components
12.1 Re-assembly Steps and Amplifier Check
Reassembling vehicle components by reversing disassembly steps, including checking amplifier.
Upload of the Tuning File
13.1 Tuning File Upload Procedure
Steps to download setup file, open software, load tuning file, and finalize device.
Notes and Special Considerations
14.1 Using Sound Pack with Aftermarket Head Unit
Instructions for using the sound pack with an aftermarket head unit.
14.2 Installing Sound Pack in JBL-Equipped Vehicle
Guidance for installing the sound pack in a JBL-equipped vehicle.
14.3 Using Sound Pack with APF8.9BIT
Requirements for using the sound pack with APF8.9BIT amplifier.
Troubleshooting
FREQUENTLY ASKED QUESTIONS
Common issues and solutions for sound system operation.
Need help?
Do you have a question about the prima AP 690 and is the answer not in the manual?
Questions and answers