Advertisement
Quick Links
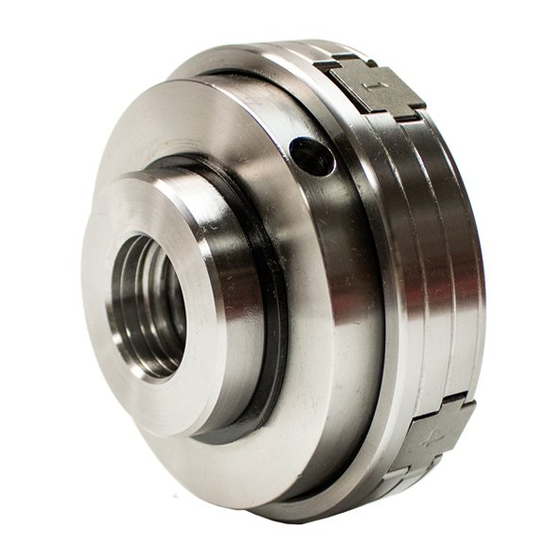
HOW TO SERVICE NOVA CHUCKS
SAFETY WARNING
Safety glasses must be worn when dealing with snap rings on the
chucks. Snap rings can for fly off in any direction. Use caution and
wear safety glasses.
Note: Remove jaws or any other accessories attached on the chucks
before disassembling the chucks. Wipe/blow off visible dust from the
chucks before disassembly.
Preparation:
Before starting the disassembly, lay a disposable thick towel or cloth on top of the
working area as the disassembly process can get messy. The towel will protect the
chuck body during this process.
This guide outlines the disassembly, cleaning and reassembly for:
Precision Midi
G3
SuperNOVA2
Titan
p.1
Advertisement

Related Manuals for Nova SKU 48232


Summarization of Contents
General Chuck Servicing Information
Safety Warnings
Safety precautions for handling chucks, emphasizing eye protection against flying snap rings.
Preparation Guidelines
Prepare workspace with a towel to catch debris and protect the chuck body during disassembly.
Titan Chuck Disassembly
Step 1: Chuck Placement
Place the chuck face down with jaws in any position before starting disassembly.
Step 2: Remove Retaining Ring
Remove the retaining ring using pliers, which allows the backing plate to be removed.
Step 3: Remove Threaded Pins
Remove two threaded pins using an Allen key to release pinion gears, then push out the gears.
Step 4: Remove Scroll Ring Circlip
Remove the second retaining circlip holding the scroll ring in position using external circlip pliers.
Step 5: Remove Scroll Ring
Slide the scroll ring out of the chuck body; gentle force may be needed if stuck.
Step 6: Remove Jaw Slides
Remove stop screws on slideways using a flat head screwdriver to free the jaw slides.
Step 7: Verify Parts
Confirm all disassembled parts, including chuck body, plates, rings, pins, screws, gears, and jaw slides.
Titan Chuck Cleaning
Step 1: Initial Wipe Down
Use a disposable cloth or towel to wipe off as much visible dirt as possible from each part.
Step 2: Apply Degreaser
Apply a degreaser/rust remover, like WD40, to each part and leave for at least two hours.
Step 3: Brush Removal
Use a wired brush to effectively remove stubborn rust and grime from the chuck components.
Step 4: Final Wipe
Wipe the parts with a clean cloth after brushing to ensure they are dry and free of residue.
Titan Chuck Reassembly
Step 1: Apply Lubricant
Apply lubricant generously to contact points, chuck body inner surface, jaw slide slots, and scroll ring teeth.
Step 2: Reinsert Jaw Slides
Reinsert jaw slides into their original slots, ensuring numbering from 1-4 is clockwise when viewed from the front.
Step 3: Position Jaw Slides
Flip the chuck and position jaw slides to form a square in the center as shown.
Step 4: Engage Scroll Ring
Slide scroll ring into chuck body, rotating it to engage with jaw slides until the snap ring slot is exposed.
Step 5: Install Circlip
Place the circlip back into the groove to secure the scroll ring, and apply lubricant to the scroll ring's geared side.
Step 6: Reinstall Pinion Gears
Reinstall pinion gears into the chuck body and secure them by inserting the threaded pins.
Step 7: Check Jaw Alignment
Rotate scroll ring with chuck key to check jaw slide alignment at the center; screw in position pins if aligned.
Step 8: Install Backing Plate
Install the backing plate onto the chuck and secure it by putting the retaining circlip back on to finish.
Need help?
Do you have a question about the SKU 48232 and is the answer not in the manual?
Questions and answers