Table of Contents
Advertisement
Model#
SKU#
FW0C4100CP
478 405
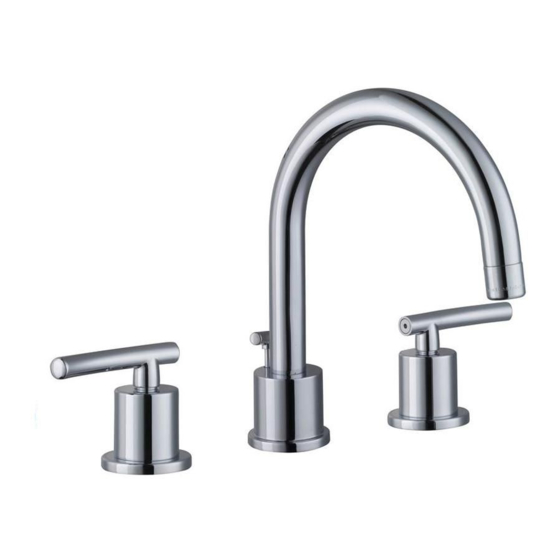
INSTALLATION AND CARE GUIDE
WIDESPREAD LAVATORY FAUCET
Questions, problems, missing parts?
Before returning to the store,
call Glacier Bay Customer Service
8 a.m.-6 p.m., EST, Monday-Friday
1-855-HD-GLACIER
HOMEDEPOT.COM
THANK YOU
We appreciate the trust and confidence you have placed in Glacier Bay through the purchase of this faucet. We strive
to continually create quality products designed to enhance your home. Visit us online to see our full line of products
available for your home improvement needs. Thank you for choosing Glacier Bay!
THD
9/9/2014 REV.01
Advertisement
Table of Contents

Related Manuals for Glacier bay 478 405


Summary of Contents for Glacier bay 478 405
- Page 1 THANK YOU We appreciate the trust and confidence you have placed in Glacier Bay through the purchase of this faucet. We strive to continually create quality products designed to enhance your home. Visit us online to see our full line of products available for your home improvement needs.
-
Page 2: Table Of Contents
Glacier Bay products are manufactured with superior quality standards and workmanship and are backed by our limited lifetime warranty. Glacier Bay products are warranted to the original consumer purchaser to be free of defects in materials or workmanship. We will replace FREE OF CHARGE any product or parts that proves defective. -
Page 3: Tools And Hardware Required
Pre-Installation (continued) PACKAGE CONTENTS Faucet Assembly Drain Assembly Part Description Quantity Part Description Quantity Faucet body Rubber washer (Preassembled to Drain body (O)) Hot faucet handle Lock nut (Preassembled to Drain body (O)) Rubber washer Drain body Metal washer Plunger (Preassembled to Drain body (O)) Guide washer Lift rod Aerator... -
Page 4: Installation
Installation Turning off the water supply Installing the faucet body □ Remove the preassembled lock nut (I), metal CAUTION : Always turn off the water supply before spacer (H), and rubber spacer (G) from the removing an existing faucet or replacing any part of a shank of the faucet body (A). - Page 5 Installation (continued) Installing the faucet handles Installing the drain body □ □ Remove the preassembled guide washers (E), Remove the drain flange (L) from the drain metal washers (D), and rubber washers (C) body (O). from the hot and cold faucet handles (B and K). □...
- Page 6 Installation (continued) Installing the plunger and ball Installing the lift rod □ Insert the lift rod (Q) through the faucet (A) □ Insert the plunger (P) into the drain hole in the and down into the strap (S). Tighten the thumb sink.
- Page 7 Installation (continued) Attaching the ball rod and Adjusting the lift rod strap □ Loosen the thumb screw (R) on the lift rod strap (S). □ Adjust the ball rod (U) to the down position. □ Adjust the lift rod (Q) to the down position and □...
- Page 8 Installation (continued) Attaching the connecting hose Connecting the supply lines □ □ Remove the cap from the quick connect tubes. Attach the water supply lines (not included) to the threaded ends of the faucet. Do not over □ Attach the quick connecting hose (J) tighten.
-
Page 9: Operation
Operation Removing the quick connecting hose CAUTION: Use caution when removing the quick connecting hose connections in order to prevent cutting your hands. □ Push the quick connecting hose (I) housing up. □ Hold the clip and housing together and pull down. -
Page 10: Service Parts
Service Parts MODEL TYPE Part Description Part No. Part Description Part No. Metal handle assembly (cold) A66E467C Aerator A500107N-50 Metal handle assembly (hot) A66E467H Spout assembly A666335W Retainer nut A016026 Spout trim ring A66F148 Ceramic disc cartridge (cold) A507072WC Mounting hardware A66D455 assembly Ceramic disc cartridge (hot) - Page 11 Questions, problems, missing parts? Before returning to the store, call Glacier Bay Customer Service 8 a.m.-6 p.m., EST, Monday-Friday 1-855-HD-GLACIER HOMEDEPOT.COM...
Need help?
Do you have a question about the 478 405 and is the answer not in the manual?
Questions and answers