Table of Contents
Advertisement
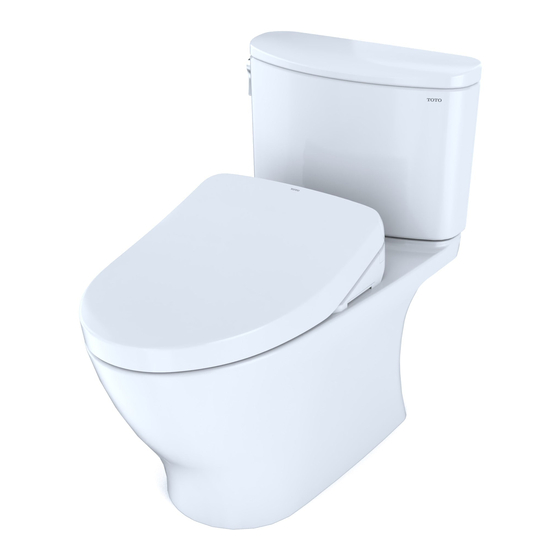
WASHLET
Flow of installation
Flux d'installation
Proceso de instalación
Các bước cài đặt
便器冲洗装置安装说明书
Installation instructions for flush unit
Instructions d'installation pour unité de rinçage
Instrucciones de instalación de la unidad de descarga
馬桶洗淨裝置安裝說明書
변기 세정 유닛 시공설명서
ค� ำ แนะน� ำ กำรติ ด ตั ้ ง ส� ำ หรั บ อุ ป กรณ์ ช � ำ ระล้ ำ ง
Hướng dẫn lắp đặt dành cho thiết bị xả
安装流程
(
(Voir ces instructions concernant
(consulte estas instrucciones sobre las partes de
安裝流程
(
시공 순서
(
ขั ้ น ตอนกำรติ ด ตั ้ ง
(โปรดดู ค � ำ แนะน� ำ ที ่ เ กี ่ ย วข้ อ งกั บ ชิ ้ น ส่ ว น
(Xem các hướng dẫn này liên quan đến các phụ kiện
*
具有遥控便器冲洗功
能时
If product is equipped
with remote control
flush function
Si le produit est
équipé d'une fonction
d'évacuation de la
commande à distance
Si el producto está
equipado con la
función de descarga
por control remoto
具有搖控馬桶洗淨功
能的情況下
리모컨 변기 세정
기능이 있는 경우
หากผลิ ต ภั ณ ฑ ม ี ฟ ง ก
ชั น ชํ า ระล า งด ว ยรี โ ม
ตคอนโทรล
Nếu sản phẩm được
trang bị chức năng
điều khiển xả từ xa
P.7
部分请确认本说明书。)
(See these instructions regarding
的部分請確認本說明書。)
부분은 본 설명서를 확인해 주십시오.)
parts.)
les pièces).
)
*
具有遥控便器冲洗功
能时
If product is equipped
with remote control
flush function
Si le produit est
équipé d'une fonction
d'évacuation de la
commande à distance
Si el producto está
equipado con la
función de descarga
por control remoto
具有搖控馬桶洗淨功
能的情況下
리모컨 변기 세정
기능이 있는 경우
หากผลิ ต ภั ณ ฑ ม ี ฟ ง ก
ชั น ชํ า ระล า งด ว ยรี โ ม
ตคอนโทรล
Nếu sản phẩm được
trang bị chức năng
điều khiển xả từ xa
P.19
).
.)
Advertisement
Table of Contents

Related Manuals for Toto WASHLET+ NEXUS 1G S550E MW6423056CUFGA 01 Series


Summarization of Contents
Initial Installation Steps
Step 1: Water Shutoff and Drainage
Close the shutoff valve and drain water from the low tank.
Installation Step 4
Inserting Component D-4-1
Inserting component D-4-1 into the main unit, ensuring correct orientation.
Installation Step 4 Continued
Checking D-1-1 Insertion
Verify that component D-1-1 is fully inserted from above.
Installation Checks
Component Operation Verification
Check if component F-4-1 operates when moving D-1-1 up and down.
Installation Step 5
Finalizing D-1-1 Insertion
Confirm that component D-1-1 is fully inserted into the unit.
Installation Steps: Hose and Cutting
Step 5: Hose Connection
Connect the flexible hose (F-2) to the unit and secure it.
Step 6: Cutting Hose F-2
Measure and cut the hose (F-2) to the specified length (20mm).
Installation Step 7
Connecting Hose D-1
Connect the water supply hose (F-2) to the component D-1.
Installation Step 8
Securing Components
Secure the components F-4 and F-3 according to the diagram.
Installation Step 9
Component Alignment Checks
Check the alignment of components D-1 and F-3.
Installation Steps: Final Connections
Step 10: Connecting D-1-3
Connect the water supply hose (D-1-3) to the unit.
Step 11: Finalizing Connections
Attach the flush button assembly (F-1) and other components.
Setting the Flush Mode
Step 18: Flush Mode Activation
Press remote control buttons for 10 seconds to enter mode setting.
Flush Mode Settings: Operation
Step 3: Simultaneous Button Press
Press two buttons simultaneously to select flush modes.
Step 4: Confirming Settings
Press the button to finalize mode settings and complete operation.
Trial Run Procedures
Step 19: Shutoff Valve Adjustment
Adjust the water shutoff valve (B-4) before performing the trial run.
Step 20: Toilet Operation Check
Operate the toilet lever to check the flush function.
Need help?
Do you have a question about the WASHLET+ NEXUS 1G S550E MW6423056CUFGA 01 Series and is the answer not in the manual?
Questions and answers