Advertisement
Quick Links
Advertisement

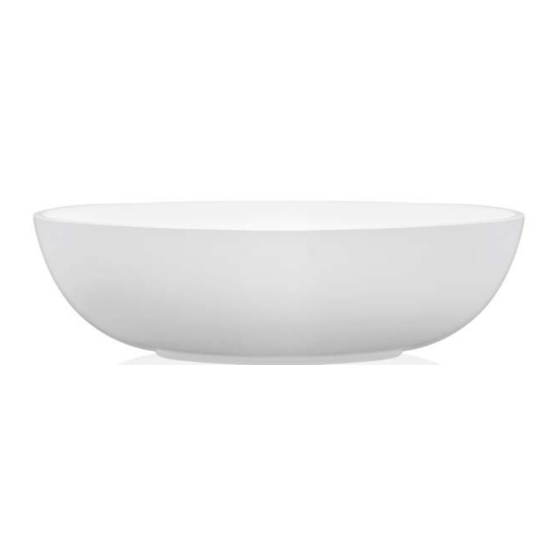
Related Manuals for Livingstone Charlotte


Summarization of Contents
BATH BASES
Base Type A Overview
Floor level installation with chopping required.
Base Type B Overview
30mm cavity with partial chopping required.
Base Type C Overview
80mm cavity with no chopping required.
Base Type D Overview
100mm cavity with no chopping required.
Base Type E Overview
100mm cavity, no chopping, integrated overflow.
OPTION 1 SENZO TRAP
Senzo Trap with Base Type A
Senzo Trap installation for floor level base type A.
Senzo Trap with Base Type B
Senzo Trap installation for 30mm cavity base type B.
Senzo Trap with Base Types C, D, E
Senzo Trap for 80-100mm cavity base types C, D, E.
OPTION 2 GIO TRAP
Gio Trap with Base Type A
Gio Trap installation for floor level base type A.
Gio Trap with Base Type B
Gio Trap installation for 30mm cavity base type B.
Gio Trap with Base Types C, D, E
Gio Trap for 80-100mm cavity base types C, D, E.
OPTION 3 WIRQUIN PRO ESPACE
Wirquin Pro Espace with Base Type A
Wirquin Pro Espace installation for floor level base type A.
Wirquin Pro Espace with Base Type B
Wirquin Pro Espace installation for 30mm cavity base type B.
Wirquin Pro Espace with Base Types C, D, E
Wirquin Pro Espace for 80-100mm cavity base types C, D, E.
OPTION 4 WIRQUIN OVERFLOW SYSTEM
Wirquin Overflow with Base Type A
Wirquin Overflow System installation for floor level base type A.
Wirquin Overflow with Base Type B
Wirquin Overflow System installation for 30mm cavity base type B.
Wirquin Overflow with Base Types C, D, E
Wirquin Overflow System for 80-100mm cavity base types C, D, E.
OPTION 5 INTEGRATED OVERFLOW
Integrated Overflow with Base Type E
Integrated Overflow installation for base type E only.
INSTALLATION
Installation Step 1: Placement Marking
Mark out plug and bath placement.
Installation Step 2: Bath Positioning
Place bath into position after waste insertion.
Installation Step 3: P-trap Connection
Connect P-trap to the waste.
Installation Step 4: Securing Base
Silicon the bath base to the tiles after connection.
Need help?
Do you have a question about the Charlotte and is the answer not in the manual?
Questions and answers