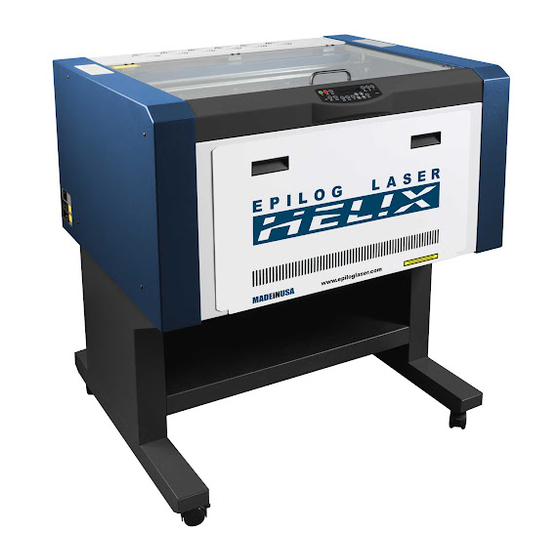
Summarization of Contents
Pre-Alignment Procedure Overview
Place Target and Tape
Prepare the laser engraver by placing the alignment target and tape on the lens carriage.
Power On and Enter Alignment Mode
Power on the engraver and navigate the keypad to enter the Alignment Mode.
Fire Laser and Make Burn
Close doors and press the Up Arrow key to fire the laser, creating a burn mark on the target.
Turn On Red Pointer
Activate the Red Dot Pointer on the control panel.
Align Pointer to Burn Mark
Adjust the pointer using screws to align it with the burn mark on the target.
Complete Pre-Alignment
Conclude pre-alignment when the red pointer represents the cutting beam path.
Laser Alignment Overview
Disable Axis
Disable the engraver's axis movement by pressing the 'X/Y Off' button.
Align Position 1
Move the lens carriage to Position 1 and align the pointer using Mirror 1.
Align Position 2
Move the lens carriage to Position 2 and align the pointer using Mirror 2.
Align Position 3
Move the lens carriage to Position 3 and align the pointer using Mirror 3.
Check Alignment
Verify the red pointer is centered at all table positions.
Run Test
Create a file, place objects, and run a test to ensure even engraving.
Complete Alignment
Reinstall panels and contact support if needed after completing alignment.


Need help?
Do you have a question about the Helix Series and is the answer not in the manual?
Questions and answers