Advertisement
ASME A112.18.1 / CSA B125.1
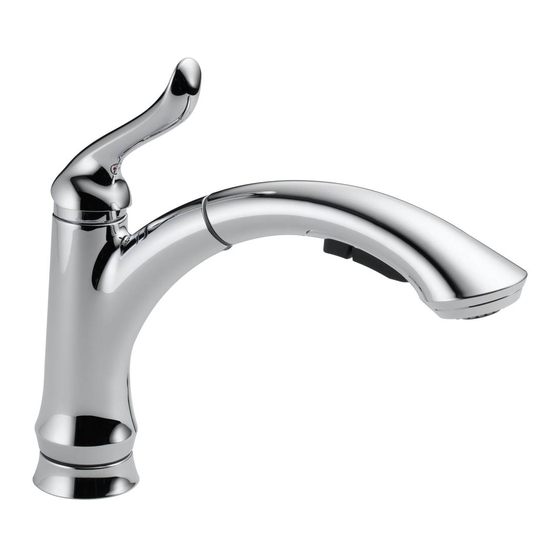
Models/Modelos
1353-DST, 3353-DST,
4453-DST & 11926-DST
Series / Séries
Write purchased model number here.
Escreva aqui o número do modelo adquirido.
WARNING: THIS FAUCET IS NOT TO BE USED WITH PORTABLE
DISHWASHERS!
AVISO: ESTA TORNEIRA NÃO DEVE SER USADA COM LAVADORA DE
LOUÇAS PORTÁTIL!
MEETS OR EXCEEDS — ASME A112.18.1 / CSA B125.1
SATISFAZ OU EXCEDE – ASME A112.18.1 / CSA B125.1
For easy installation of your Delta faucet you
will need:
• To READ ALL the instructions completely before beginning.
• To READ ALL warnings, care, and maintenance information.
Para facilitar a instalação da sua torneira Delta você
vai precisar:
• LER TODAS as instruções por completo antes de começar.
• LER TODOS os avisos, cuidados, e informação para manutenção.
www.deltafaucet.com.br
SINGLE HANDLE KITCHEN FAUCET
60961-PT
TORNEIRA DE COZINHA
MONOCOMANDO
60961-PT
1
You may need / Você poderá necessitar:
T E FLO N
1/8"
7/8/13
Rev. F
Advertisement
Table of Contents

Related Manuals for Delta 11926-DST Series


Summary of Contents for Delta 11926-DST Series
- Page 1 • To READ ALL the instructions completely before beginning. • To READ ALL warnings, care, and maintenance information. Para facilitar a instalação da sua torneira Delta você vai precisar: • LER TODAS as instruções por completo antes de começar.
- Page 2 Atendimento de garantia e peças de reposição poderão ser obtidos pelo contato com o seu distribuidor local da compra. ou a Delta Faucet Company, por escrito ou por e-mail, Peças eletrônicas e baterias (se aplicável) como segue: (produtos residenciais) Delta Faucet Company Peças eletrônicas (exceto baterias), caso haja, de cada...
-
Page 3: Faucet Installation
Faucet Installation Faucet Installation CENTER MOUNT STYLE DECK MOUNT STYLE Place baseplate shanks (1) through Thread mounting nut and washer (1) Install round escutcheon (1) Thread mounting nut and mounting holes in deck. Option: If sink is onto mounting shank (2). Note: When onto faucet (2). - Page 4 3353-DST For Models With A Side Spray Note: If you prefer not to use side sprayer, skip this step and move to page 5. Mount spray support assembly (1) in far right hole in sink. HAND TIGHTEN Pull diverter clip (1) outward until loose; but, do not completely remove. ONLY.
-
Page 5: Water Line Connections
A Delta não se uma linha de abastecimento substituta que é de 8”. Fixe a porca de metal (3) no tubo da responsabiliza por uma tubulação cortada muito... - Page 6 Correct Method Incorrect Installation Método Correto Instalação Incorreta Do not install sleeve Ensure cut is straight. upside down. Custom Fit Connections - Plastic Sleeve Installation Instructions Não instale a luva de Certifique-se de que o cabeça para baixo. corte esteja reto. 1.
- Page 7 FLUSH YOUR SYSTEM: Remove aerator (1) using supplied wrench (2) and turn faucet Check all connections at arrows for leaks. Re-tighten if necessary, but handle (3) to the full on mixed position. Turn on hot and cold water do not overtighten. supplies (4) and flush water lines for one minute.
- Page 8 Setting The Handle Limit Stop (Optional) This faucet includes an integrated handle limit stop that has two positions. Position because it limits the amount of hot water in the mix; however, this handle limit stop 1, to the left, allows full handle motion (the full range between “all cold” to “all hot”). will not always prevent scalding because it does not compensate for incoming The faucet is set in position 1 in the factory.
-
Page 9: Maintenance
1/8" Maintenance If faucet exhibits very low flow: If spray attachment does not function properly: Replace diverter and hose assembly (6). A. Remove and clean Aerator (1) with supplied wrench (2), or * WARNING: Failure to securely tighten bonnet nut with a wrench could result in B. - Page 10 1353-DST, 3353-DST & 4453-DST RP40650 Models / Modelos RP60965▲ Set Screw Lever Handle Assembly Parafuso de Conjunto de Manípulo Fixação Alavanca RP60966▲ Button / Botão RP51502▲ Tampa RP53880▲ RP51503 Spray, Diverter & Hose Assembly Bonnet & V-Ring Conjunto do Jato, Desviador, e Castelo e Anel “V”...
- Page 11 11926-DST RP37036 RP60932▲ Models / Modelos Set Screw Lever Handle Assembly Parafuso de Conjunto de Manípulo Fixação Alavanca RP53879▲ Button / Botão RP51502▲ Tampa RP51503 Bonnet & V-Ring Castelo e Anel “V” RP53880▲ Spray, Diverter & Hose Assembly Conjunto do Jato, Desviador, e RP50587 Mangueira Valve Assembly...
-
Page 12: Notes / Notas
Notes / Notas 60961-PT Rev. F...
Need help?
Do you have a question about the 11926-DST Series and is the answer not in the manual?
Questions and answers