Table of Contents
Advertisement
Advertisement
Table of Contents

Summarization of Contents
Warnings
Safety Precautions
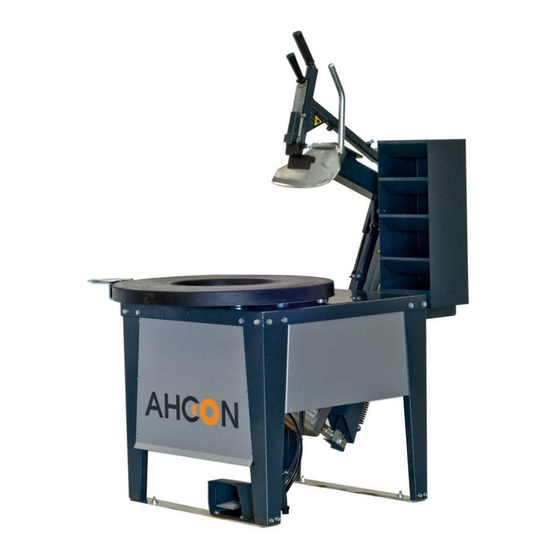
AHCON BBRT 700 / 900 must only be used by trained personnel for bead breaking of passenger, van and light truck tyres.
Risks and Labelling
Danger of Squeezing
Pictograms and warning labels placed on the machine by the manufacturer must not be removed.
Safety Precautions
Safety Distance
Specifies safety distance for operator and outsiders: 1 meter for outsider. No special precautions needed.
Safety Devices
Describes safety features: cylinder return spring and protection shield above the foot pedal.
Dimensions and Weight
Shipping Dimensions
Provides shipping dimensions (Height, Length, Width) and weights (Weight, Shipping weight).
Transport and Handling
Unpacking
Instructions for removing wrap folio, checking contents, placing the machine, and fastening it to the floor.
Connection
Compressed Air Connection
Specifies required compression pressure for the machine: 8 – 10 bar.
Power Connection
States that the machine does not require an electric power connection.
Operation
Wheel Placement and Preparation
Remove valve core, place wheel on rubber plate, ensure no air pressure during bead breaking.
Wheel Lift Usage
Utilizing the AHCON BB 700 Wheel Lift for ergonomically correct handling of the wheel.
Wheel Centering
Procedure for centering the wheel on the Bead Breaker for proper operation.
Magic Arm Control
Using the 'Magic Arm' handles for control and handling of different rim designs.
Locking System
The patented locking system secures the bead breaker 'shovel' under the rim edge.
Standard Handle Operation
Using the right handle when the Bead Breaker is not equipped with a 'Magic Arm'.
Activating Bead Breaking
How to activate the bead breaking function using the stepless foot pedal.
Shovel Positioning
Ensuring the 'shovel' of the Bead Breaker is in the correct position for operation.
Arm Height Adjustment
Adjusting the Bead Breaker's arm to two heights, ensuring it remains horizontal.
Shovel Position (Low)
Description of the Bead Breaker's 'shovel' lowered in the 'low' position.
Shovel Position (High)
Description of the Bead Breaker's 'shovel' lowered in the 'high' position for UHP/RUNFLAT tyres.
Bead Breaking Technique
Breaking the bead from the rim's 'hump', starting with the front side, avoiding tyre flattening.
Wheel Rotation
Turning the wheel using the wheel turning plate during the bead breaking process.
Rear Side Bead Breaking
Breaking the bead from the 'hump' on the rear side of the rim.
Dismounting Lubricant
Recommendation to use a sprayable dismounting lubricant during bead breaking.
Maintenance
Lubrication
Recommended lubrication procedure: approx. 20 drops of oil in the air inlet after 300-400 bead breaks.
Adjustment
Procedure for adjusting the 'Magic Arm' distance to the bead breaker 'shovel'.


Need help?
Do you have a question about the BBRT 900 and is the answer not in the manual?
Questions and answers