Table of Contents
Advertisement
Quick Links
6
7
1
SCALE 2 : 5
DETAIL B
Premium Range
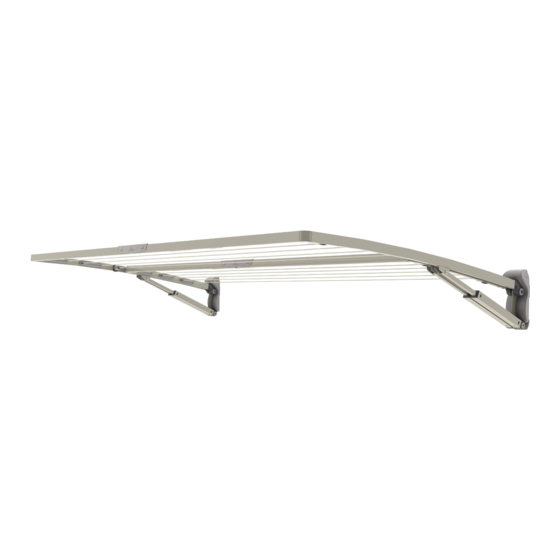
Supa Fold Clotheslines
Owner's Manual
8
ISSUE
REF.
1
A
B
9
1
0
REVISION
TO SUIT MODELS:
6
7
A
1
1
DATE
RFC
8
9
ISSUE
REF.
Hills Industries L
ABN 35 007 573 417
Home & Hardware Products
Unit H, 5 Butler Boulevard
Burbridge Business Park
Adelaide Airport
South Australia 5950
TM
Copyright
DO NOT SCALE DRAWING.
DIMENSIONS IN MILLIMETRES.
DWN.
C
©
2010
Advertisement
Table of Contents

Summarization of Contents
Introduction
Congratulations
Congratulates the user on their purchase and highlights years of trouble-free drying.
Warning
Lists critical safety precautions for operating the clothesline, including child safety and proper usage.
Installation
Step 1 – Select a suitable location
Guides on choosing an appropriate mounting location and height for the clothesline.
Step 2 – Remove insert from mount brackets
Explains how to remove and re-attach inserts from the mounting brackets for installation.
Step 3 – Installing your mount brackets
Details the process of installing the wall or post mount brackets securely.
Step 4 – Fixing to a brick or masonry wall
Provides instructions for securely mounting the clothesline to brick or masonry walls.
Step 5 – Fixing to a stud wall
Guides on how to fix the clothesline mount brackets to a stud wall.
Step 6 – Fixing to a post kit
Explains the process of attaching the mount brackets to a post kit.
Assembly
Step 7 – Assemble the spreader bars
Details how to assemble the spreader bars using the joiner and handle.
Step 7 – continued
Continues spreader bar assembly and notes on correct lengths for the Duo model.
Step 8 – Adjusting the width of your Supa Fold
Provides instructions on how to reduce the width of the clothesline using a hacksaw.
Step 9 – Fit arms to mount brackets
Describes attaching the arms and struts to the mount brackets securely.
Step 10 – Assemble corners into spreader bar
Explains how to attach the corners to the spreader bars using hex key.
Step 11 – Assemble spreader bar to arms
Details connecting the assembled spreader bar to the clothesline arms.
Line Assembly
Step 12 – Attaching the line
Illustrates the threading patterns for attaching the clothesline to the product.
Step 12 – Continued
Provides detailed steps for threading and securing the clothesline onto the product.
Step 12 – Continued
Continues the process of attaching the clothesline, including trimming and securing ends.
Operation
Step 13 – Using your Supa Fold
Explains the correct procedure for lowering and raising the clothesline safely.
Care and Maintenance
Line Tensioning
Guides on adjusting the tension of the clothesline for optimal performance.
Hills Handy Hints
Offers practical tips for efficient clothes drying and usage.
Guarantee
Hills Guarantee
Details the warranty terms and conditions for the clothesline.
Hills Contacts
Provides contact information for customer support and inquiries.


Need help?
Do you have a question about the Supa Fold Mono and is the answer not in the manual?
Questions and answers