Advertisement
Table of Contents
- 1 Table of Contents
- 2 General
- 3 Technical Data
- 4 Installation Distance to Walls and Ceiling
- 5 Removing the Loose Components
- 6 Supply of Combustion Air
- 7 Adjusting and Connecting H51
- 8 Adjusting and Connecting H52/H52T
- 9 Adjusting and Connecting H53
- 10 Adjusting and Connecting H54/H54T
- 11 Connection to the Chimney
- Download this manual
Advertisement
Table of Contents

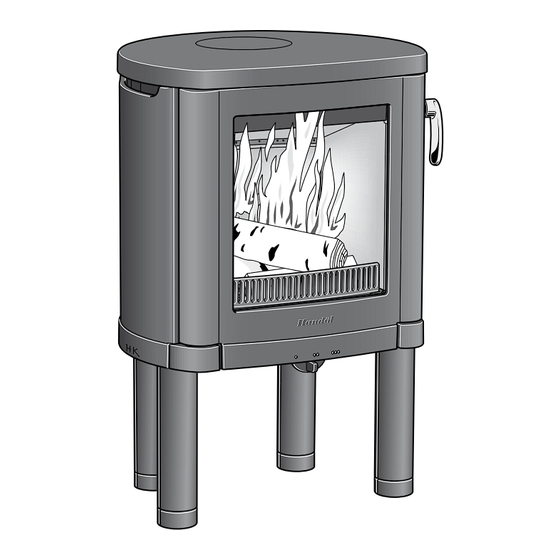
Summary of Contents for Handöl 54
- Page 1 Installation INSTRUCTIONS 51 52 52T 53 54 54T ...
- Page 2 EU-declaration of conformity Product covered by this declaration Certifierad Product type Stove fired by fixed fuel Type designation Handöl 50-series Type acc. to standard SS-EN 13240 Intended for use Heating of living accomodation Fuels Wood logs Special conditions None Manufacturer Name NIBE AB/NIBE Brasvärme Certifikat nr...
-
Page 3: Table Of Contents
DEAR HANDÖL OWNER We welcome you to the Handöl family and hope that you will gain much pleasure from your stove. We understand that you place high demands on both quality and design. As a new owner of a stove from Handöl you have a stove with timeless design and a long lifetime. -
Page 4: General
Building application General Before installing a stove or erecting a chimney it is necessary This manual contains for you to apply for planning permission from your local instructions about how 5 0 e ldnings instruktion authority. Ask your local authority for advice regarding building the Handöl 50 series Eldningsinstruktion Heizinstruktionen... -
Page 5: Installation Distance To Walls And Ceiling
Installation distance to walls and ceiling H51, H52 and H52T Position the stove on a hearth plate and Combustible ceiling Brännbart tak check that the installation distances given in the diagrams are met. The minimum distance between the stove opening and combustible parts of the building or décor must be at least 1 m. - Page 6 Installation distance to walls and ceiling H53, H54 and H54T Combustible ceiling Brännbart tak Position the stove on a hearth plate and check that the installation distances given in the diagrams are met. The minimum distance between the stove opening and combustible parts of the building or décor must be at least 1 m.
-
Page 7: Removing The Loose Components
Removing the loose components Fire bars Lift the fire bars straight up, clean the ash from the guide groove in the stove base plate before repositioning it in position. Fire box surround When sweeping, the smoke baffle must be lifted out, this can be done when one side has been dismantled. Smoke baffle... - Page 8 Stove base plate The stove base plate is lifted out when all the cladding has been removed. Fixed or removable handle The stove handle is fitted on delivery. To make the handle removable, replace the screw for the lock hook with the shorter screw supplied.
-
Page 9: Supply Of Combustion Air
Supply of combustion air Combustion air can be provided directly via a duct from outside, or indirectly via a vent in the outer wall of the room where the stove is to be placed. The amount of combustion air used for combustion is approximately 25 m Some installation alternatives are shown to the right. -
Page 10: Adjusting And Connecting H51
Adjusting and connecting Handöl 51 Preparations before rear connection The stove is prepared for top connection on delivery. When connecting from the rear, the cover and connection must be swapped around. • Dismantle the cladding as instructed previously, see page 55. -
Page 11: Adjusting And Connecting H52/H52T
Adjusting and connecting Handöl 52 / 52T Preparations before rear connection The stove is prepared for top connection on delivery. When connecting from the rear, the cover and connection must be swapped around. • Dismantle the cladding as instructed previously, see page 55. •... - Page 12 Soapstone installation Handöl 52T Handle soapstone with care, the edges are susceptible to damage. Soapstone is most easily cleaned using a cloth damp- ened with acetone. • Remove the upper securing plate. • Position with the decorative groove downward so that the turned up edge holds the soapstone in place.
- Page 13 Adjusting and connecting Handöl 53 Preparations before rear connection The stove is prepared for top connection on delivery. When connecting from the rear, the cover and connection must be swapped around. • Dismantle the cladding as instructed previously, see page 55. •...
-
Page 14: Adjusting And Connecting H54/H54T
Adjusting and connecting Handöl 54 / 54T Preparations before rear connection H54 The stove is prepared for top connection on delivery. When connecting from the rear, the cover and connection must be swapped around. • Dismantle the cladding as instructed previously, see page 55. - Page 15 Adjusting the stove Position the stove on the hearth Twist the cover plate as indicated by Adjust the adjustable feet until the plate. Unscrew the cover plate. the arrow. stove is horizontal and then reinstall the cover plate. Soapstone installation H54T Handle soapstone with care, the edges are susceptible to...
-
Page 16: Connection To The Chimney
Connection to the chimney After the stove has been adjusted and positioned according to the installation distances, connec- tion to the chimney is carried out. Select one of the following alternatives. Top connection to the steel flue Press the start pipe onto the connection, continue the chimney installation according to the chimney installation instructions.


Need help?
Do you have a question about the 54 and is the answer not in the manual?
Questions and answers