Table of Contents
Advertisement
Quick Links
Advertisement
Table of Contents

Related Manuals for AUDIOLINE AL702


Summary of Contents for AUDIOLINE AL702
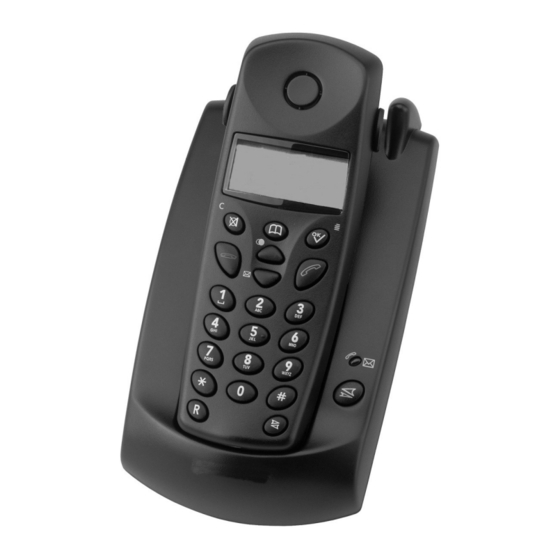
- Page 1 English Cordless Telephone with Phonebook User Guide...
- Page 2 1 Mute/Erase 5 Intercom Function 2 Scroll UP/Redial 6 Scroll DOWN/Caller ID 3 Disconnect and On/Off Button 7 Talk Button 4 Recall (R) Button 8 OK/Menu Button 9 Phone Book...
-
Page 3: Table Of Contents
English Index Settings Installation Warning Signals ....16 Unpacking......4 Ringer Signal Volume ..16 Connection ......4 Volume Control ....16 Belt Clips......6 Ringer Melody ....17 Battery ........ 6 User Name......17 Turning the Handset Language......17 On/Off......... -
Page 4: Installation
English Installation Unpacking The package should include the following items: - Handset - Mains adapter - Base unit - Line cord - 2 NiMH rechargeable batteries - Belt clip Models with an extra handset (+1) include an additional handset, batteries, charger and adapter. - Page 5 English Installation Only for models with an extra handset (+1): 8. Connect the mains adapter to the socket on the charger unit and to an electrical wall socket. 9. Remove the battery cover from the back of the handset. Insert the batteries into the handset ensuring correct battery polarity is observed.
-
Page 6: Belt Clips
English Installation Belt Clips A belt clip is included, which can be fitted on the back of the handset. The belt clip enables the handset to be attached to a belt, waistband or similar. To attach the clip, press it into place over the back of the handset. On either side of the handset, there are indents for the clips to clasp onto. -
Page 7: Battery Charge Indicator
English Installation Battery Charge Indicator indicator in the display shows when it is time to recharge the battery. The symbol has three segments, which disappear as the battery charge decreases. When the battery is almost out, the symbol will appear in the display and a warning tone will be heard. -
Page 8: The Display
English Installation The Display Indicator Function Indicates that a handset is connected (during a call). External call. Intercom Function. Settings. Battery charge indicator. Shown within range of the base unit. Flashes when out of range. Phone Book. Key Lock. New number/s in Caller ID log. Base Unit Indicator On when a call is connected, flashes on incoming calls, or to indicate that new numbers have been received and stored in... -
Page 9: Operation
English Operation Making a Call 1. Enter the required telephone number. Mistakes can be erased using C. 2. Press , the telephone number will now be dialled. 3. Press to terminate the call. Receiving a Call 1. Wait for the handset to ring. 2. -
Page 10: Paging
English Operation Paging Pressing on the base unit will activate the paging signal of the handset. This function is used to help locate the handset or to page the person carrying the handset. The signal will stop automatically after a while or if the button on the handset is pressed. -
Page 11: Caller Identification
English Caller Identification Explanation of Caller ID Caller ID allows you to see who is calling before you answer a call and see who has called in your absence. If a name is attached to the telephone number and stored in the phone book, only the name will be shown. The call log will store up to 10 telephone numbers, which can easily be retrieved for viewing and dialling. - Page 12 English Caller Identification Other information CALLS The display shows the number of incoming calls. If the number is stored in the phone book, the name and number of calls are shown simultaneously. DELETE Delete the current position. Save this number in the phone book. Names are entered in the same way as for the phone book.
-
Page 13: Menu
English Menu Description of the menu system The telephone has a menu system, controlled by the following buttons: Activates the menu system. Moves one step forward and/or confirm selection option. Scroll through the menu alternatives. Used to erase/correct and to go back. Exits the menu system. -
Page 14: Phone Book
English Phone Book Using the Phone Book The phone book allows you to store names and telephone numbers into memory. A stored phone number can then be dialled using fewer keystrokes than if dialled manually. The phone book can store a maximum of 50 name and number combinations with the entries arranged alphabetically. - Page 15 English Phone Book Dialling from the Phonebook 1. Press 2. Scroll to the required name/telephone number using . You can also quick search by pressing the key corresponding to the first character in the name. Please refer to page 14. 3.
-
Page 16: Settings
English Settings Warning Signals There are three different warning signals that can be turned on or off. KEYTONE Sounds as the handset buttons are pressed. LOW BATT Sounds when the handset battery charge is low. OUTRANGE Sounds if the handset is carried outside the range. 1. -
Page 17: Ringer Melody
English Settings Ringer Melody You can select between five different types of ringer melody for both external (EXT) and internal (INT) calls. 1. Press 2. Scroll to HANDSET using the buttons. Press 3. Scroll to EXT RING or INT RING using the buttons. -
Page 18: Settings
English Settings PIN Code The handset PIN code is a four-digit code that you can set yourself. It protects against unauthorised use of certain functions. 1. Press 2. Scroll to SETUP using the buttons. Press 3. Scroll to PIN CODE using the buttons. -
Page 19: Pause Time
English Settings An example of how to use the PBX function: “9” has been specified as the external line prefix. When dialling a phone number: "9123456", the phone will dial: “9” followed by a pause while the external line is connected, and then the remaining part of the number: ”123456”. It makes no difference if the number is dialled manually or by using the Phone Book. -
Page 20: Expanded System
English Expanded System General Information DECT (Digital Enhanced Cordless Telephone) technology offers superior performance, clarity and security using its digital method of transmission. You can: Use up to 5 handsets with the same base unit. Make internal calls (intercom) and transfer calls between handsets using the same base unit. -
Page 21: Show Rfpi Number
English Expanded System Show RFPI Number Note: Only used for installations with handsets from other manufacturers, where the RFPI number is required. 1. Press 2. Scroll to SETUP using the buttons. Press 3. Scroll to BASE ID using the buttons. Press 4. -
Page 22: De-Register A Handset
English Expanded System De-register a Handset Any additional handset can easily be de-registered from a base unit. 1. Press 2. Scroll to SETUP using the buttons. Press 3. Scroll to DEL HS using the buttons. Press 4. Enter the PIN number (0000 when supplied). Press 5. -
Page 23: Transferring Calls Between Handsets
English Expanded System Transferring Calls Between Handsets An external call can be transferred from one handset to another so long as both handsets are using the same base unit. 1. While an external call is connected on line. 2. Press 3. -
Page 24: Other
English Other Troubleshooting Check that the telephone cord is undamaged and properly plugged in. Disconnect any additional equipment that may be connected. If the problem is resolved, the fault is with the other equipment. Test the equipment on a known working line. If the product works then the fault is with the line. -
Page 25: Guarantee
English (Guarantee UK Only) If you cannot resolve the fault using the faultfinder section, technical support is available on the Premium Rate Number: 0906 302 0114. Calls cost 50 pence per minute (prices correct at the time of going to press), and is operational between 9AM - 5PM Monday-Friday excluding Bank Holidays. -
Page 26: Australia And New Zealand
English Other Australia and New Zealand If you believe this product is malfunctioning, please refer to the relevant section and/or consult the troubleshooting guide in this manual to ensure that you have followed the instructions carefully. As an alternative you can visit our web site for FAQ’s or send an e-mail for a prompt reply. -
Page 27: Technical Information
English Other Technical information REN (RN for New Zealand) The REN (Ringer Equivalence Number) or (RN) is of significance only if you wish to connect more than 1 telephone to your telephone line. A standard telephone line has a maximum REN capacity of 3 (RN of 5). It is possible to connect 3 devices with a REN of 1 (RN of 1) with no degradation to the product’s performance. - Page 32 www.doro.com...
Need help?
Do you have a question about the AL702 and is the answer not in the manual?
Questions and answers