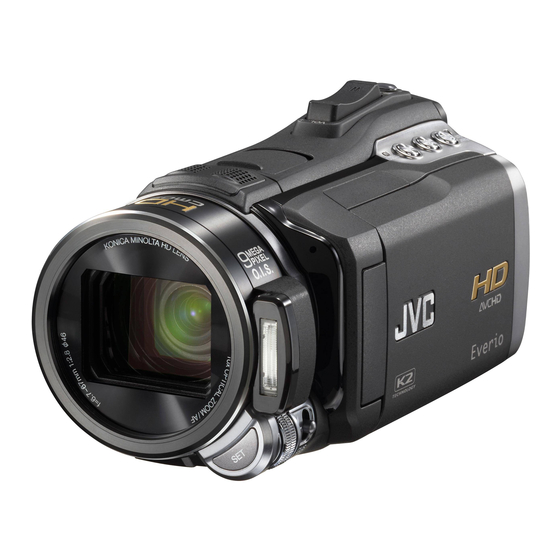

Related Manuals for JVC Everio GZ-HM1


Summarization of Contents
Safety Precautions
General Safety Warnings and Cautions
Covers important warnings and cautions regarding electrical shock, fire hazards, and safe handling of the device and its components.
Important Safety Instructions
Numbered Safety Guidelines
Provides a list of essential instructions for safe operation and maintenance of the camcorder.
Trademarks and Legal Notices
Lists registered trademarks and important legal disclaimers related to the camcorder's usage.
Easy Start Guide
Battery Charging Procedure
Step-by-step instructions on how to charge the camcorder's battery pack before initial use.
Using the Touch Sensor
Battery Handling Precautions
Details important precautions for handling and using the camcorder's batteries safely and effectively.
Camcorder and Remote Control Components
Tripod Mounting
Instructions on how to securely attach the camcorder to a tripod for stable recording.
LCD Monitor Indications
Video Recording Indications
Displays the various indicators shown on the LCD monitor during video recording.
Still Image Recording Indications
Displays the indicators shown on the LCD monitor during still image recording.
Necessary Settings Before Use
Battery Charging Procedures
Detailed steps for charging the camcorder's battery pack.
Setting Date and Time
Guides users through the process of setting the camcorder's date and time.
Uploading Files to Websites
Upload Trimming Function
Allows selection of a specific part of a video for uploading.
Customer Support Information
Provides contact details and information for JVC customer support.
Recording/Playback Operations
Manual Recording Guide
Details on how to manually adjust recording settings like focus, brightness, and shutter speed.
Advanced Recording/Playback Functions
Covers advanced features for recording and playback, including event registration and effects.
Editing, Playlists, and Print Settings
Covers file editing, creating playlists, and configuring print settings.
Manual Recording Techniques
Changing to Manual Mode
Instructions on switching between auto and manual recording modes.
Adjusting Brightness
How to manually control the brightness of the recorded image.
Manual Focusing
Guides on how to manually adjust the focus for clear subjects.
Setting Shutter Speed
How to adjust shutter speed for capturing motion effects.
Manual Recording: Aperture and USER Button
Aperture Priority Setting
How to set aperture priority for background blur effects.
USER Button Function Assignment
Assigning frequently used functions to the USER button for quick access.
Advanced Recording Functions
Registering Files to Events
Organizing recorded files by assigning them to specific events.
Face Detection Mode Operation
Enabling face detection to automatically adjust focus and brightness for clear faces.
Managing Files: Capture and Delete
Capturing Still Images from Video
Extracting still images from recorded video clips.
Deleting Files
Instructions on how to delete selected files from the camcorder.
Managing Files: File Deletion and Protection
Deleting Selected and All Files
Procedures for deleting specific files or all files at once.
Protecting Files
How to protect files from accidental deletion.
Uploading Files to Websites: Upload Trimming
Customer Support Information
Provides contact details and information for JVC customer support.
Changing Menu Settings: Recording Options
Manual Recording Settings
Details manual settings like exposure, WB, and event registration.
Flash Settings
Options for controlling the camcorder's flash.
Event Registration
Allows assigning recorded files to specific events for easier searching.
Self-Timer Function
Enables recording with a time delay after pressing SNAPSHOT.
Changing Menu Settings: Video Quality and High Speed
Video Quality Settings
Adjusts video quality settings like UXP, XP, SP, and EP.
High Speed Recording Modes
Options for capturing fast-moving subjects at high frame rates.
Shutter Mode Options
Settings for continuous shooting and bracketing.
Changing Menu Settings: Image, Zoom, and Gain
Image Size and Quality Settings
Adjusts the resolution and compression for still images.
Zoom Ratio Settings
Configures the maximum zoom ratio for the camcorder.
ISO Gain Adjustment
Controls the image sensor sensitivity for low-light conditions.
OIS and Gain Up Functions
Enables optical image stabilization and automatic brightness enhancement.
Changing Menu Settings: Color, Wind, Grid, and Audio
x.v.Color and Wind Cut
Settings for enhanced color range and reducing wind noise.
Grid Display and Microphone Settings
Options for grid lines on the monitor and microphone input level.
Headphone Volume Adjustment
Controls the audio output level for headphones.
Changing Menu Settings: Display and Clock
Display Settings (Language, Clock, Date)
Configures display language, clock, and date format.
Monitor Brightness and Backlight
Adjusts the LCD monitor brightness and backlight.
Focus Assist Color Selection
Sets the color of the focus assist outline.
Changing Menu Settings: Basic and Shooting Modes
Basic Settings and Shooting Speed
Controls basic settings and continuous shooting speed.
Demo Mode and Auto Power Off
Enables demo mode and configures automatic power off.
Operation Sound and Record Button
Manages operation sounds and the LCD record button.
Quick Restart Functionality
Allows for faster camcorder startup after closing/opening the LCD.
Changing Menu Settings: Remote, Finalize, Update, Reset
Remote Control and Auto Finalize
Controls remote operation and automatic DVD finalization.
System Update and Factory Reset
Procedures for updating system software and resetting to factory defaults.
Changing Menu Settings: Connection and Output
Connection Settings (Display on TV)
Configures camcorder's on-screen display output to a TV.
Video and Component Output
Sets aspect ratio for AV output and definition for component output.
HDMI Output and Control
Configures HDMI output definition and linked TV operations.
Media Settings: Recording Medium and Formatting
Setting Recording Media
Selects the recording medium for still images and video.
Formatting Built-in Memory and SD Card
Ensures stable operation by formatting the memory or SD card.
Erasing Built-in Memory
Prepares the camcorder for disposal by erasing built-in memory data.
Troubleshooting and Cleaning Procedures
Troubleshooting: YouTube, iTunes, Language
Addresses issues related to YouTube uploads, iTunes export, and language display changes.
Cleaning the Camcorder and Components
Instructions on how to clean the camcorder body, LCD monitor, and lens.
Need help?
Do you have a question about the Everio GZ-HM1 and is the answer not in the manual?
Questions and answers