Advertisement
Warnings

A WARNING indicates a potential for property damage, personal injury, or death.

A CAUTION indicates either potential damage to hardware or loss of data and tells you how to avoid the problem.
 NOTE: A NOTE indicates important information that helps you make better use of your computer.
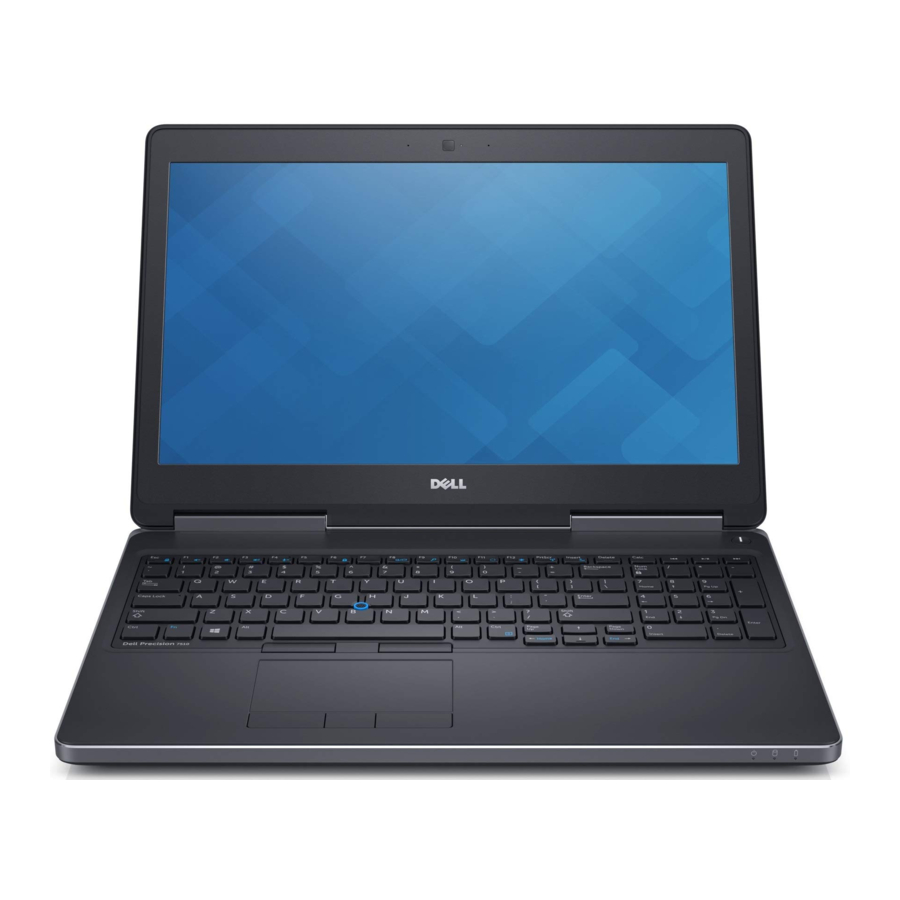
Setting up Your Computer
This section provides information about setting up your Dell computer.
Before Setting up Your Computer
When positioning your computer, ensure that you allow easy access to a power source, adequate ventilation, and a level surface to place your computer.
Restricting airflow around your computer may cause it to overheat. To prevent overheating ensure that you leave at least 10.2 cm (4 inches) at the back of the computer and a minimum of 5.1 cm (2 inches) on all other sides. You should never place your computer in an enclosed space, such as a cabinet or drawer when it is powered on.
Do not block, push objects into, or allow dust to accumulate in the air vents. Do not store your Dell™ computer in a low-airflow environment, such as a closed briefcase, while it is powered on. Restricting the airflow can damage the computer or cause a fire. The computer turns on the fan when the computer gets hot. Fan noise is normal and does not indicate a problem with the fan or the computer.
Placing or stacking heavy or sharp objects on the computer may result in permanent damage to the computer.
Icons, Status Lights and Indicators
Icons are used to label all connectors and buttons on Dell computers. Check the following table for a description of those found on your computer.
![]()
![]()
![]()
Removing and Replacing a Laptop Computer Battery
If your Dell laptop computer is shipped without the battery, install the battery before your proceed.
Before you begin any of the procedures in this section, follow the safety instructions that shipped with your computer.
Using an incompatible battery may increase the risk of fire or explosion. This computer should only use a battery purchased from Dell. Do not use batteries from other computers.
Before removing the battery, shut down the computer, and remove external cables (including the AC adapter).
To install the battery
- Slide the battery into the battery bay until it clicks into place.
For some computers, this requires that the battery be inserted at a 45-degree angle.
To remove the battery
- Turn off the computer and turn it over.
- Slide the battery release latch or latches to the unlock position until it clicks into place.
- Slide the battery out.
Connecting the Power Supply
Computers With External AC Adapters (Notebooks and All-in-One Models)
Connect the AC adapter to the computer and then plug it into an electrical outlet or surge protector. Be sure to leave your AC adapter connected throughout the setup process to ensure consistent power for your operating system to complete all configurations, and to charge your battery.

The AC adapter works with electrical outlets worldwide. However, power connectors and power strips vary among countries. Using an incompatible cable or improperly connecting the cable to a power strip or electrical outlet may cause fire or permanent damage to your computer.
Computers with an Internal Power Supply (Desktops)
Connect the power cables for your display and computer and plug them into a surge protector or wall outlet. See your display documentation for more information on connecting power cables.

Connect the Network Cable (Optional)
To use a wired network connection, connect the network cable.
")
Connect an External Display (Only for Desktops)
Read the instructions that came with the display for more information.

Press the Power Button on the Computer (and Display if Connected).

Specifications
This section provides information that you may need when setting up, updating drivers for, and upgrading your computer.
NOTE: Offerings may vary by region. For more information regarding the configuration of your computer, go to dell.com/support.
AC Adapter
| Type | 60 W |
| Input voltage | 100-240 VAC |
| Input current (maximum) | 2.34 A/ 2.5 A |
| Input frequency | 50-60 Hz |
| Output current | 9.23 A |
| Rated output voltage | 19.5 VDC |
Documents / ResourcesDownload manual
Here you can download full pdf version of manual, it may contain additional safety instructions, warranty information, FCC rules, etc.
Advertisement


Need help?
Do you have a question about the 7510 and is the answer not in the manual?
Questions and answers